This build log represents our attempt to build an L1 rocket that can fly on both 38mm motors and water.
The log is in chronological order so to see the most recent post you need to Jump To The Bottom. You may need to refresh this page to see any latest updates.
CAUTION: If you are going to attempt to build rockets such as these, please exercise extreme care when testing and flying them. This rocket uses very high pressures that can potentially cause severe injury to yourself and those around you. Always double check your equipment and review safety procedures before every test and flight. See more information on Safety Guidelines.
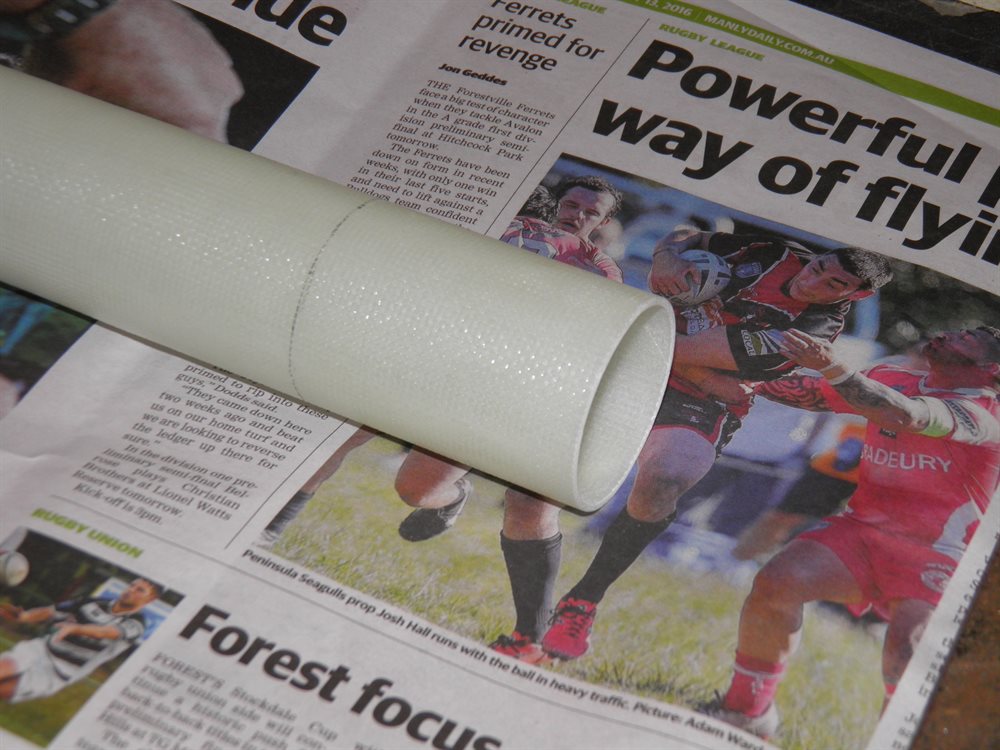
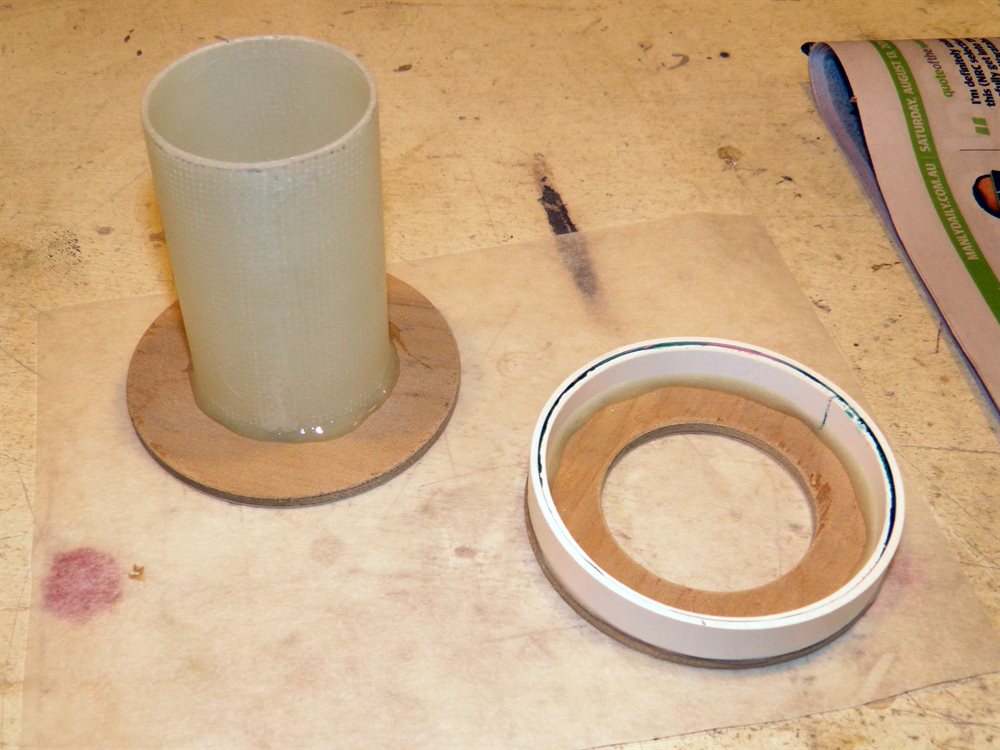
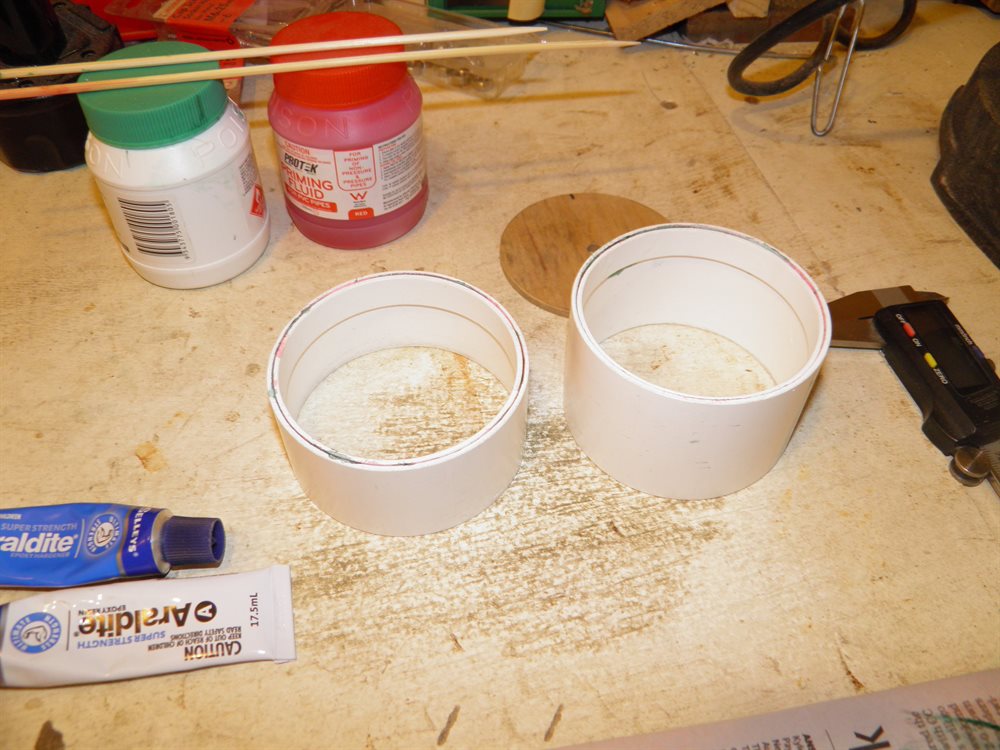
22 August 2016 - The electronics tube was cut to a length of 7.5cm. We ended up using a part of the original MMT tube as it provided more clearance for the servo motor and the shock cord mounting point. We also cut out two PVC rings that will hold the electronics package inside the payload bay tube. Those were then glued together with PVC cement.
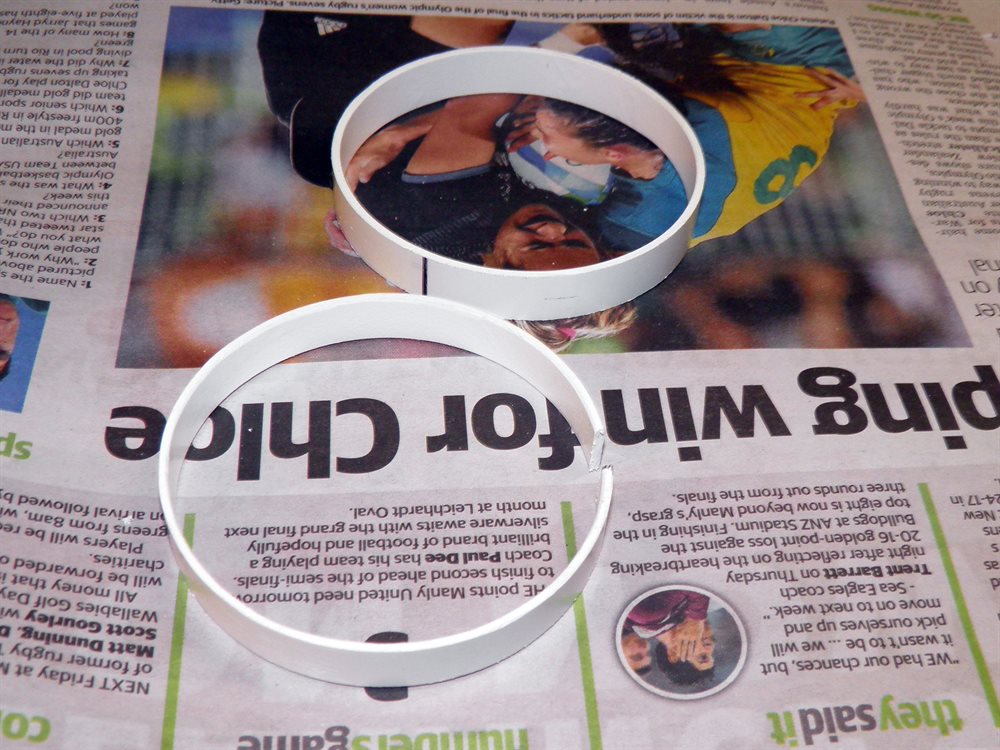
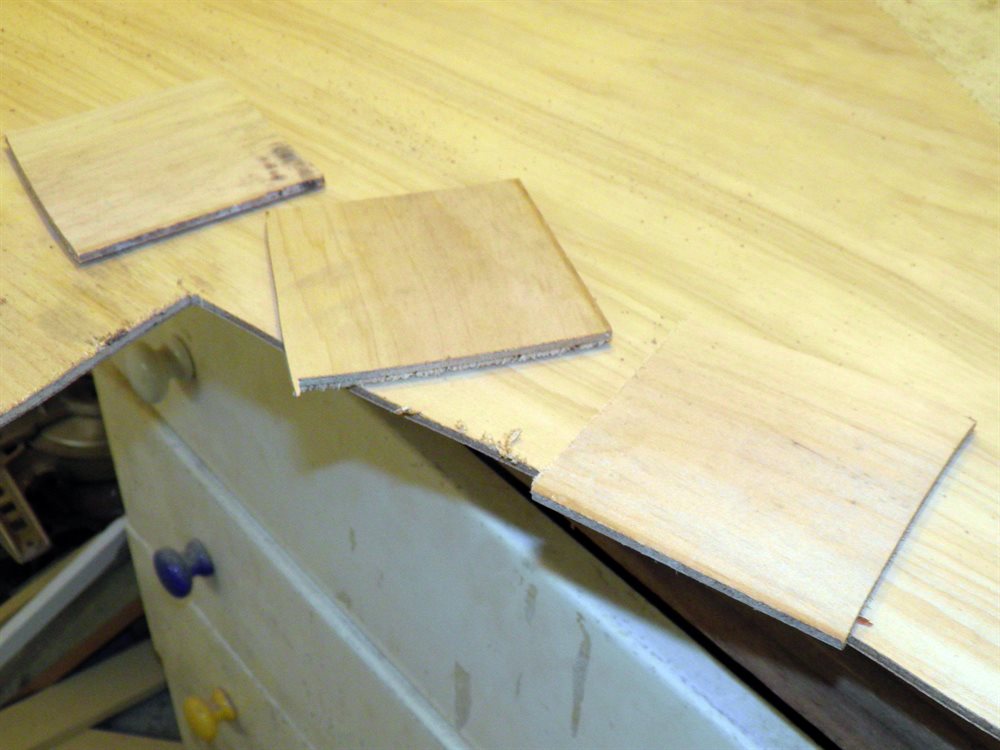
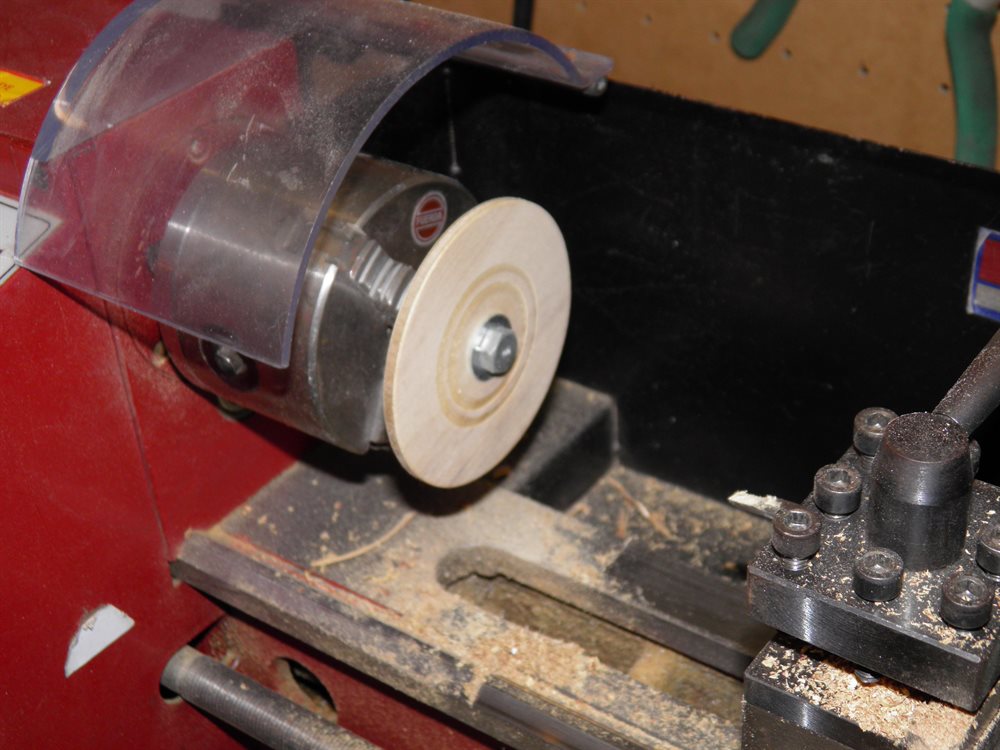
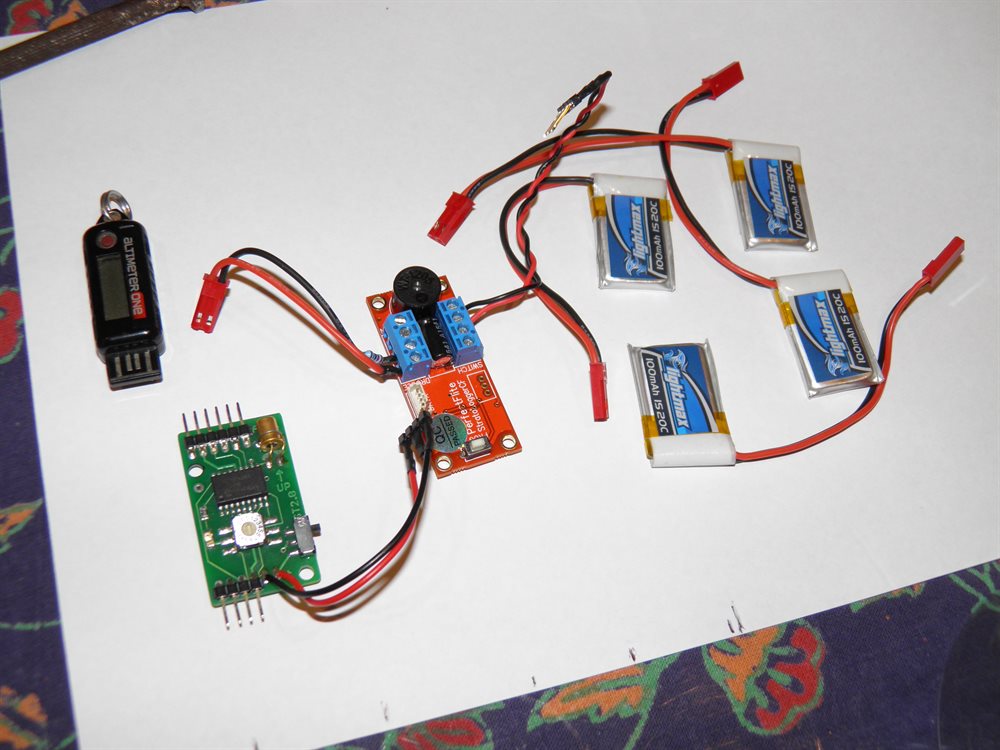
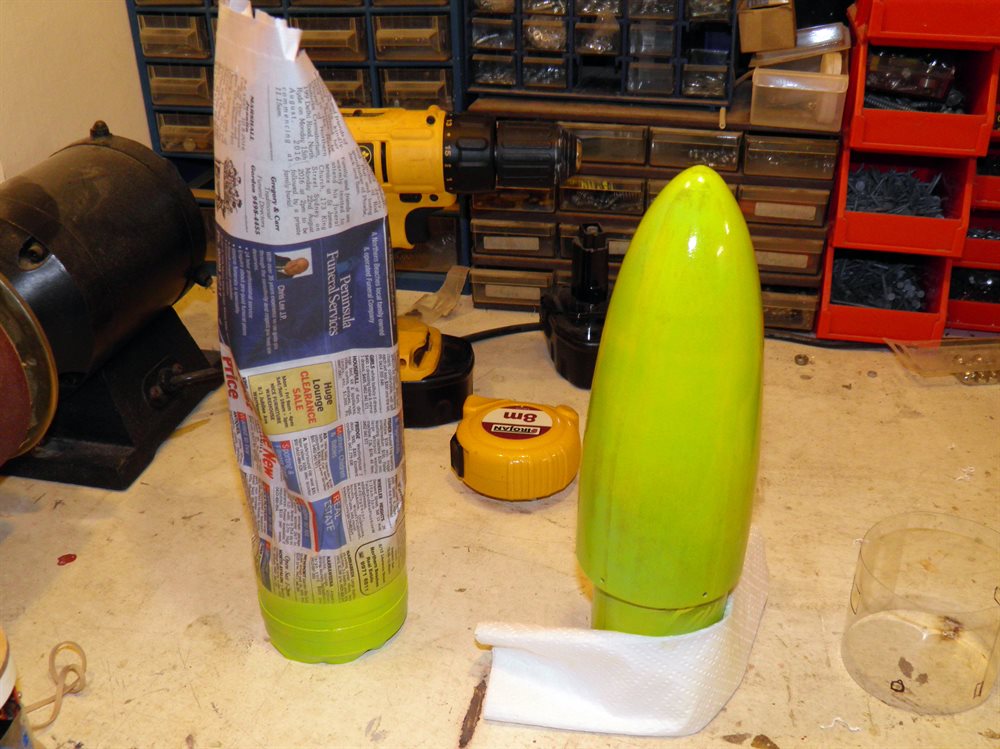
23 August 2016 - Lots of odd little jobs today, cutting out centering rings for the payload bay, as well as PVC rings for the coupler. We finally installed the StratoLogger software and hooked it up to the StratoLogger and got the two talking after installing the drivers. We glued first of the centering rings to the electronics package tube and also glued the PVC reinforcing rings in place. The nosecone bulkhead was also cut out from plywood and shaped to neatly fit inside the nosecone coupler.
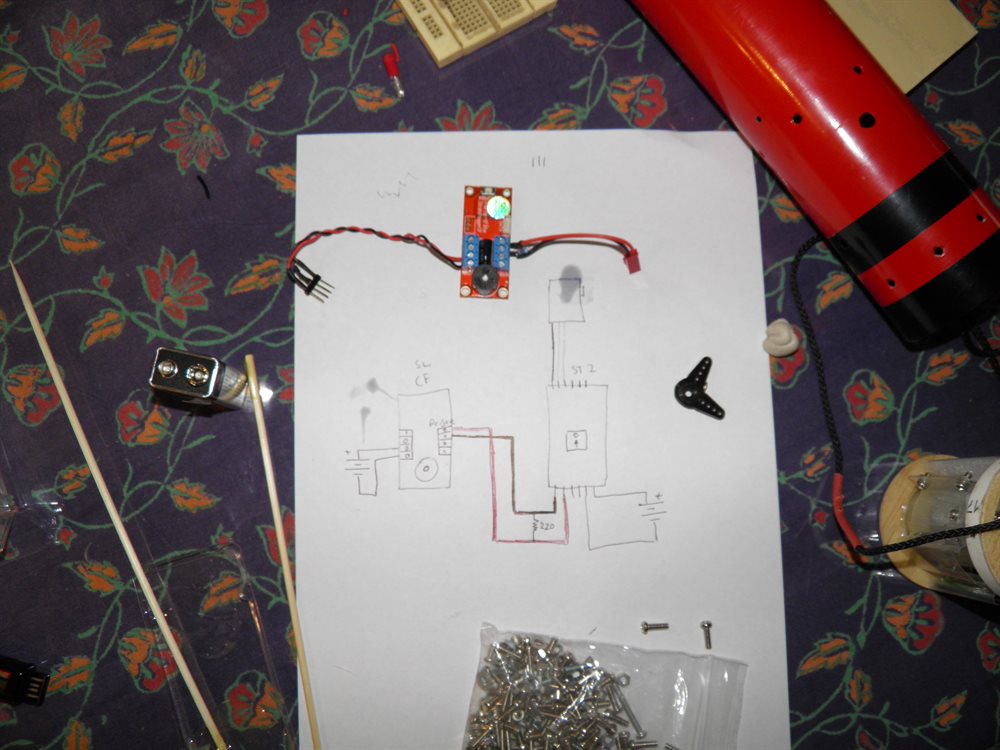
We also tested the StratoLogger with the Servo Timer. We had contacted Perfectflite earlier to ask how we can connect up to the trigger of the Servo Timer II as the StratoLogger continuously does a continuity check on the drogue ejection charge channel which would have continuously triggered the timer rather than only at apogee. They were very prompt with their reply and an easy fix. All we had to do was to put a 220 Ohm resistor across the output which would allow the StratoLogger to pass it's continuity check but would produce a voltage low enough that it wouldn't trigger the timer. This setup worked perfectly and we were able to activate the servo when using the test application for the StratoLogger.
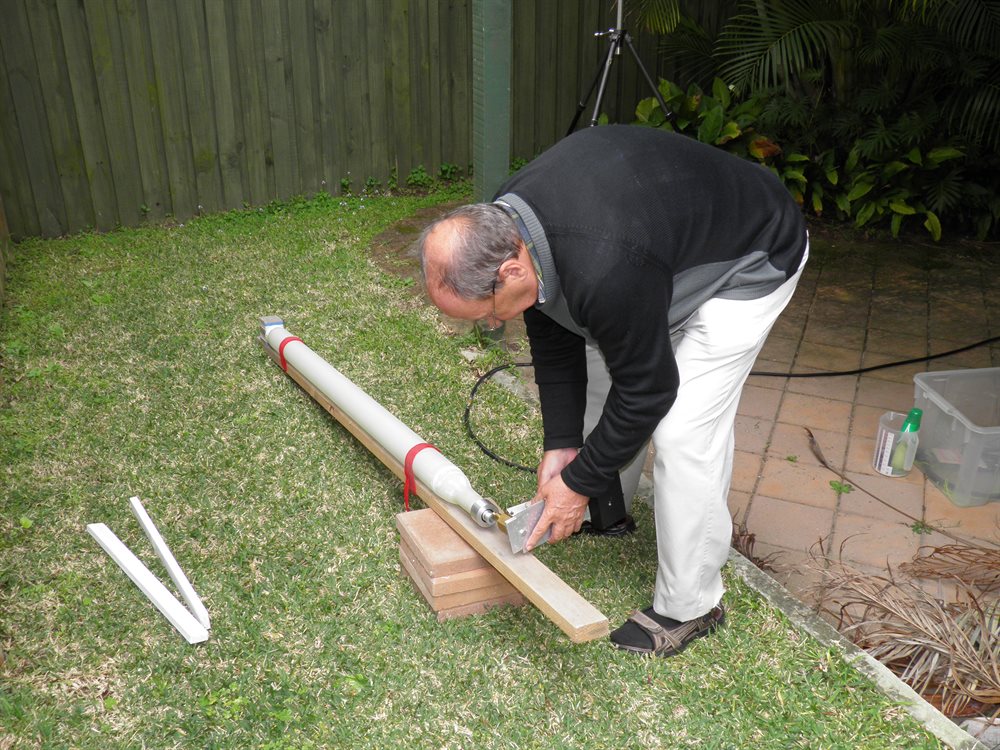
Today we mounted the servo motor into the central tube using 4x M3 bolts. We also modified a standard servo horn for the correct shape to hold the parachute in.
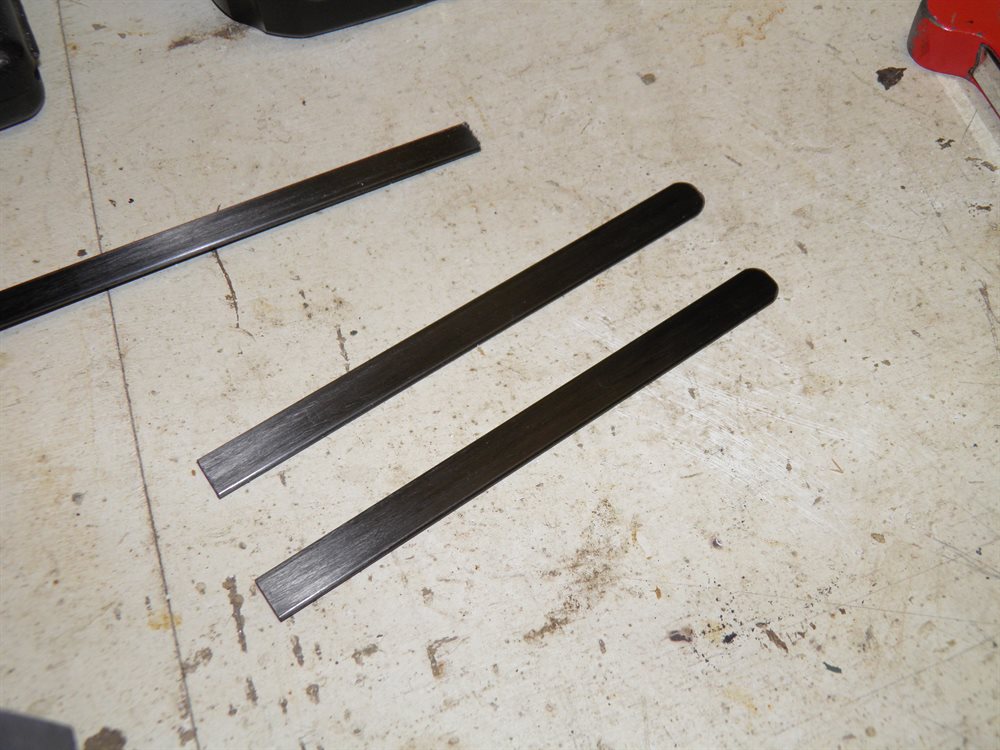
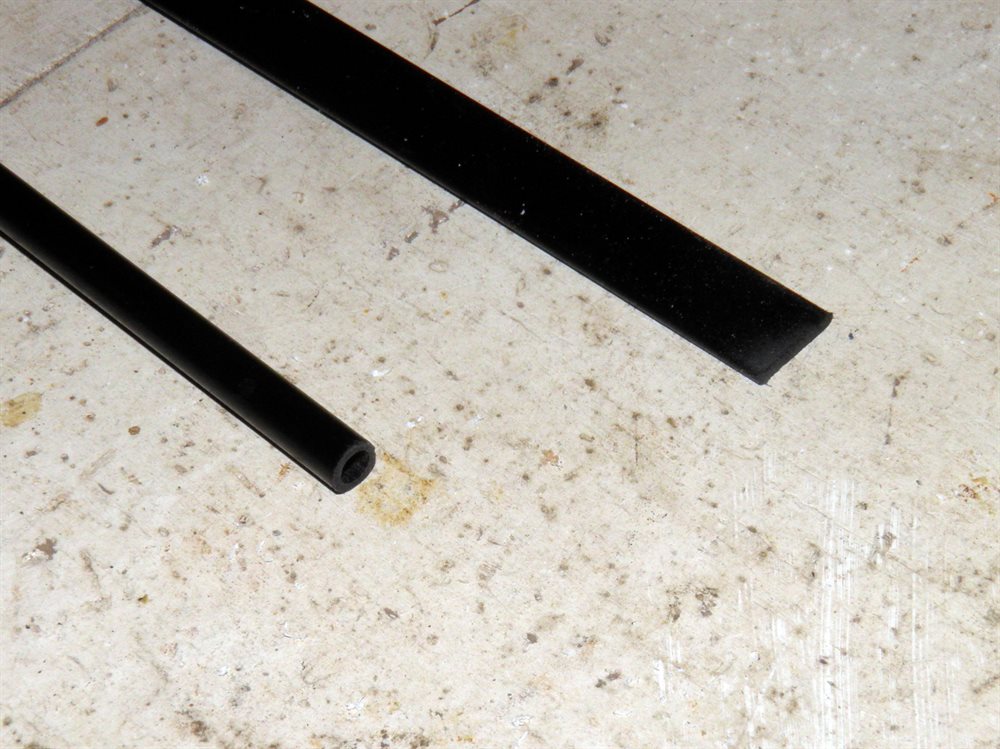
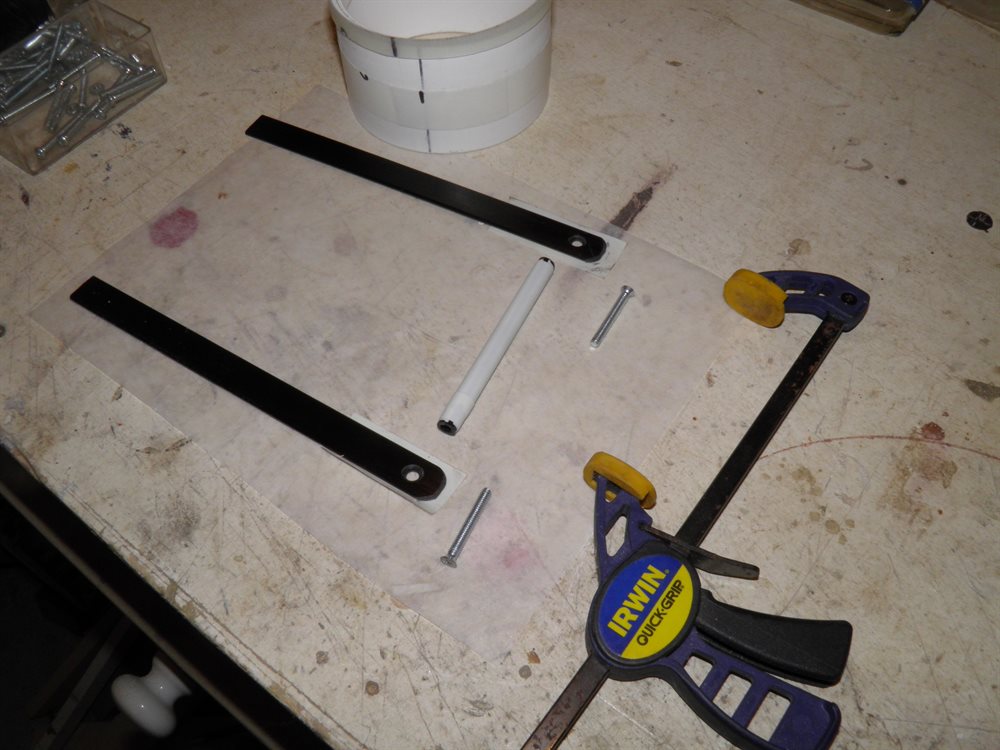
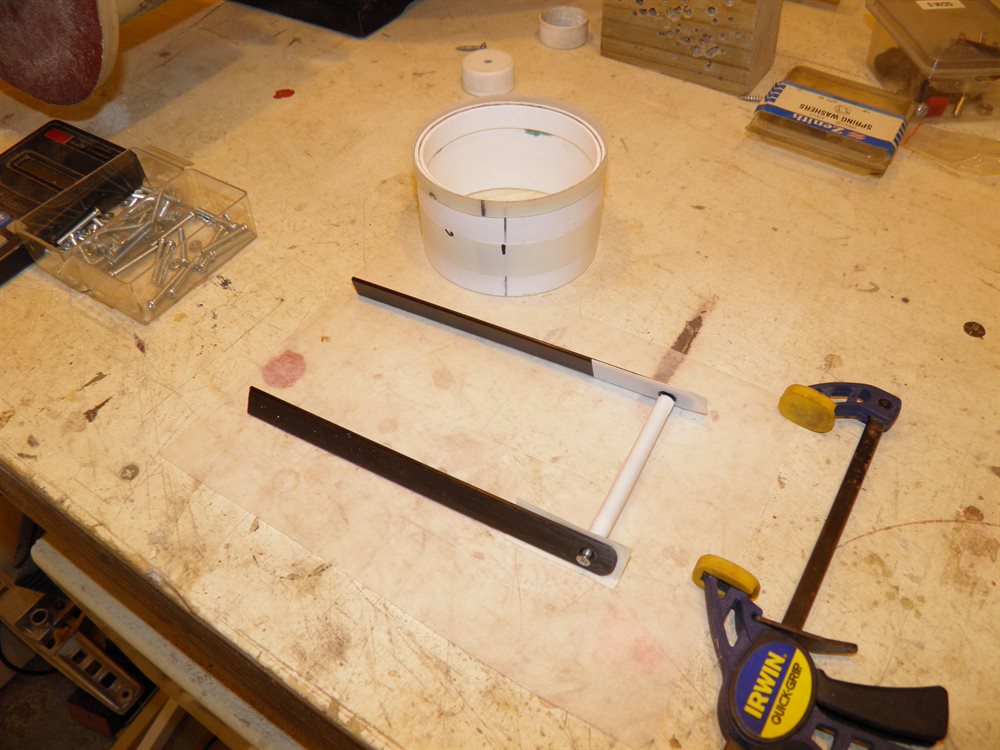
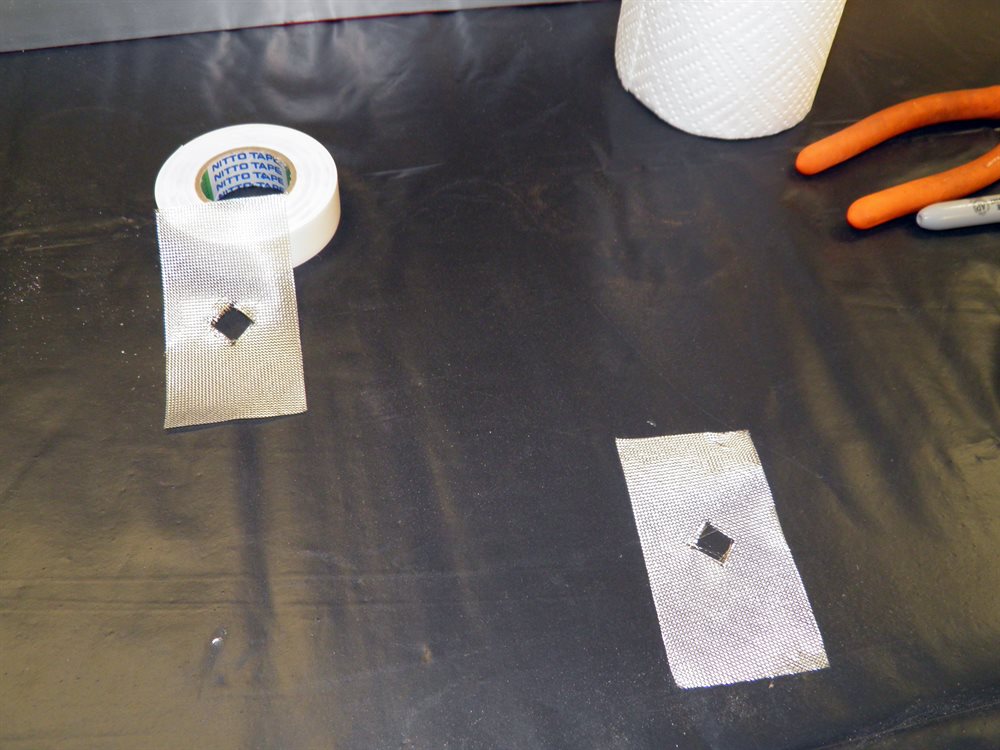
We also made the components for the parachute bracket today. These were made from a piece of carbon fiber flat bar 12x2 mm and a short length of Carbon fiber 6mm round bar. Counter sinking the holes was a bit of a pain in the flat bar as the tools just didn't want to cut, it was like they had graphite lubricant on them :)
We also chose the parachute today that the rocket was going to use so that we would keep the descent rate to around 5m/s. We ended up choosing the blue and yellow umbrella chute we've been using on Polaron G2. This was larger than the one used on Dark Shadow,
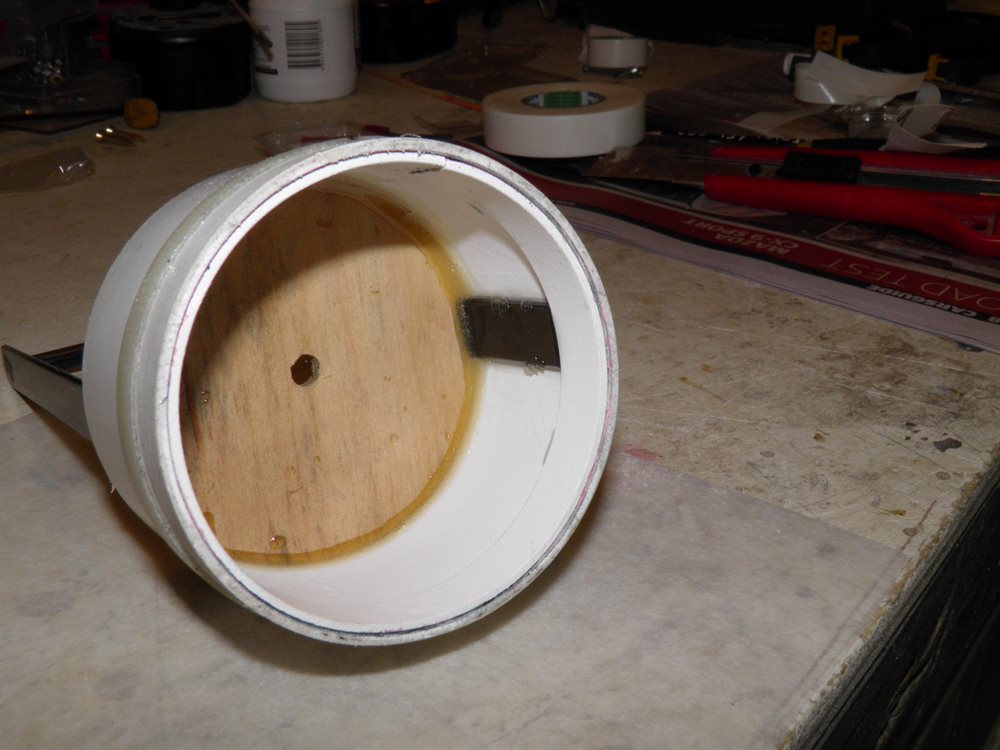
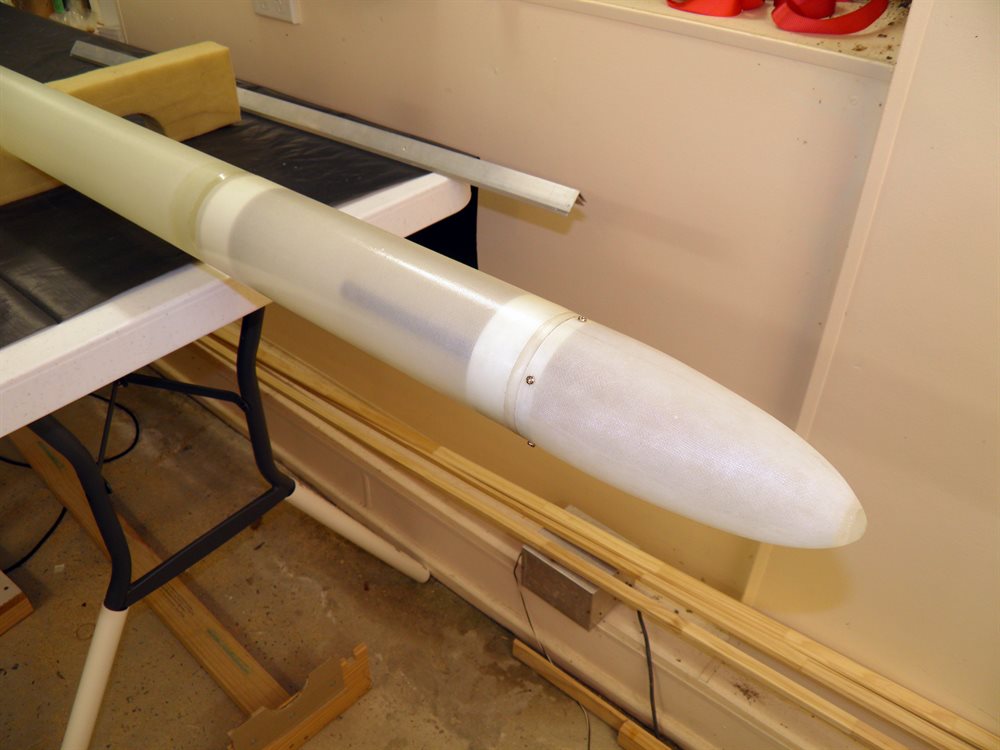
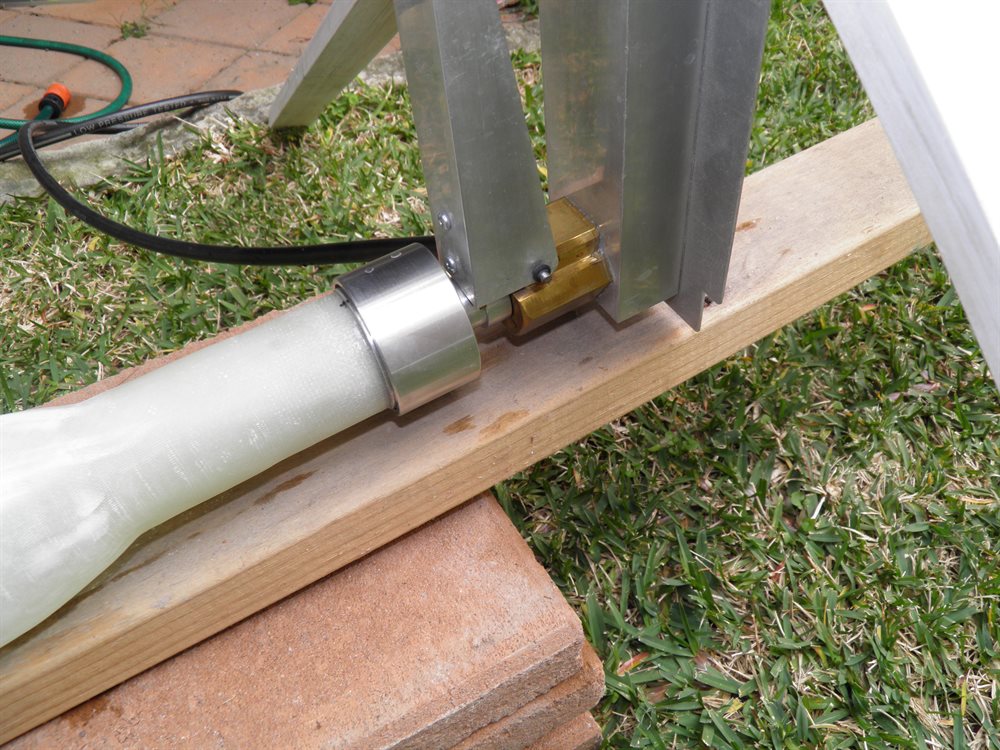
We glued the fiberglass ring to nosecone coupler with 24 hour epoxy. This ring will be the thrust ring that supports the nosecone assembly during acceleration.
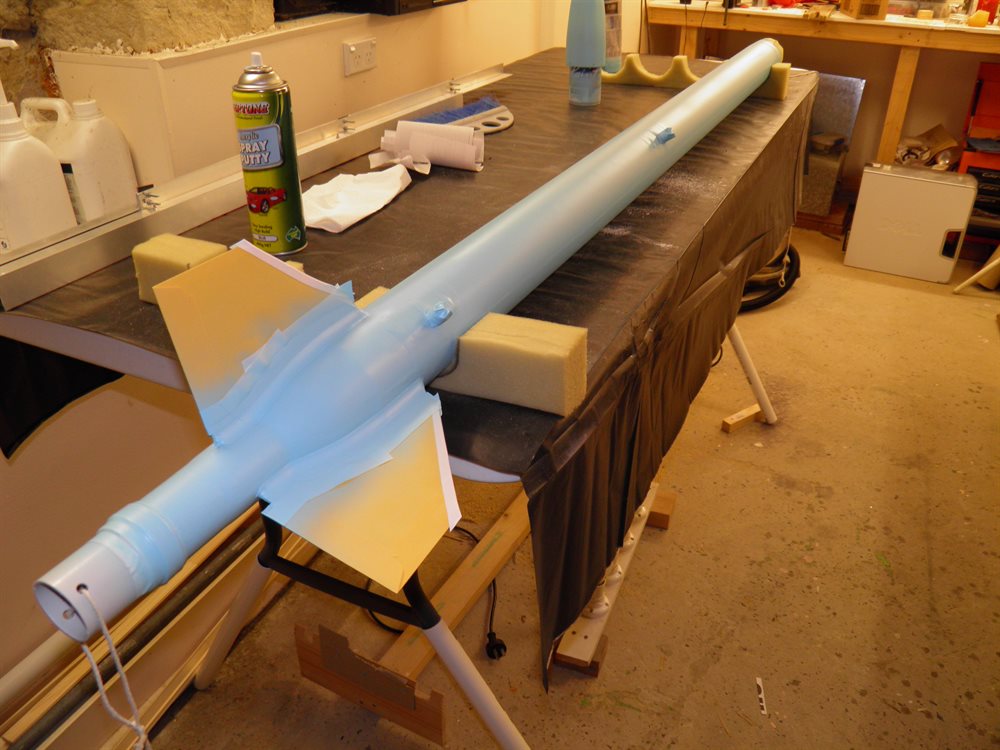
We also bought some spray putty that will be used to fill in the surface
of the rocket for a smoother finish. The StratoLogger
software was installed onto the little laptop as that is what we are going to be using at
the launch site. We wired it up to make sure we can download the data at the
launch site. We have also decided on the batteries for the electronics. We
are going to use two separate power supplies. Each supply is made out of two
100mAh 25C Lipo batteries. We wanted the altimeter to have its own clean
supply and the servo timer also its own as it is going to be driving a
larger servo motor.
We also wired up the electronics that we will fly aboard one of the rockets
to see if it all works properly before flying it in the actual rocket.
And finally we glued the parachute bracket together with epoxy.
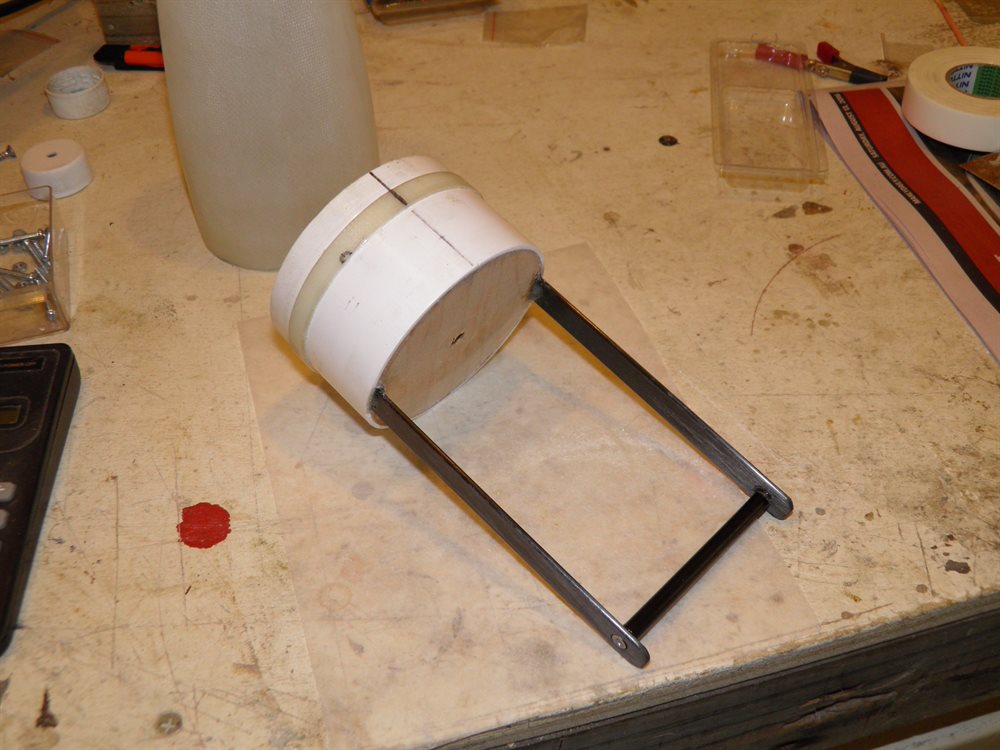
26 August 2016 - We attached the parachute bracket to the nosecone coupler today. The bracket was attached at the same time as the bulkhead with 24 hour epoxy.
The electronics was also put together to test it for flight on one of our water rockets. It was placed inside one of the fairings on Axion II along with a servo motor on the outside so it could be filmed by a camera located just above the servo.
27 August 2016 - We tested the electronics today on 3 separate flights of the Axion II rocket. The first 2 flights it looked like StratoLogger deployed way too late. Upon examining the data we found out that the altitude was really noisy with large spikes. Guessing that it was probably due to direct sunlight hitting the sensor, we counted four spikes on the way up. Which seemed to match the 4 rotations the rocket did on ascent as we could see from the video. Although the sensor is on the bottom of the StratoLogger, because it was mounted in a clear fairing sunlight could have gotten under it. We covered the fairing with black electrical tape and flew the rocket a third time. This time the servo activated right at apogee and the altitude plot was a lot cleaner. Lesson learnt. The electronics looks like it is good to go for the launch.
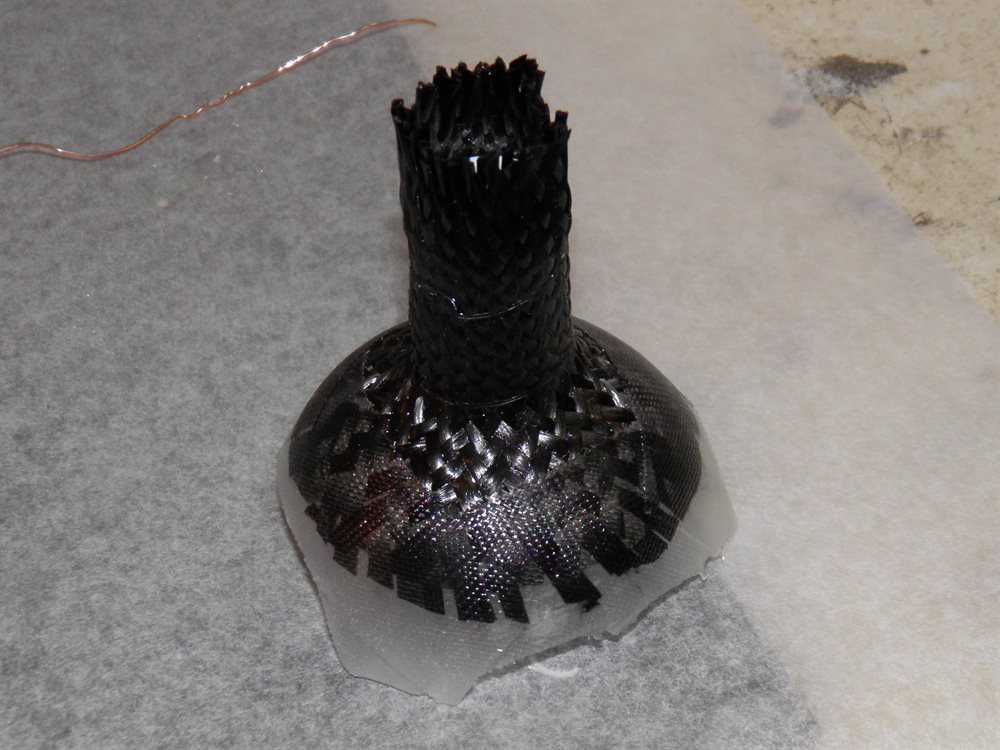
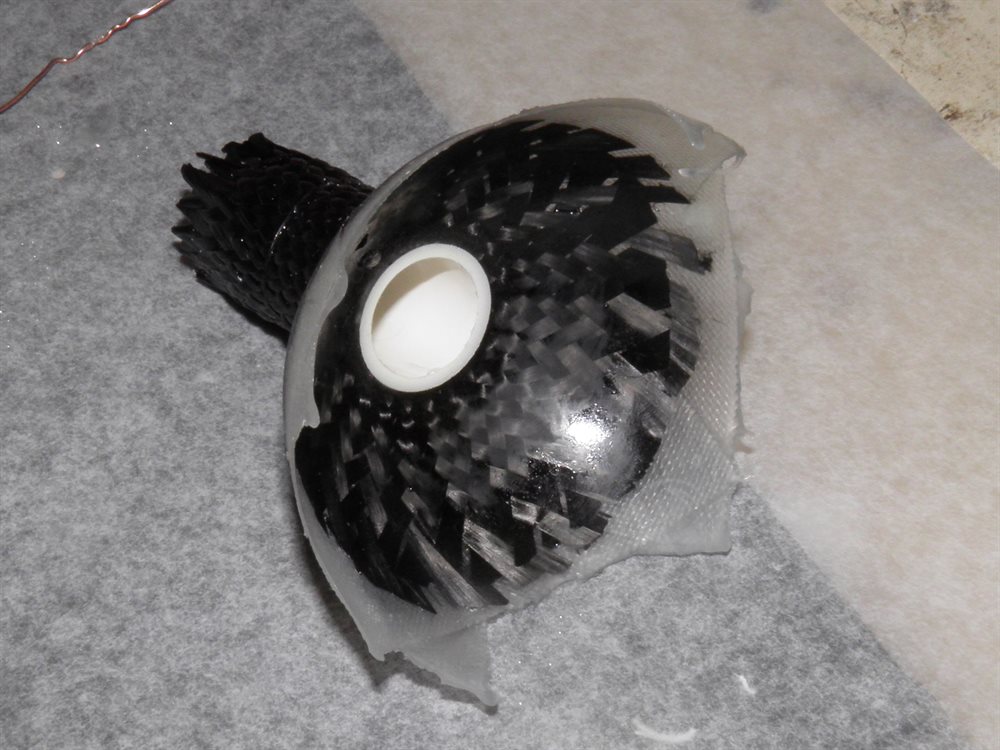
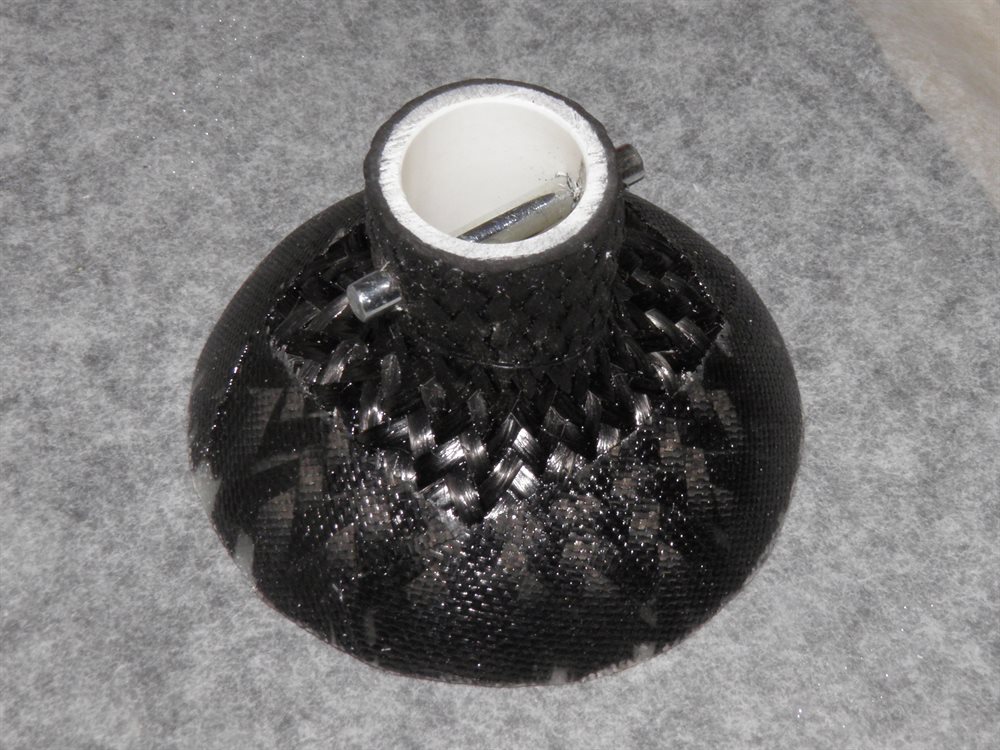
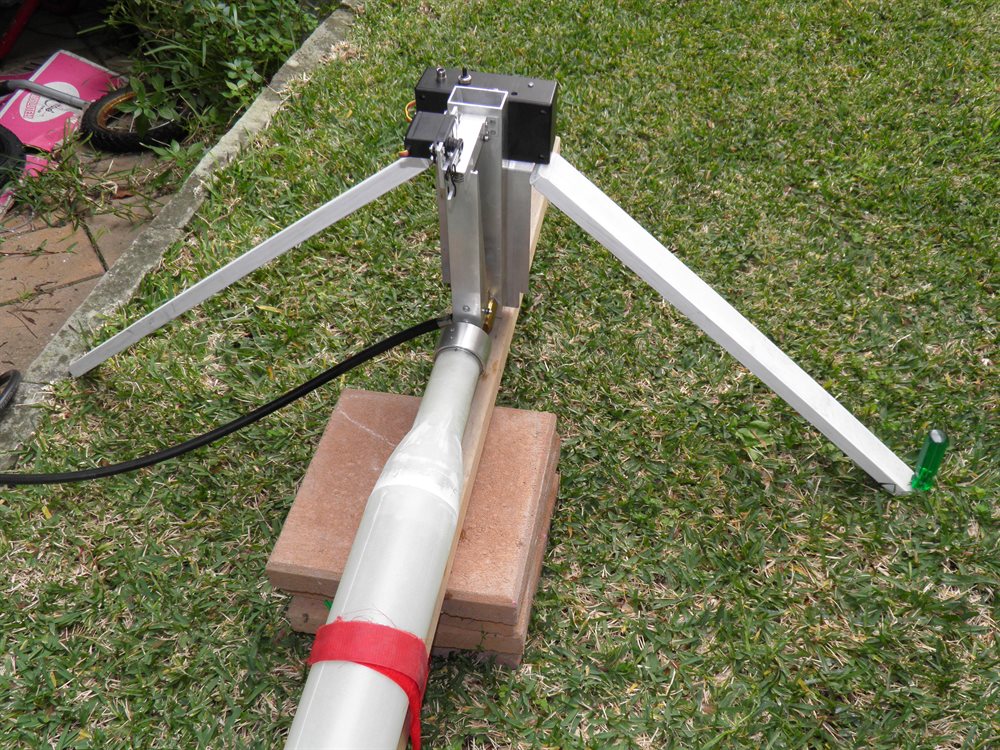
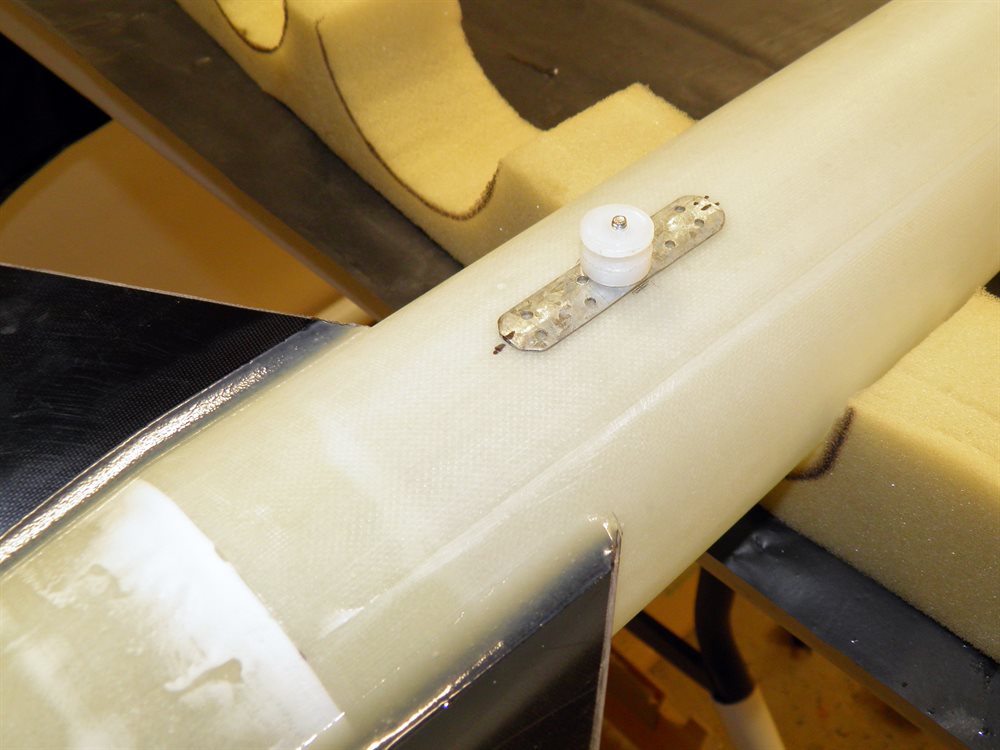
The shock cord attachment point was made from a piece of PVC pipe and a carbon fiber sleeve. This was just made on top of the forward closure plug so that it could be glued to the top of the pressure chamber.
5 holes were made and tapped for the nosecone where it attaches to the nosecone coupling.
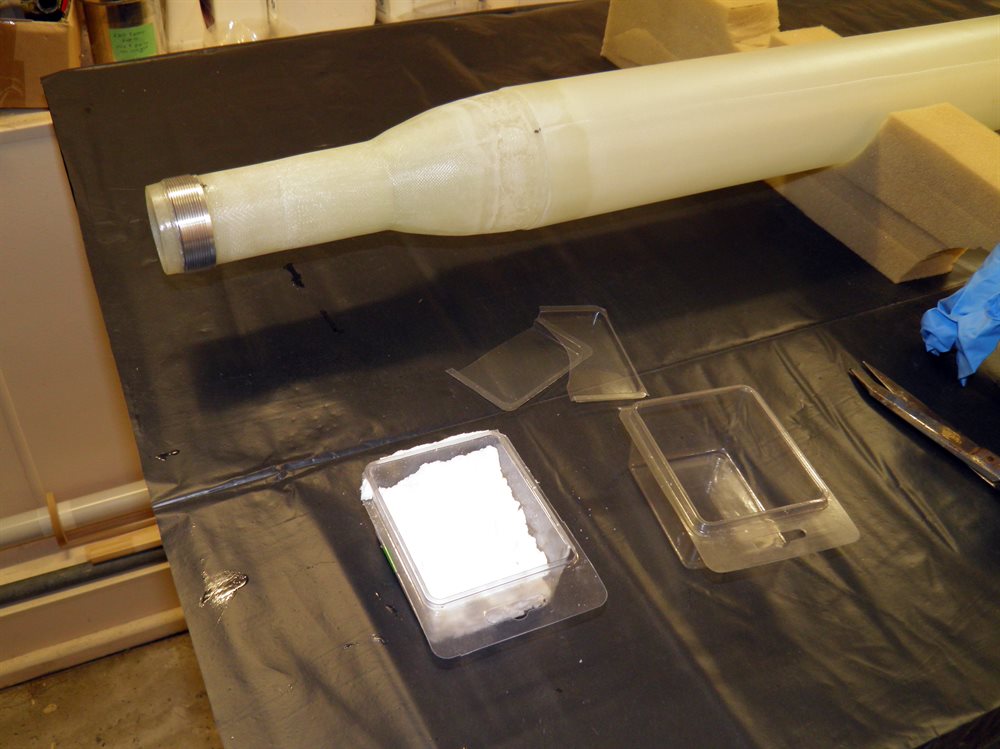
The PVC payload bay coupler was tacked on to the pressure chamber with 5 min epoxy. The alignment jig was used to hold it in place while the glue set. We then stood the rocket up and poured the 24 hour epoxy into it to fill in the gap between the ring and the forward closure.

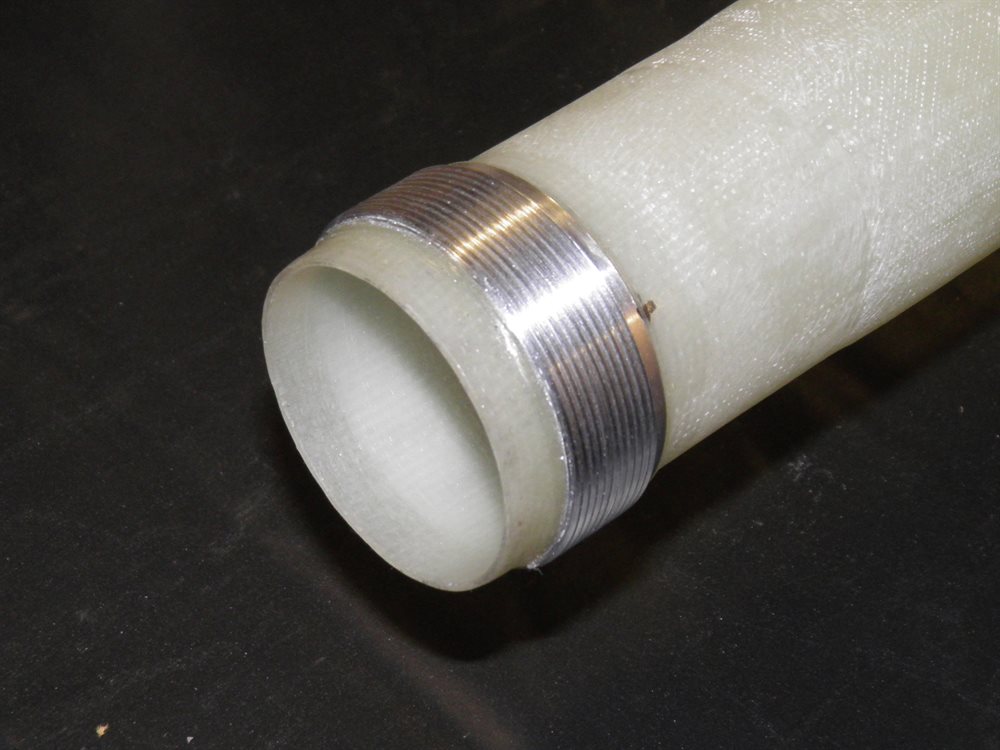
28 August 2016 - We attached the retainer thread to the MMT with 24 hour epoxy. A number of strands of fiberglass were added next to the edge of the thread to help prevent it from slipping down the MMT when under pressure.
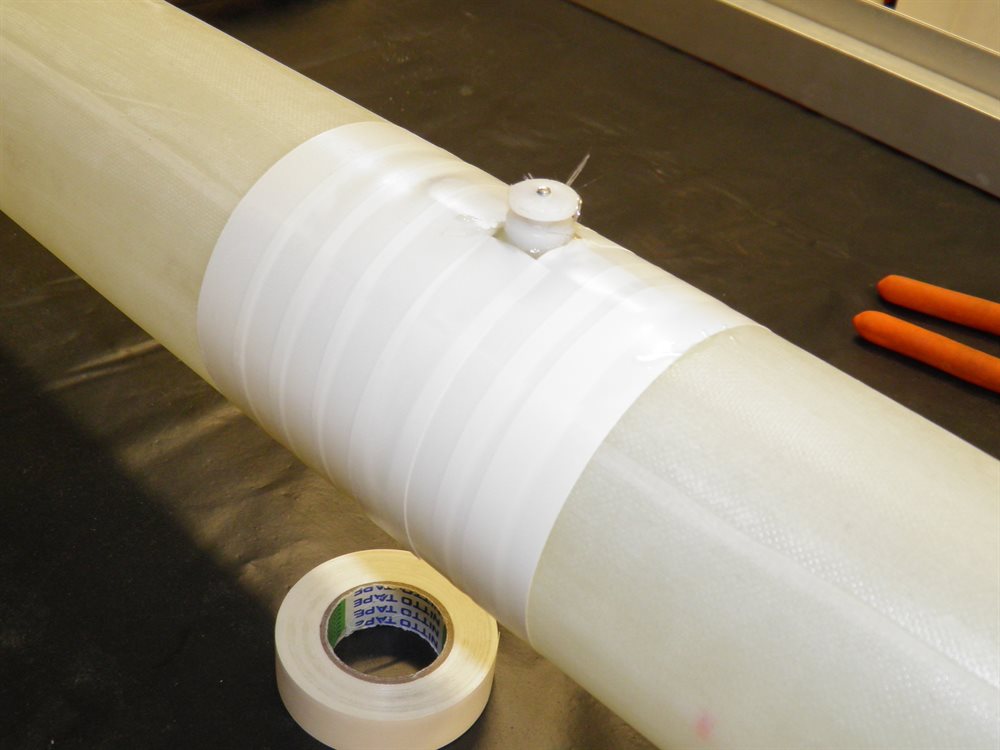
A steel pin was added to the shock cord mount that can be pulled out so the parachute can be easily disconnected. We then proceeded to glue the shock cord mount to the forward closure again with 24 hour epoxy.
29 August 2016 - The payload bay tube was cut to length so that there was some clearance between the bottom of the bracket and the top of the electronics payload section. This is where the shock cord will be packed.
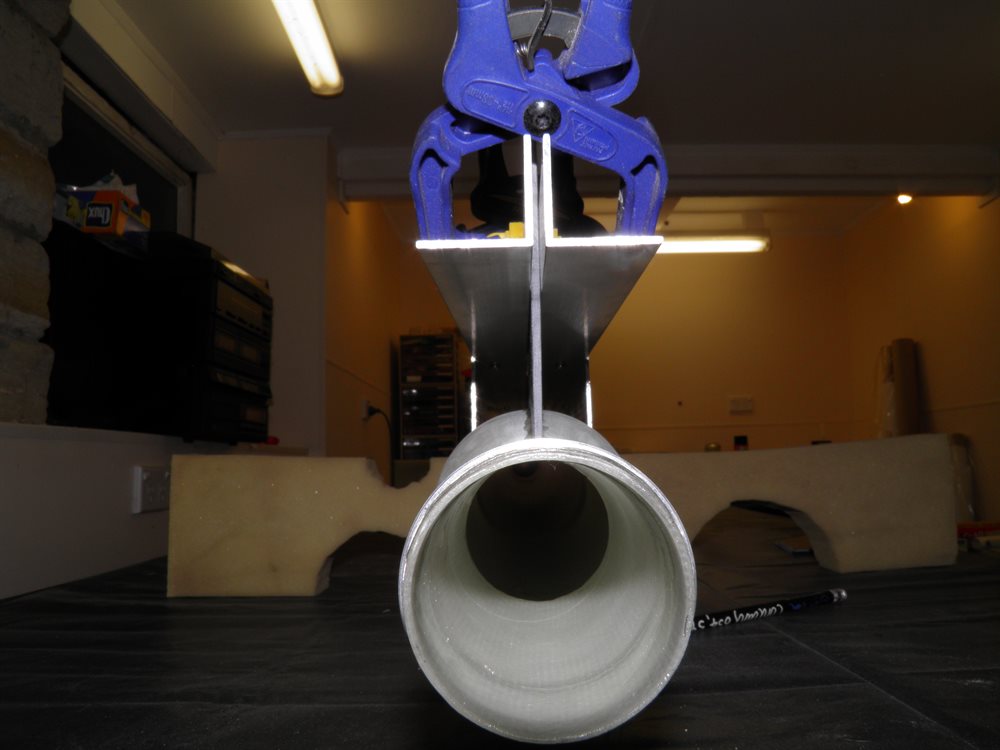
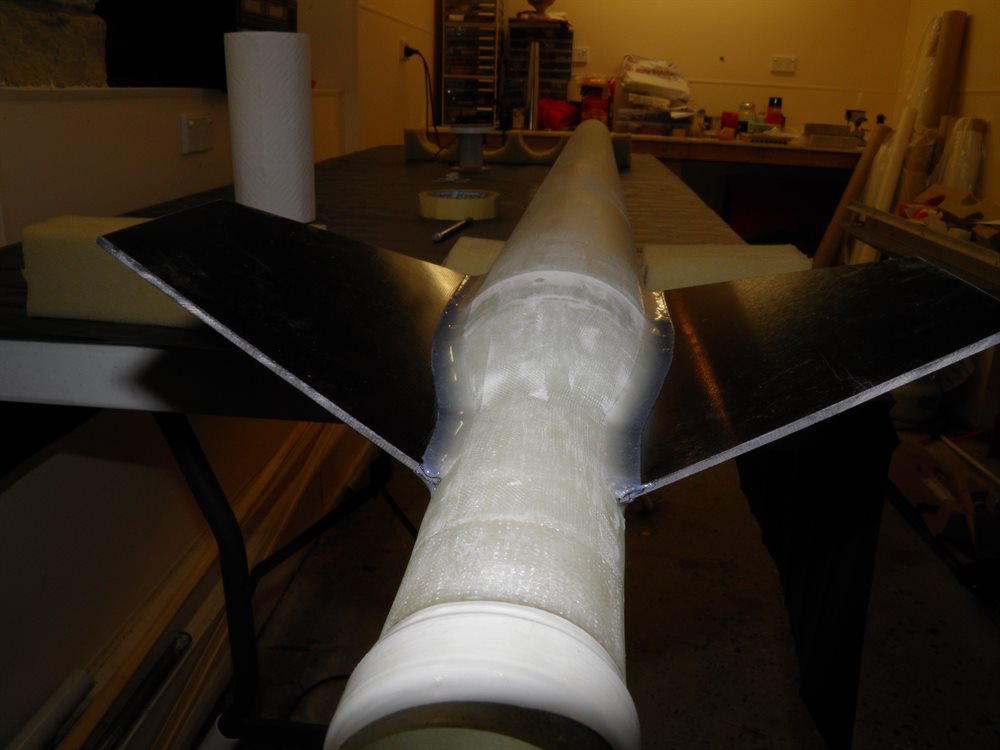
A microbaloon/epoxy mix was added to the transition between the tailcone and the body tube. The mix was made us so it was as thick as toothpaste.
The PET electronics pockets were made. These pockets hold all the electronic components but can be removed for testing or re-using the individual components in other projects.
The top rings were also glued together.
31 August 2016 - The pressure chamber was hydro tested to 205psi. We didn't want to blow it up before having a chance to fly it at least once. The test went well with no leaks. We will pressure test it as we go and fill it to higher pressures during launches.
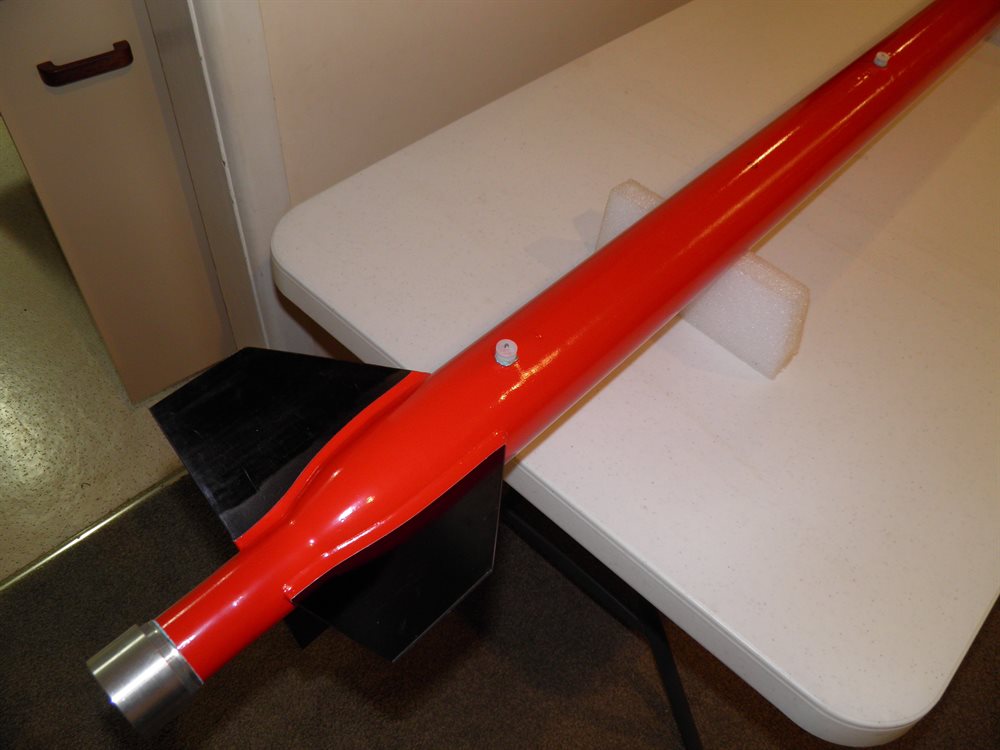
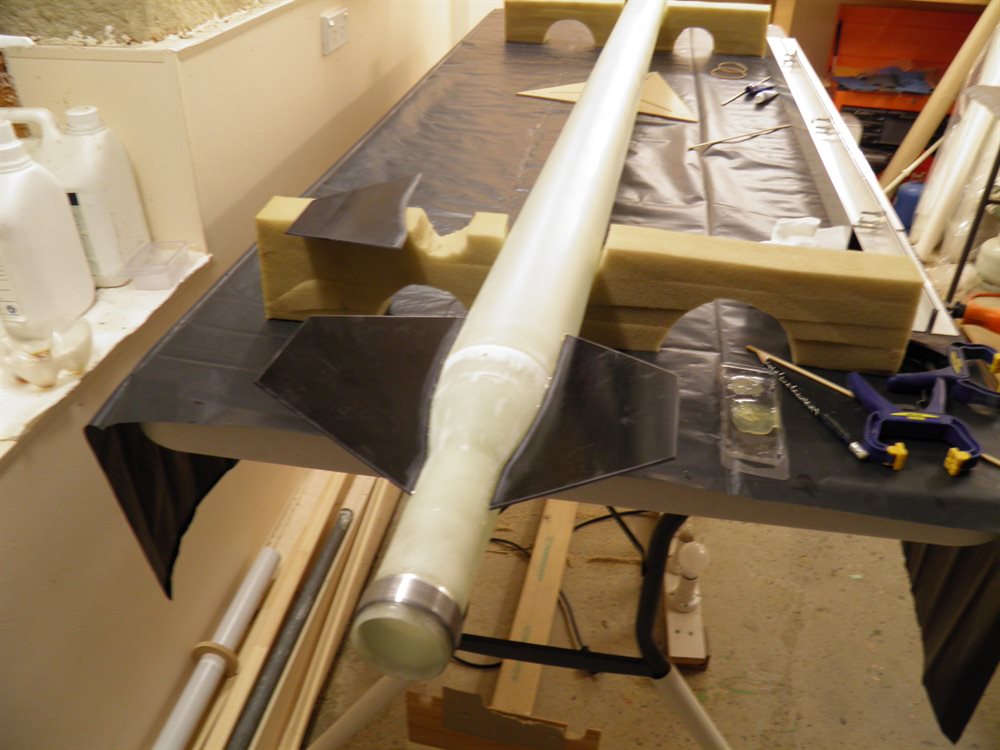
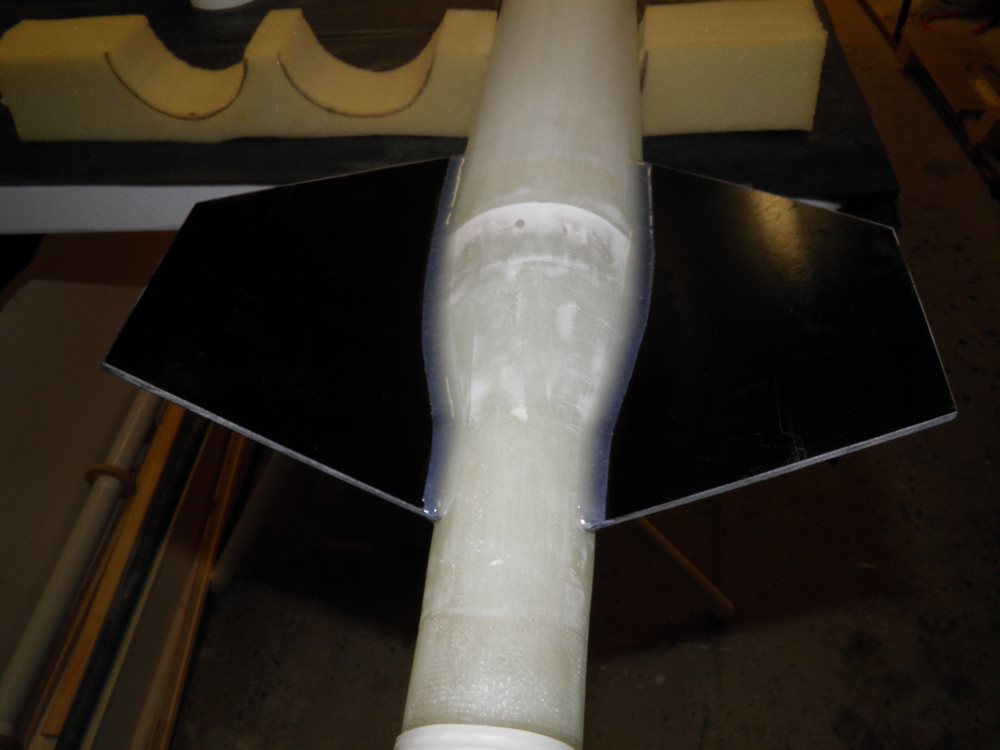
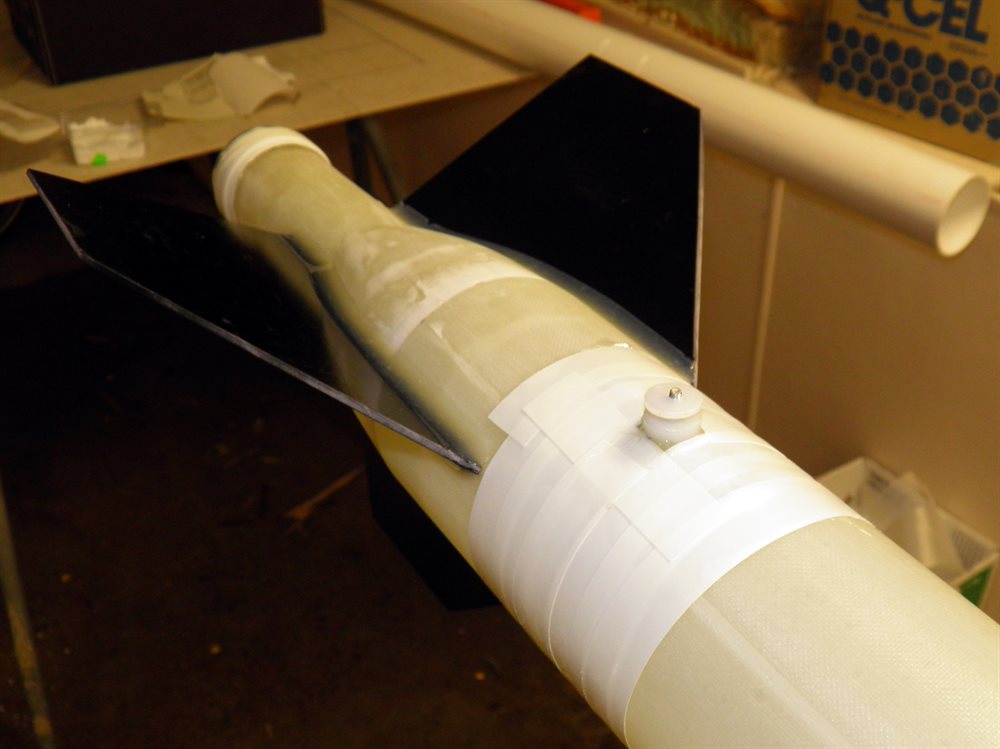
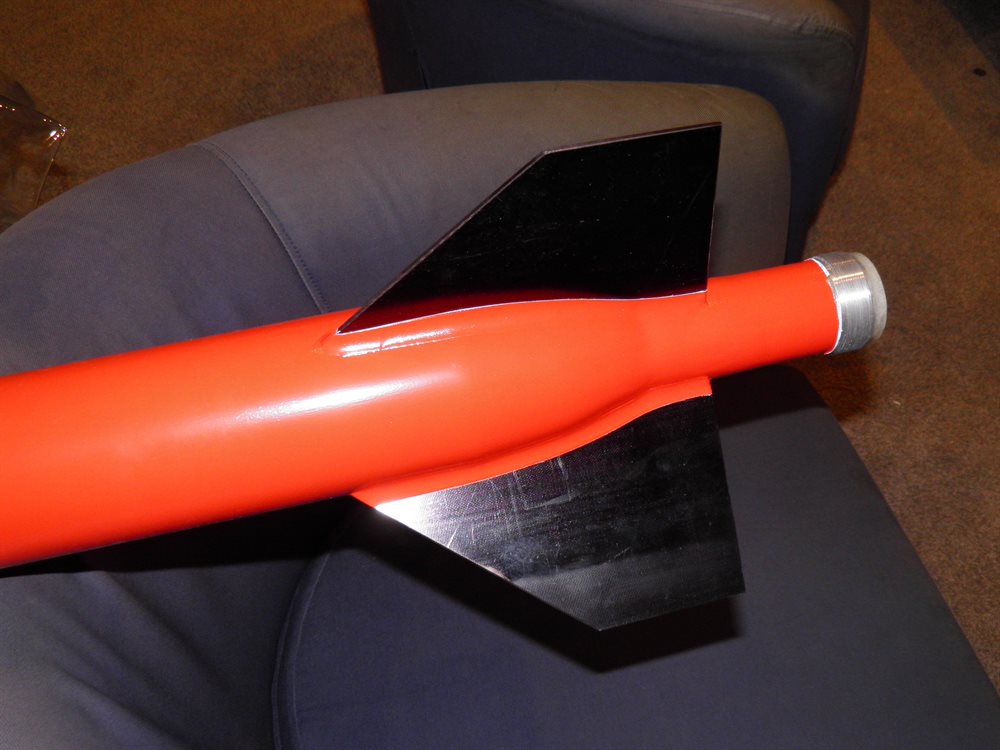
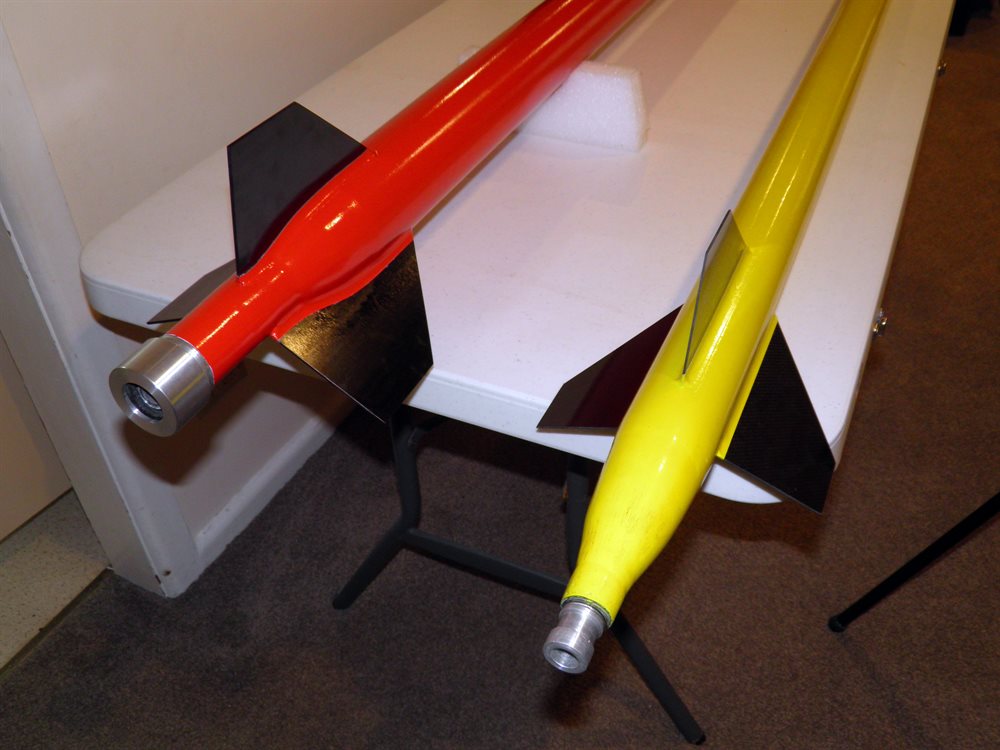
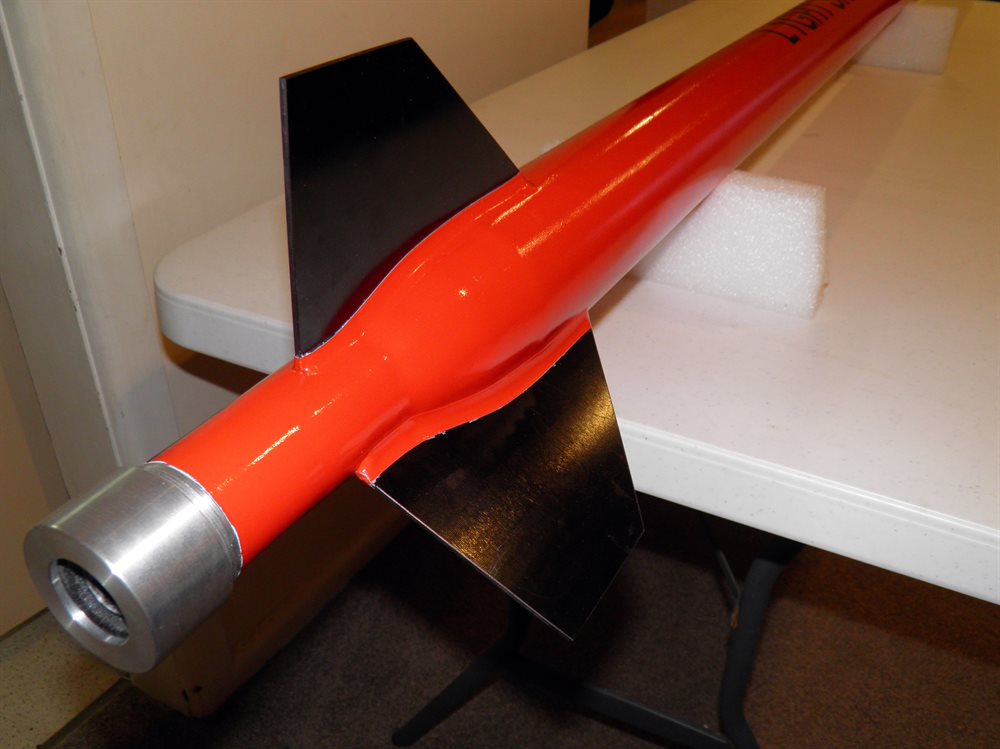
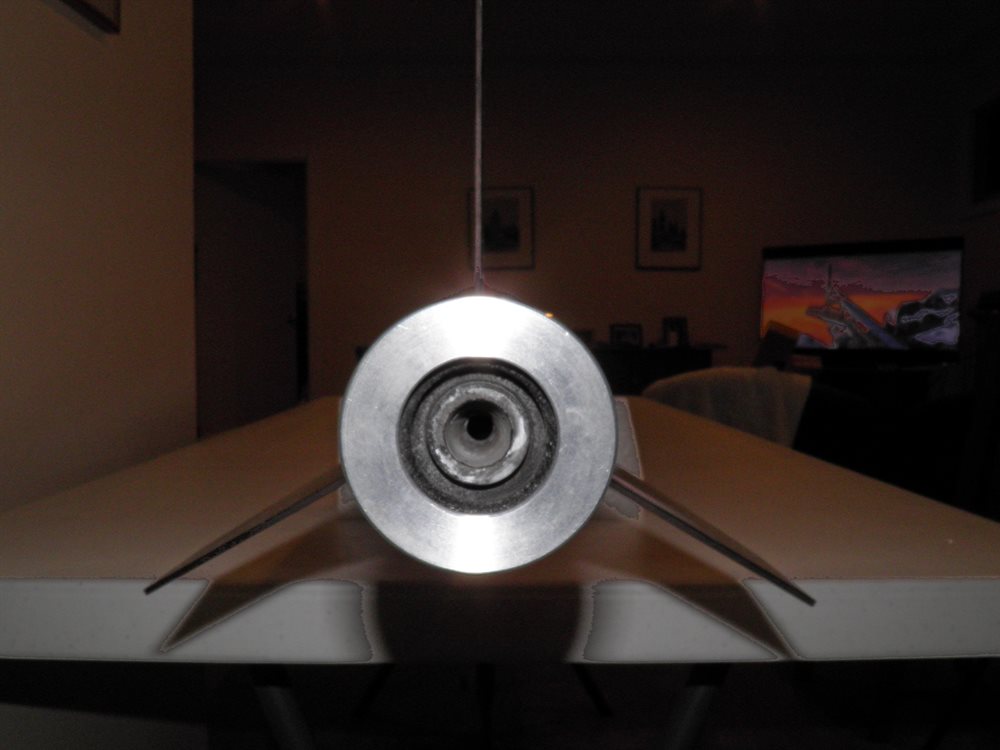
Fin #1 was attached with 24 hour epoxy using the fin alignment jig. Dad also made up the rail buttons and their support brackets. The rail buttons were just machined out of Nylon with a thread cut in the middle so they could be screwed on.
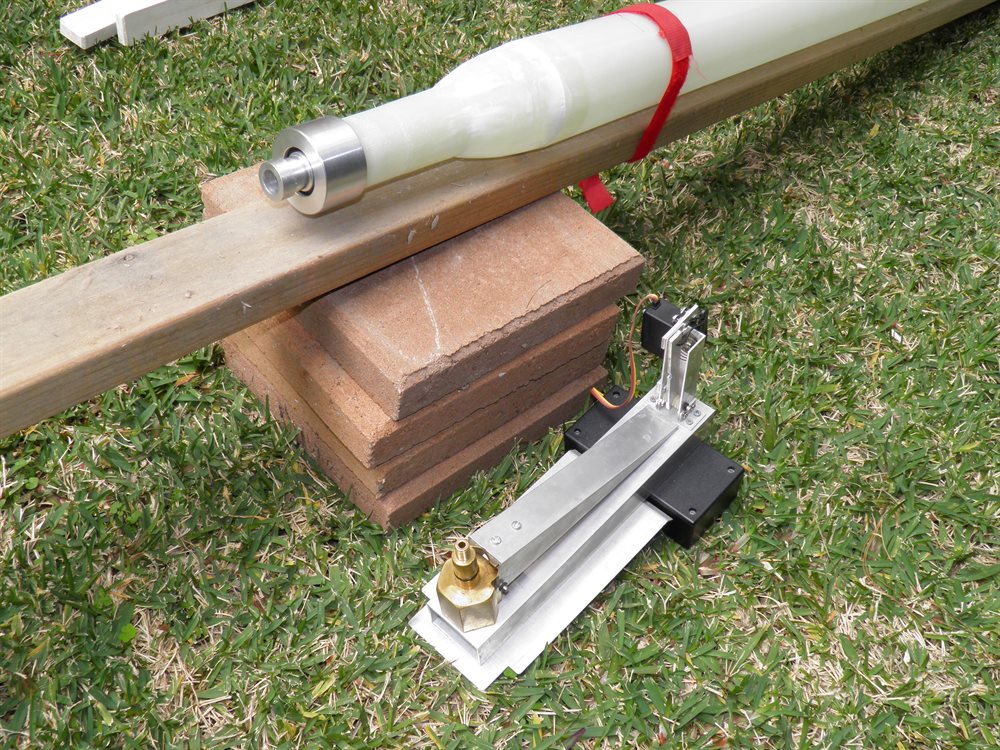
The deployment mechanism was tested for the first time with a couple of #32 rubber bands on each side. On the very first test it released but failed to eject the nosecone, but this was traced to still damp paint making the nosecone shoulder sticky. Once cleaned up, it worked well.


1 September 2016 - Fins #2 and #3 were tacked on with epoxy. One was done in the morning, and the other one in the evening.
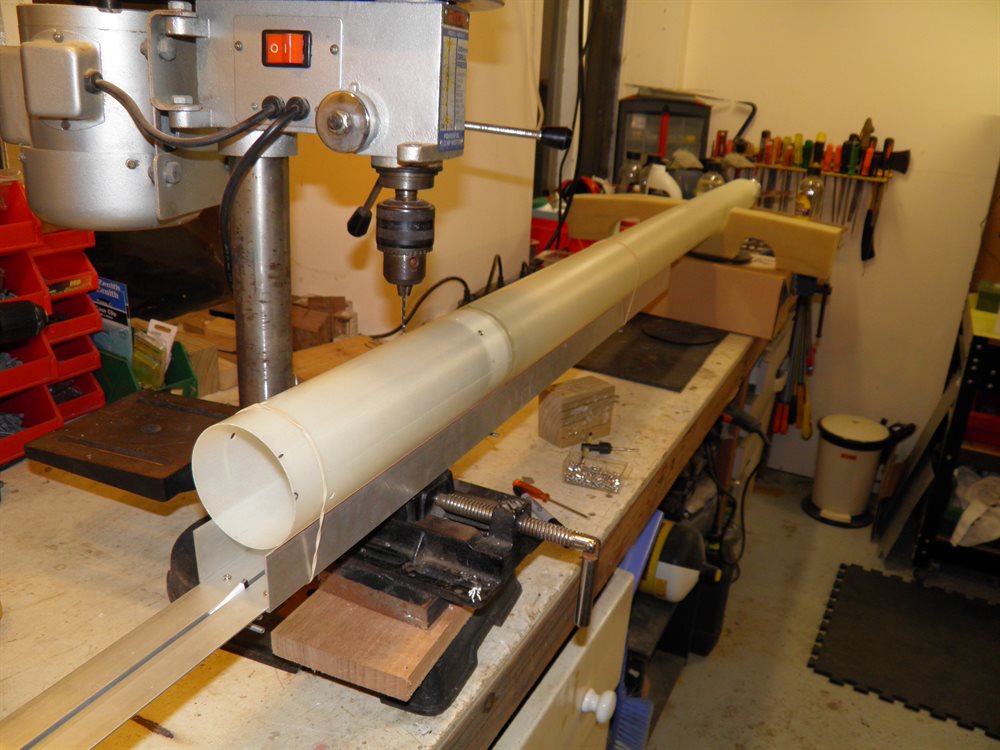
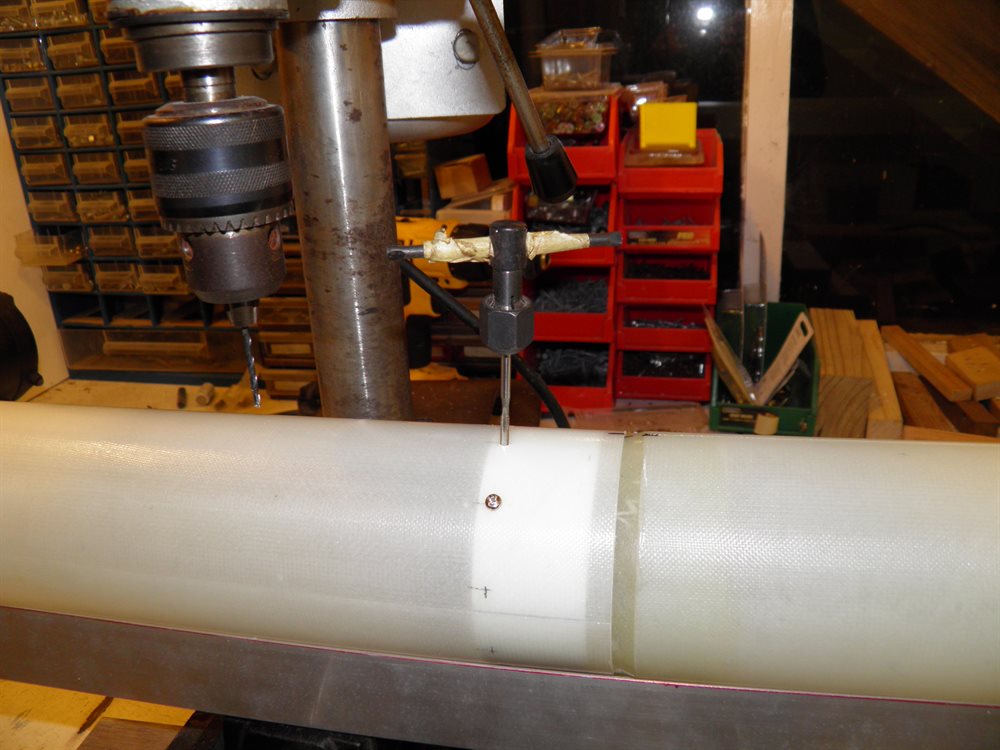
10 M3 holes were tapped for the payload bay tube. This is what carries the entire weight of the payload and nosecone under acceleration.
2 September 2016 - The rocket was sanded with 120 grit sandpaper and we masked off the fins ready for the fillets. We had to use masking tape on the fiberglass body because the electrical tape doesn't stick to it very well. We used electrical tape on the fin surfaces.
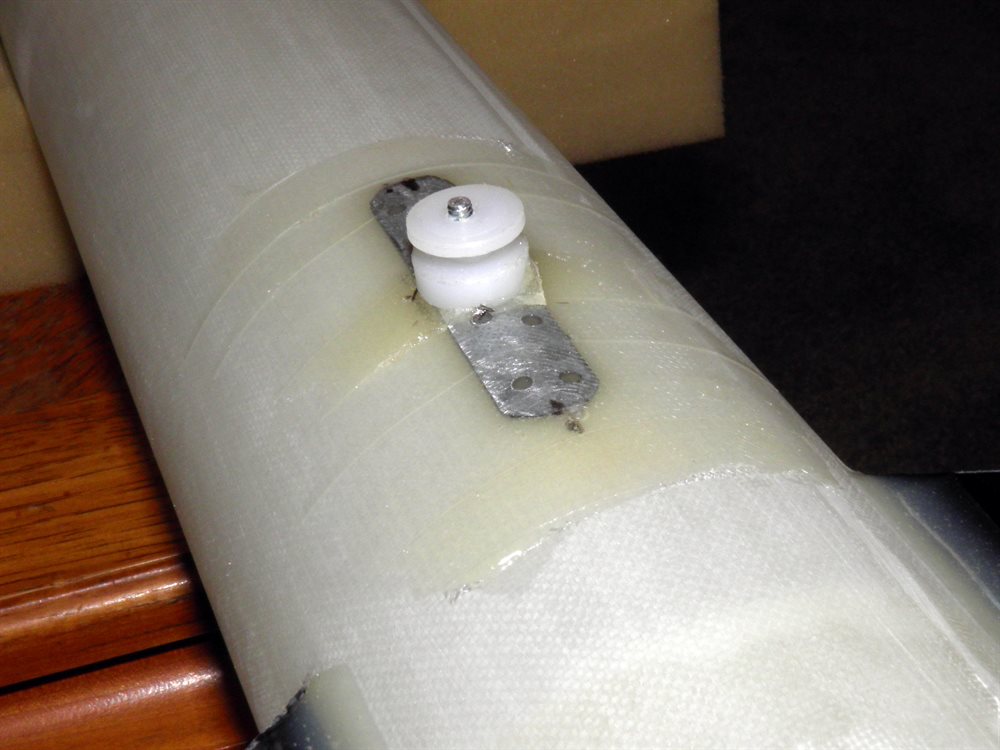
The rail buttons were also attached to the body tube with epoxy and a small patch of 85gsm cloth was placed over the top and the whole thing was sealed with electrical tape to give a smooth finish.
The servo motor was permanently mounted inside the fiberglass tube and the top electronics ring was glued to the top of the tube.
3 September 2016 - Before painting we masked off the fins, forward section and rail buttons with electrical tape. We then proceeded to spray the whole rocket with spray putty which helps to fill in the little cloth divots left behind after fiberglassing. The pressure chamber ended up with about 5 coats of the putty.
When it dried, most of it was then sanded off again to leave a much smoother finish.
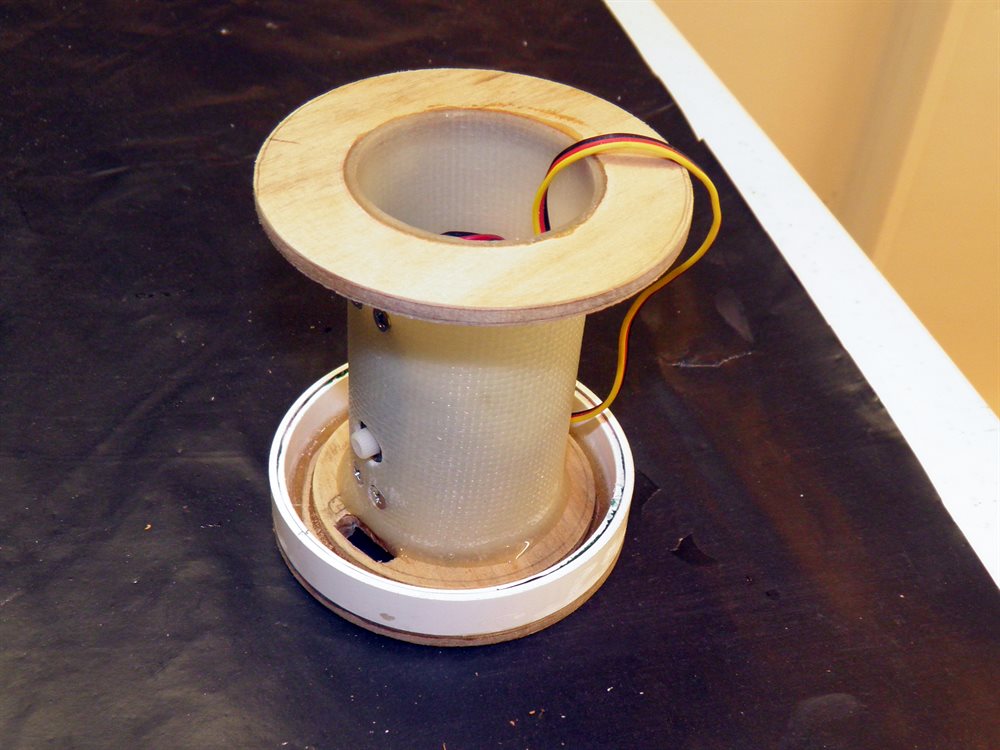
We also finished the electronics package that fits into the payload bay. A small DPDT slide switch was mounted that will turn everything on and off.
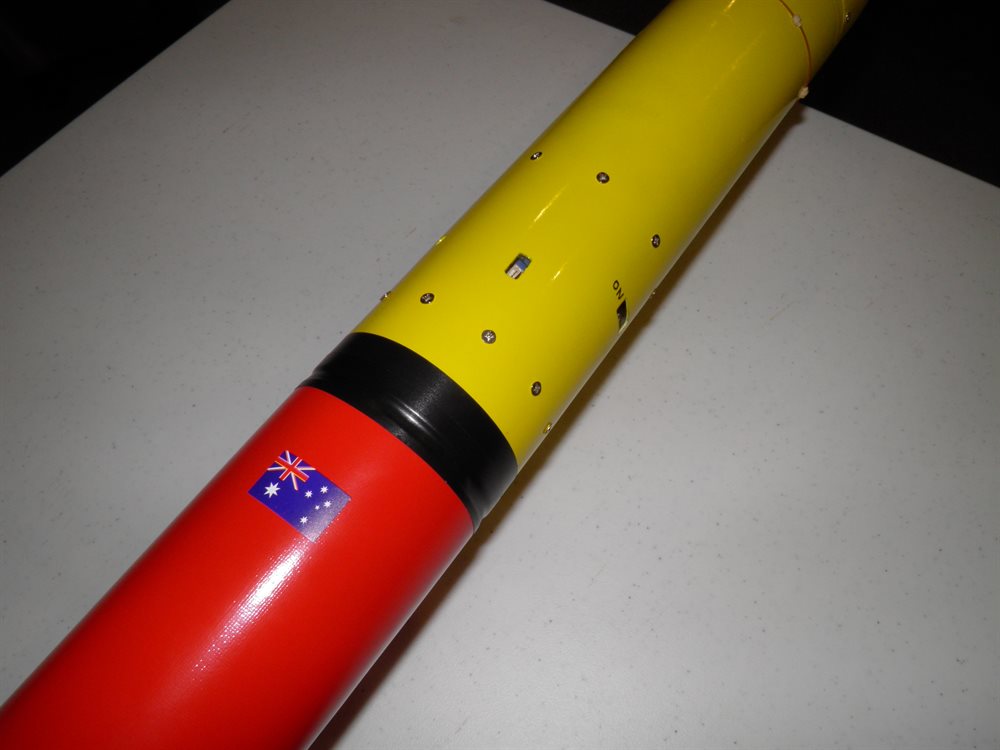
We also mounted the electronics package in the payload bay and tapped 8 holes around the outside to secure it to the payload tube.

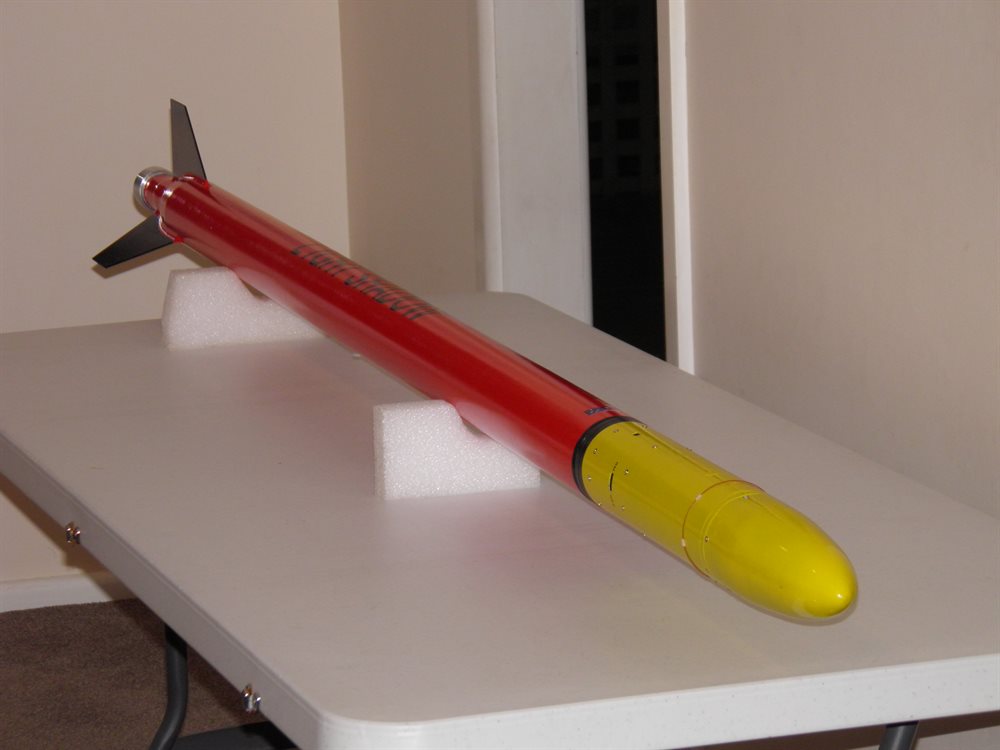
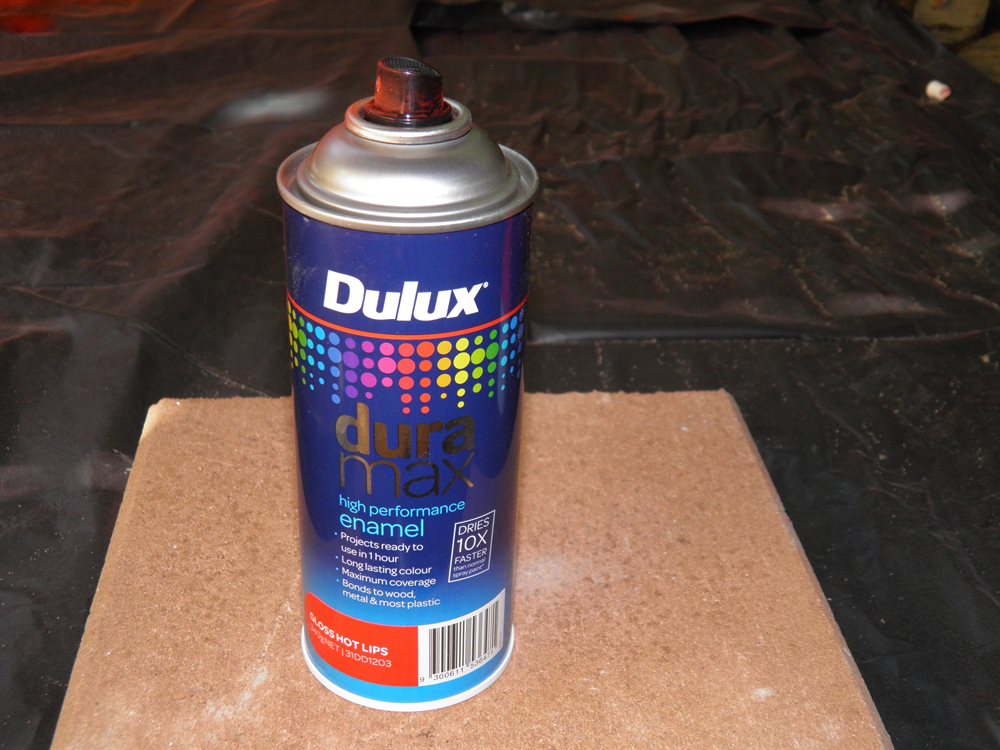
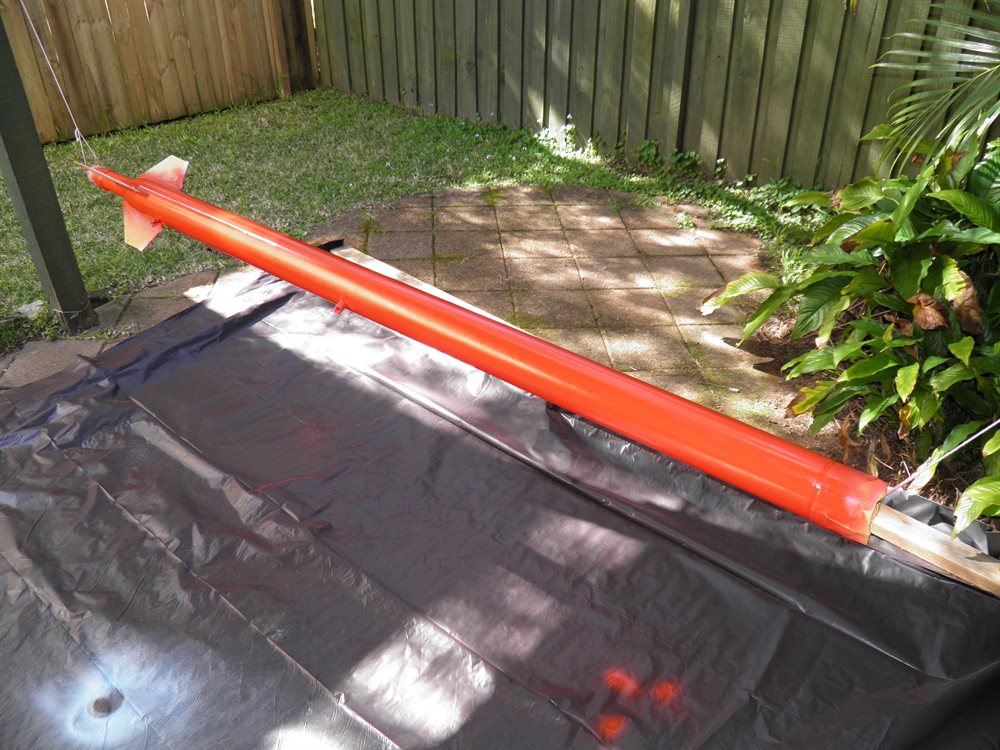
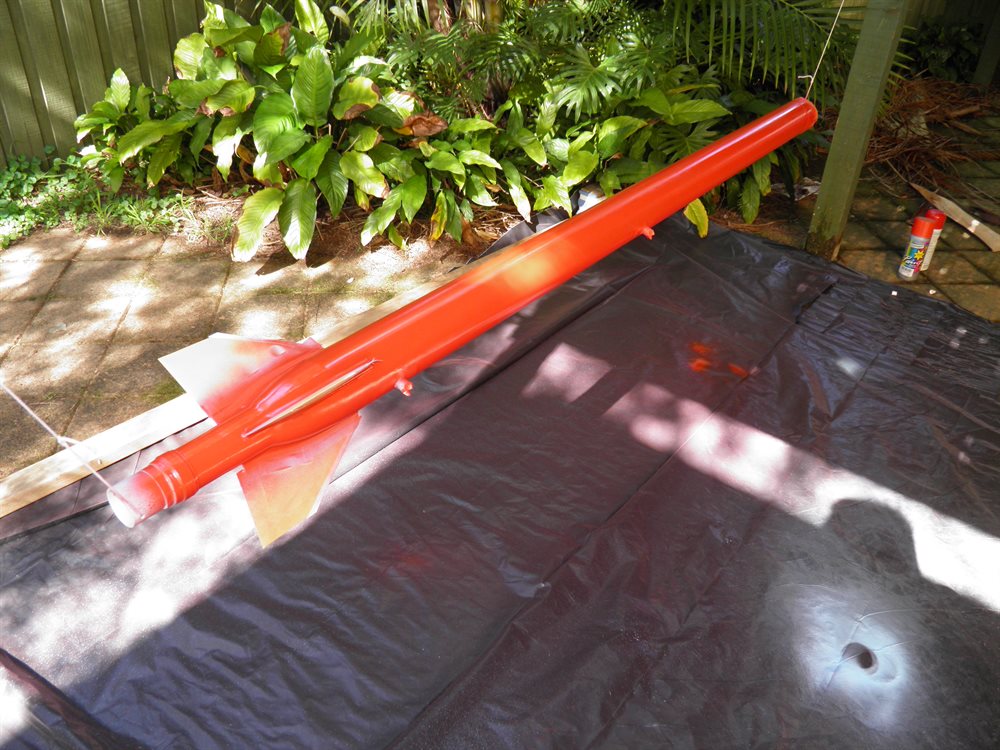
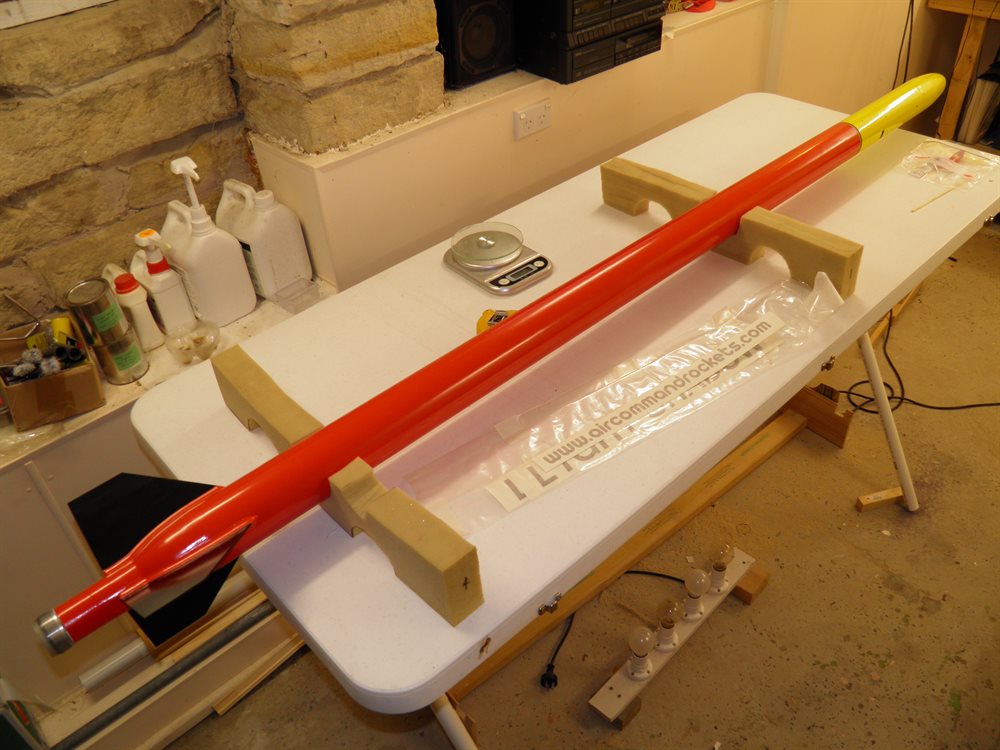
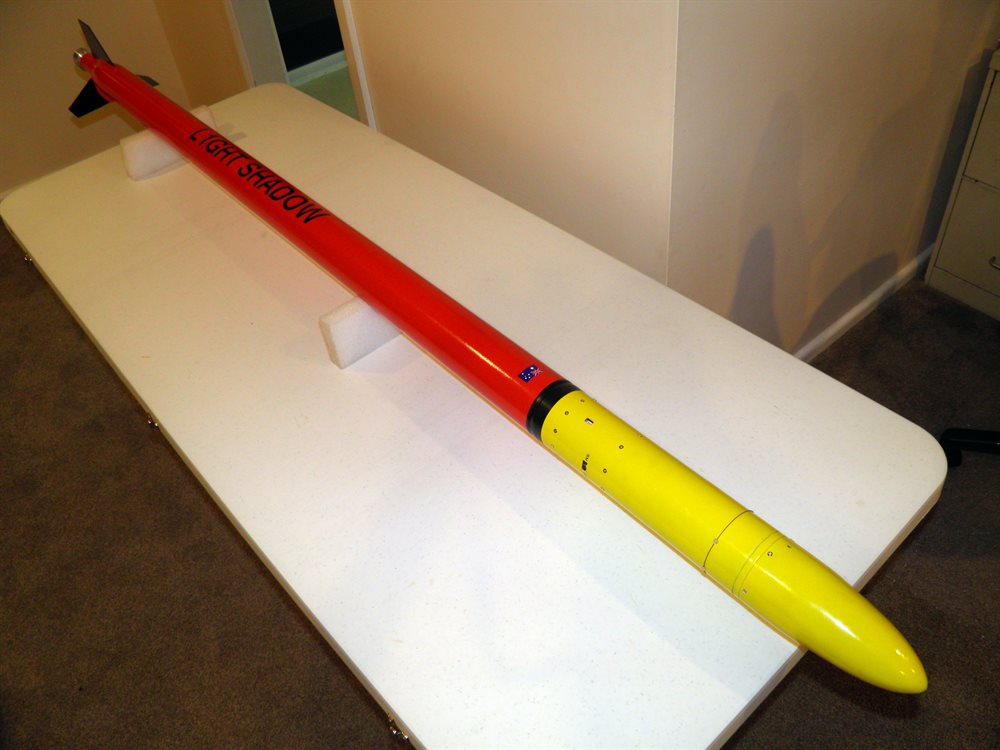
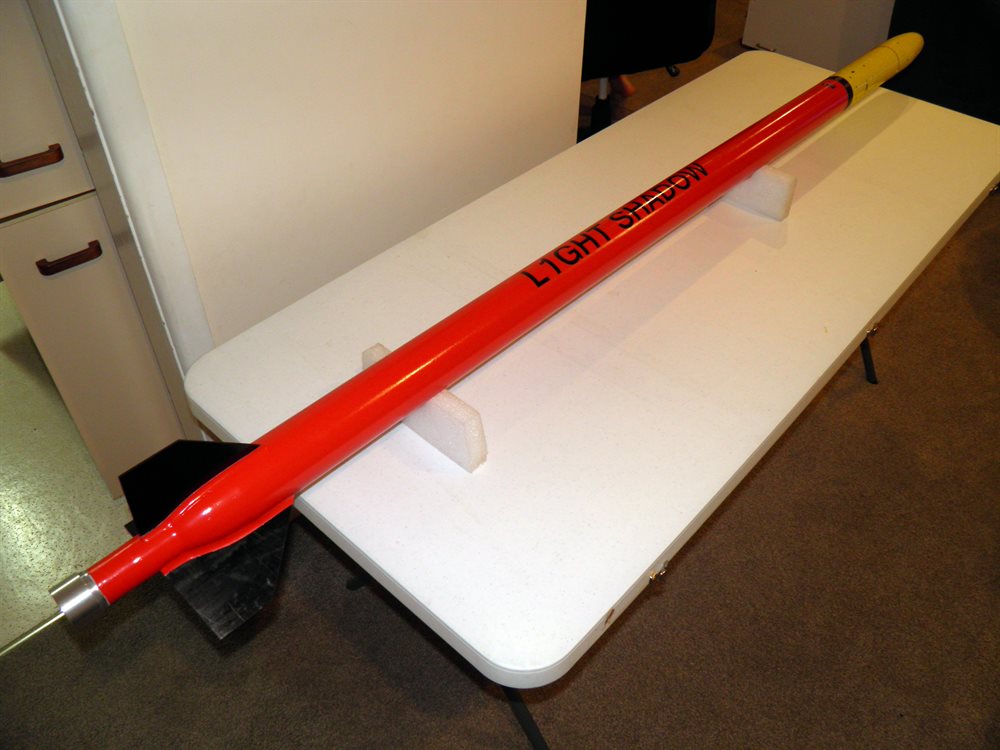
4 September 2016 - The pressure chamber was spray painted with Duramax paint from Dulux. This paint covered really well and dried very quickly. We ended up giving it about 4 or 5 thin coats.
The nosecone and payload bay tube were sprayed with spray putty.
We also cut out all the holes in the payload bay to gain access to the electronics, and lastly we finished soldering up all the electronics.
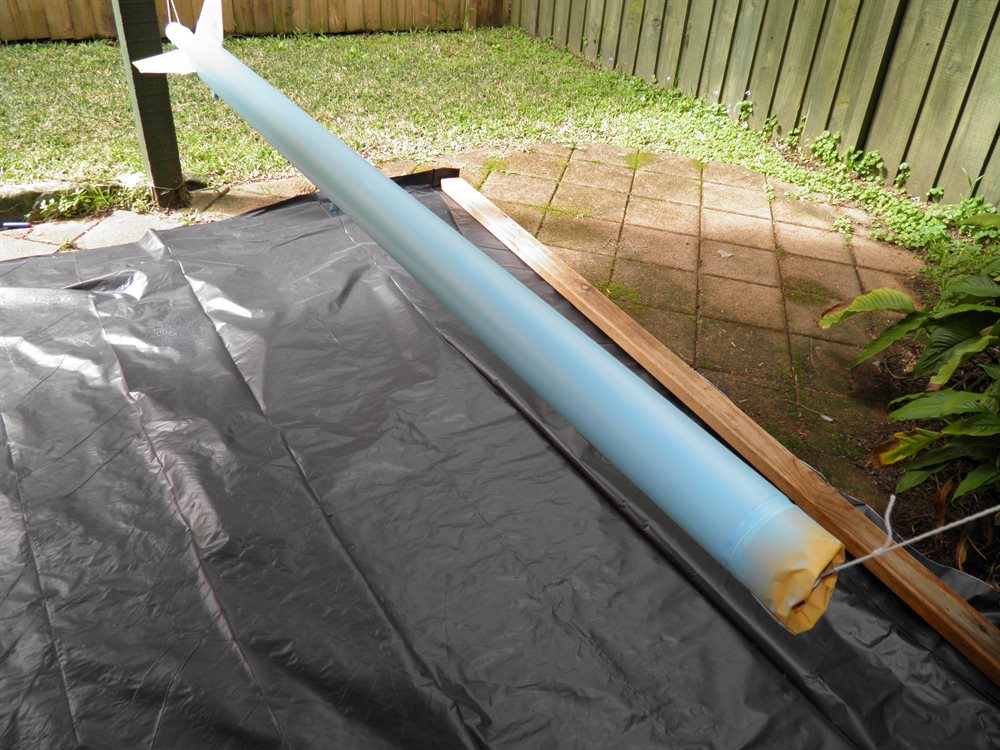
5 September 2016 - The nosecone and payload bay were spray painted yellow today. The rest of the day we mostly updated the simulation model since we now knew final weight and weight distribution. Simulations were run for both the H120 and H125 motors.
The Servo Timer II was also configured with the servo motor start and end positions and the servo horn was added to the servo motor.
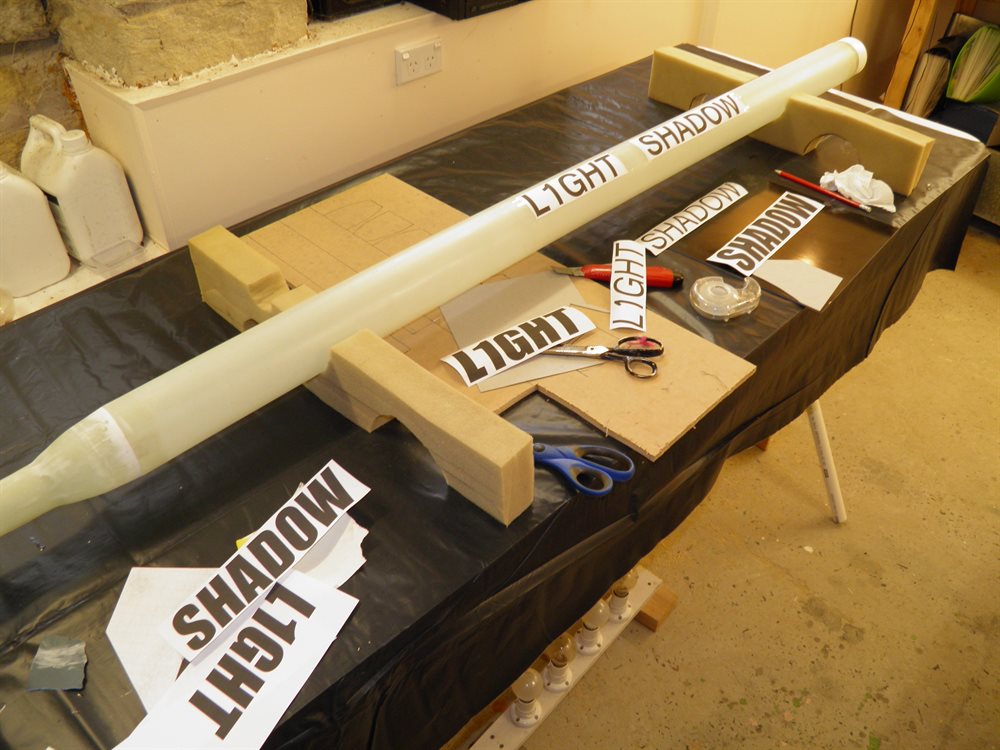
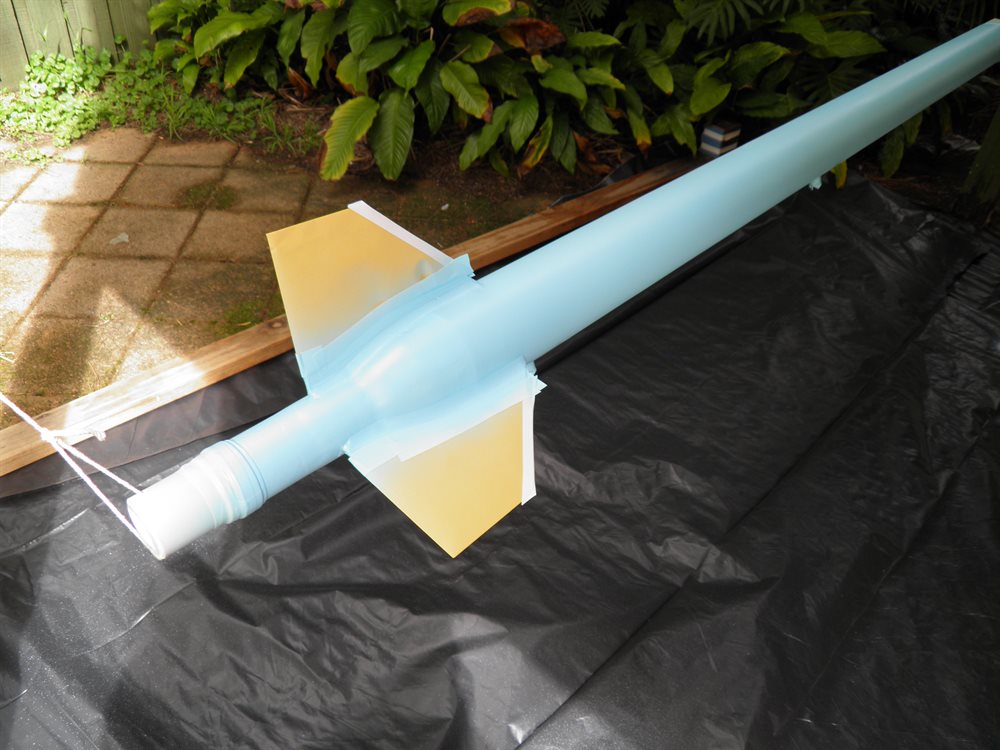
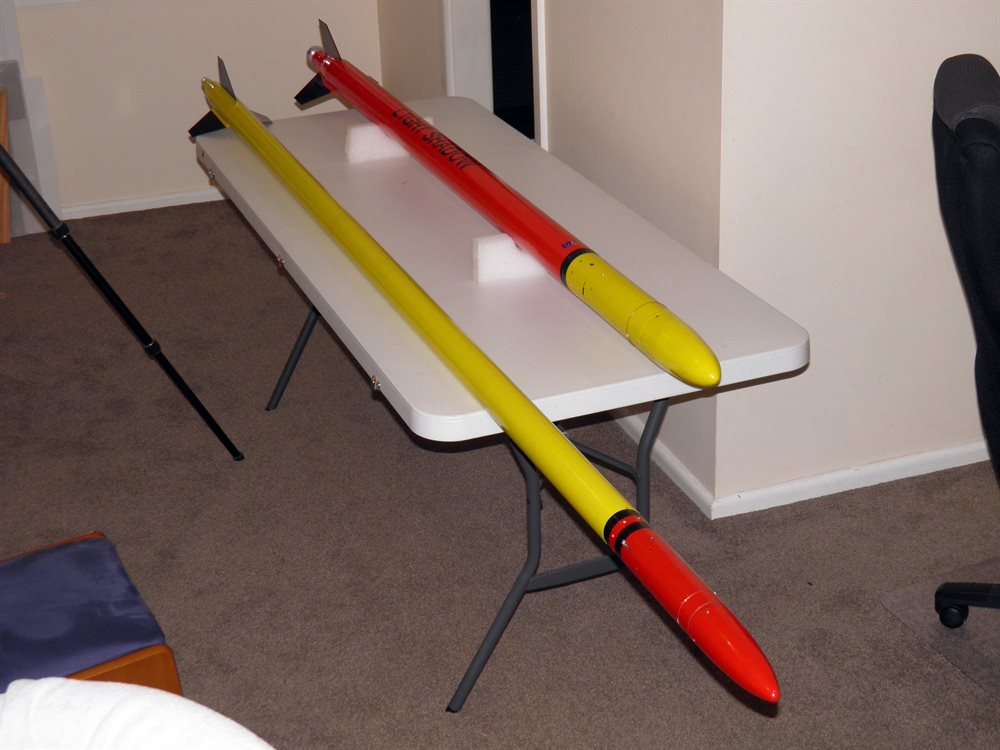
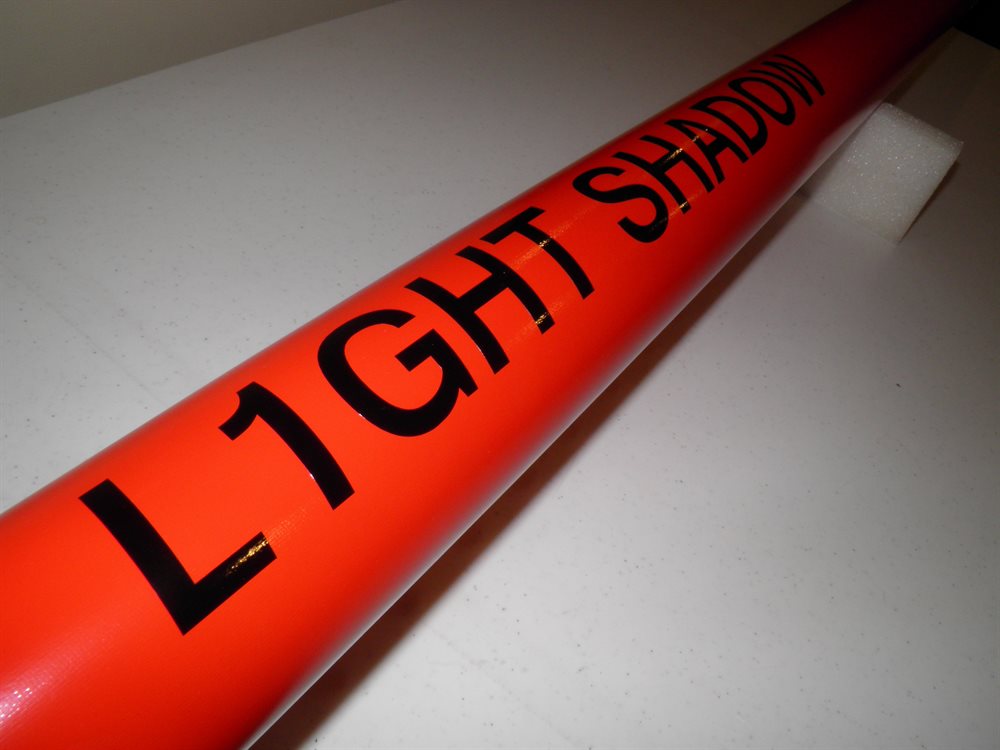
6 September 2016 - We put the decals on the rocket today. Big thank you goes to Sascha (Krusty) from I Build Rockets (http://www.oflittleinterest.com/) for making the decals for us and sending them at short notice.
A 1/8 inch tubular Kevlar shock cord was added to the rocket. This was attached to the shock cord mount and threaded through the electronics package. The other end of the shock cord was attached to the nylon shock cord already attached to the parachute.
We spent some time testing the deployment mechanism and adding another set of rubber bands so that the ejection was a little stronger. We ended up with 3 #32 rubber bands on either side.
Dad also made up a stainless steel blast deflector for the quick launcher as we didn't want the exhaust gases hitting the normal release head mounting brackets.
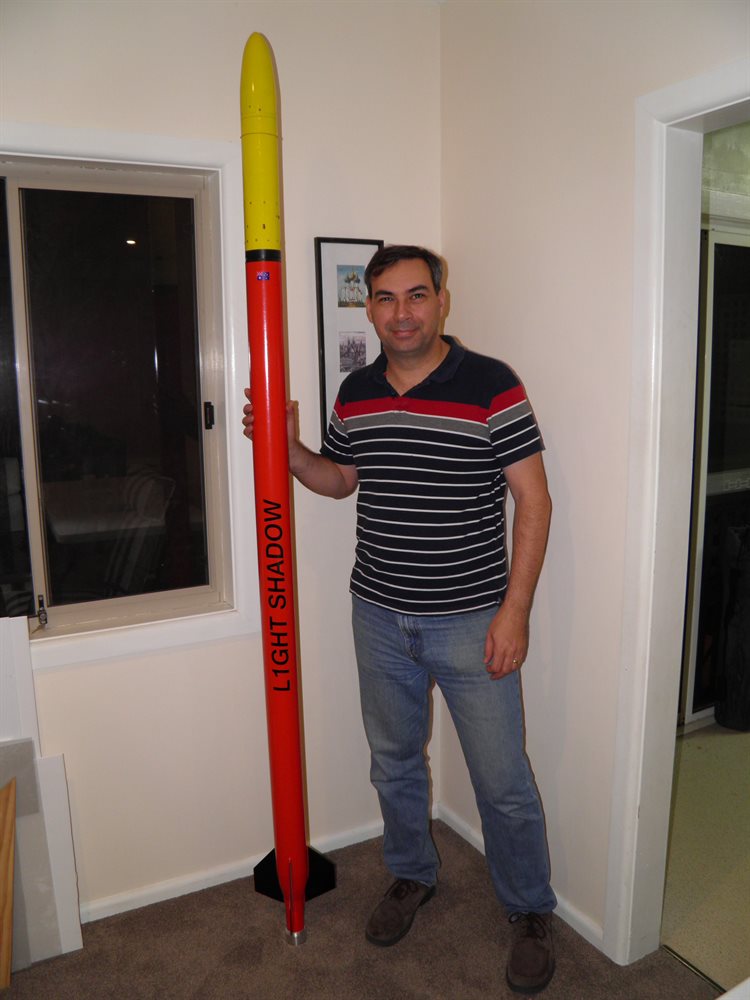
7 September 2016 - To get a secondary measurement on altitude we added an AltimeterOne inside the nosecone and mounted it inside a foam block. We also drilled out a small vent hole near the bottom of the nosecone to allow the pressure to equalize. The rocket is now ready for flight. :)