 |
1. |
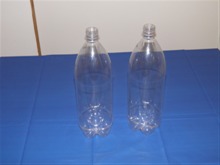
Remove the labels from 2 bottles and
clean the glue residue off with turpentine. Clean off
any remaining turpentine with a dry cloth or tissue.
The bottles should be the same diameter as the rocket. Choose bottles with straight sides.
Most will have a small ridge or raised section before
they transition into the curved part of the bottle. This
makes splicing the bottles much easier.
Most bottles
will have this ridge on the bottom section as well.
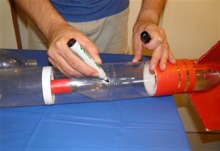
Which one you should use depends on the bottle. For
these 1.25L bottles we like to use the top one. |
 |
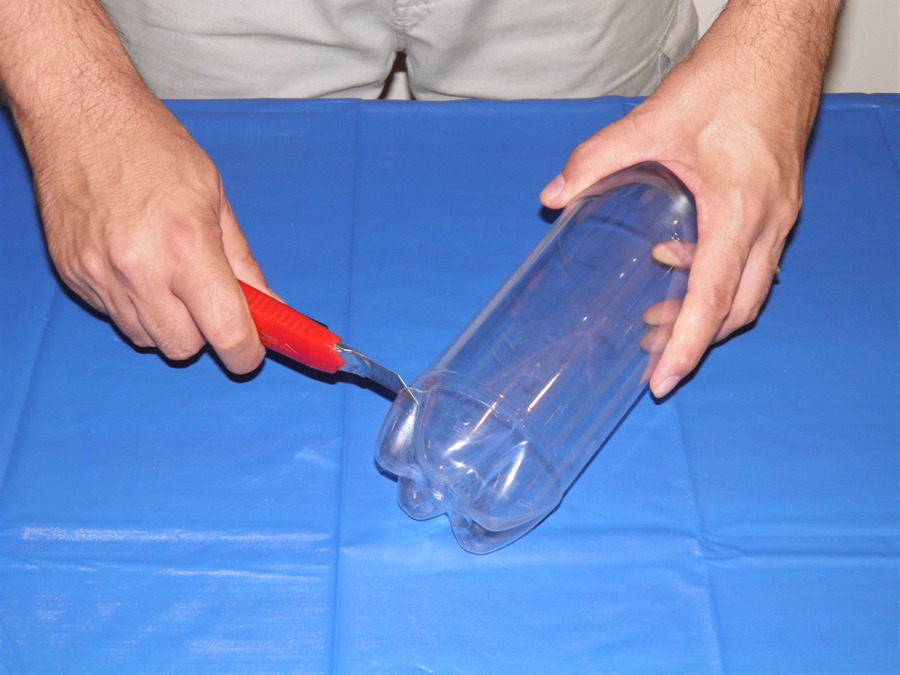
2. |
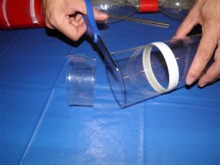
Cut the bottom section off the
bottles. We like to use a Stanley knife to rough cut the
bottle first and then scissors to trim it to size. |
 |
3. |
Use caution when cutting with a knife
as the bottles are soft and the knife can easily slip. |
 |
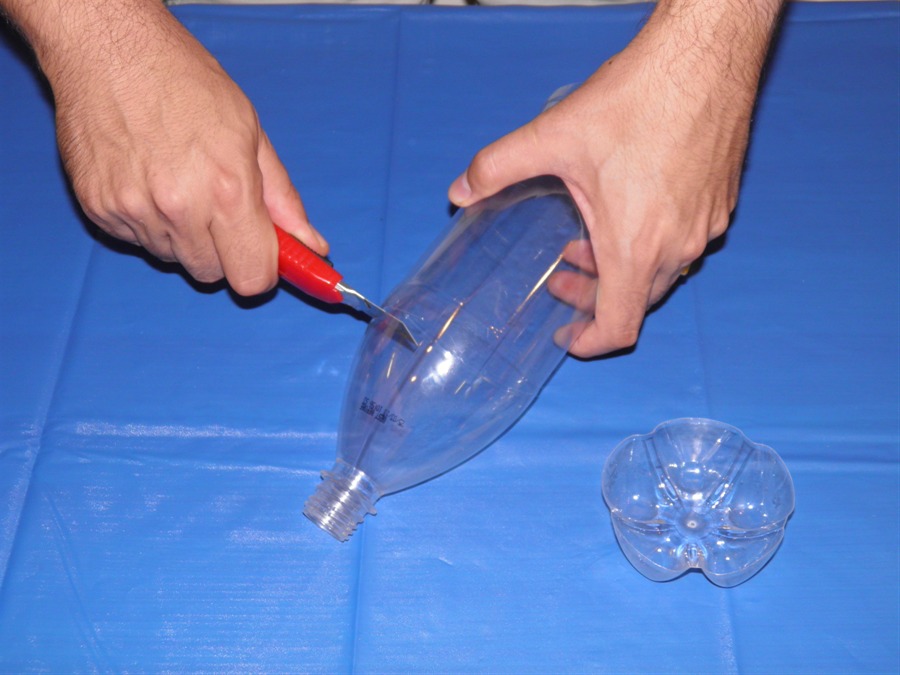
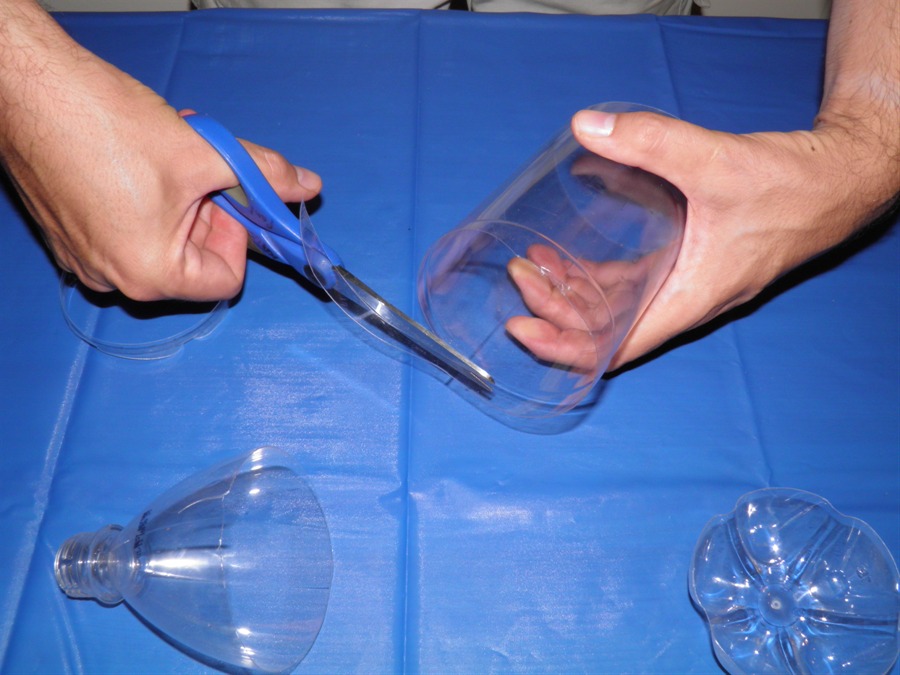
4. |
Leave about 5mm of the top ridge when
cutting off the top sections. This
will help with the splicing. If you leave a longer
overlap you may have problems easily sliding one sleeve
other the other. TIP: When cutting bottles like this and you
are using right handed scissors, hold the bottle in your
left hand and cut along the bottom edge. You will get a
straighter and more even cut. |
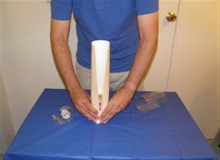 |
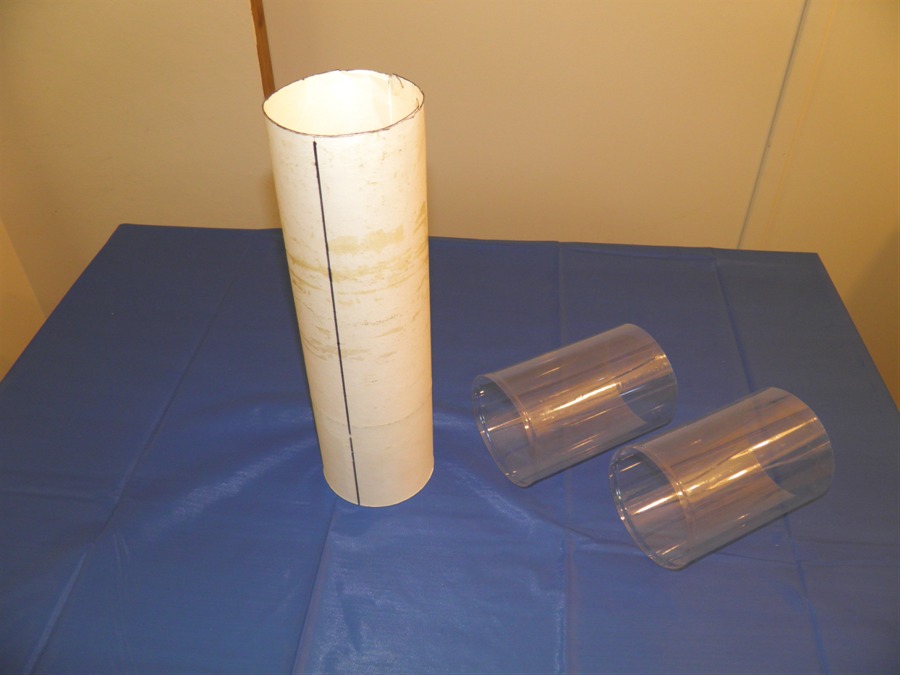
5. |
Prepare the alignment jig. This jig can
take many different forms but we found it easy to just get a
can from the pantry whose diameter is just smaller than
the bottles and wrap it in a manila folder until it
is
the right size. You may need to do several wraps
depending on how close a fit your can is.
Tape the folder together so that you get a nice tube.
Leave the can in the folder as this serves as a heavy
and stable base while working on the fairing. |
 |
6. |
You may already have a
tube or a section of pipe that is the right diameter so
just use that instead.
This particular can-and-folder alignment jig we have actually been using for
quite a while and have used it with the
ring fin alignment jig. |
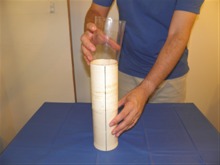 |
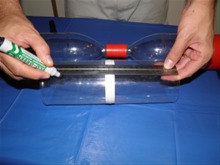
7. |
Put both bottle sections onto the jig
so that the lower one has the little ridge at the top.
If you find that it is hard to slide the top one over
the bottom one, try swapping them around, sometimes the
bottles can have slightly different diameters. |
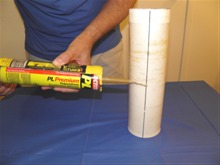 |
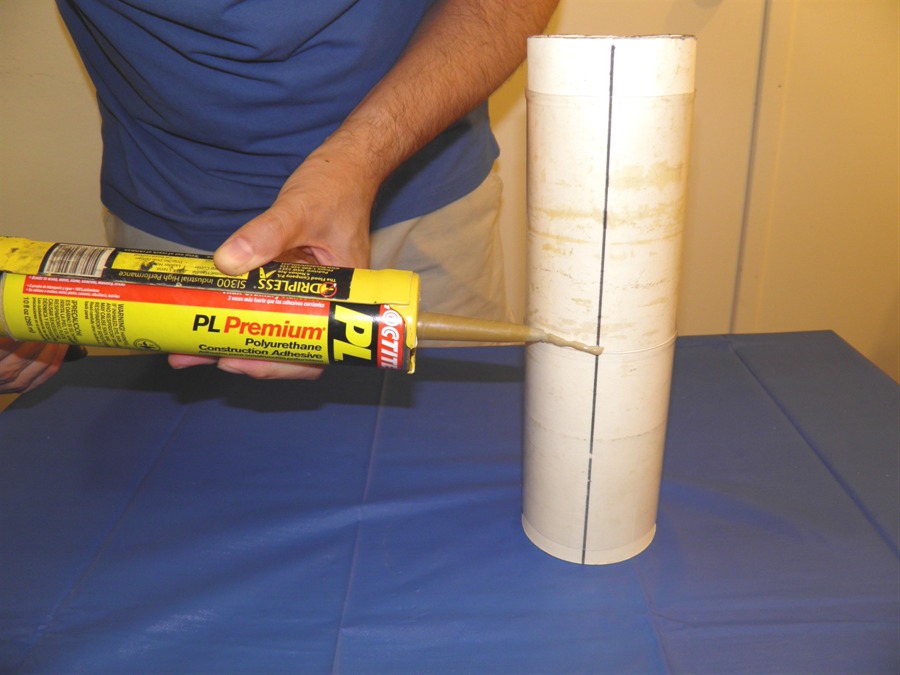
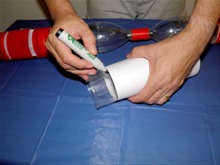
8. |
Run a thin bead of PL premium around
the bottom of the upper bottle section and then push the
two together. You can clean up the edge with a skewer
stick. We sometimes use the tip of the skewer stick to
force the glue into the join if it wasn't forced in all
the way when pushing the two sections together.
NOTE: The join doesn't have to be air or water tight
so it's okay if there are some bubbles or the glue
hasn't penetrated the join all the way in some sections.
You can probably use other glues as well, as this
section isn't pressurised and hence does not need to be
as strong, however, you don't need a lot of PL to make a
strong join. |
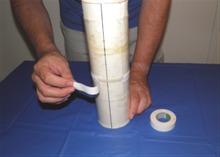 |
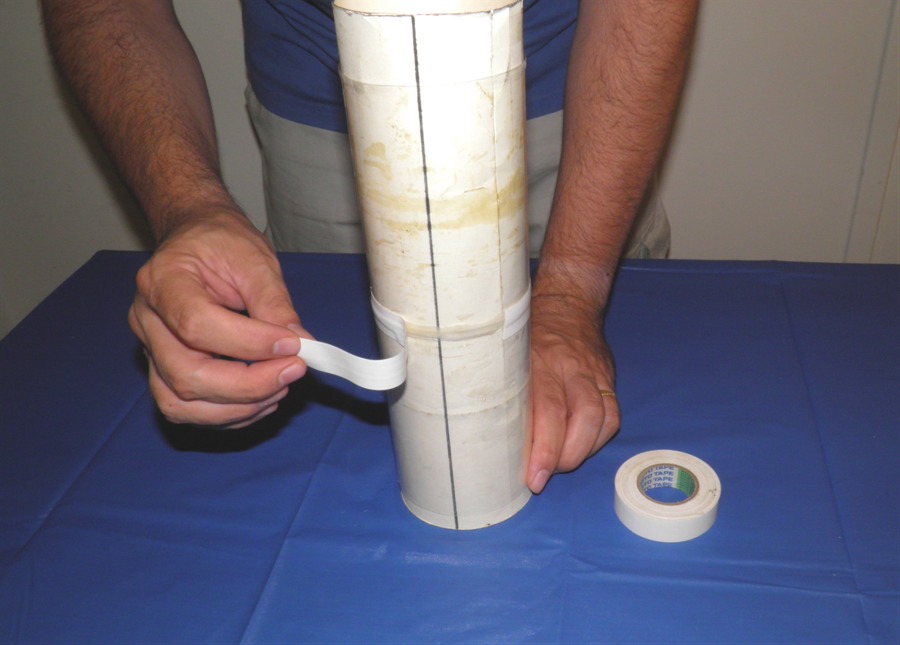
9. |
Wrap the join in electrical tape to
hold it together while the glue dries. Electrical tape
is a good option because it is flexible and conforms
itself well over the join. |
 |
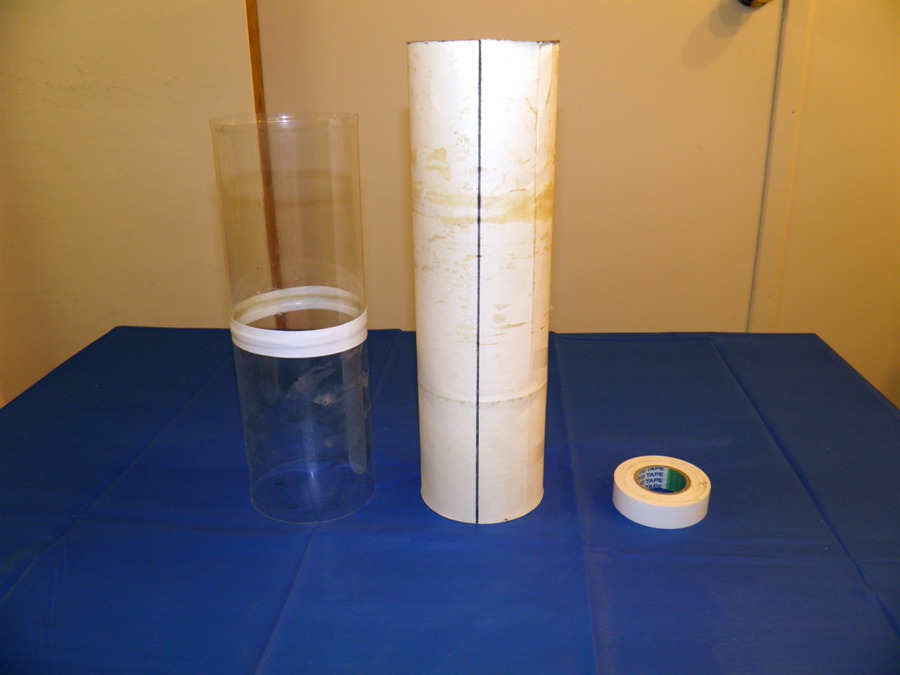
10. |
Slide the entire fairing off the jig
and let it cure for 24-48 hours depending on the
humidity.
When sliding it off, lift it by the lower sleeve.
TIP: Because of the long cure time, we
normally prepare several fairings at the same time while
we have all the tools on hand, and that way we have
spares when they are needed.
|
 |
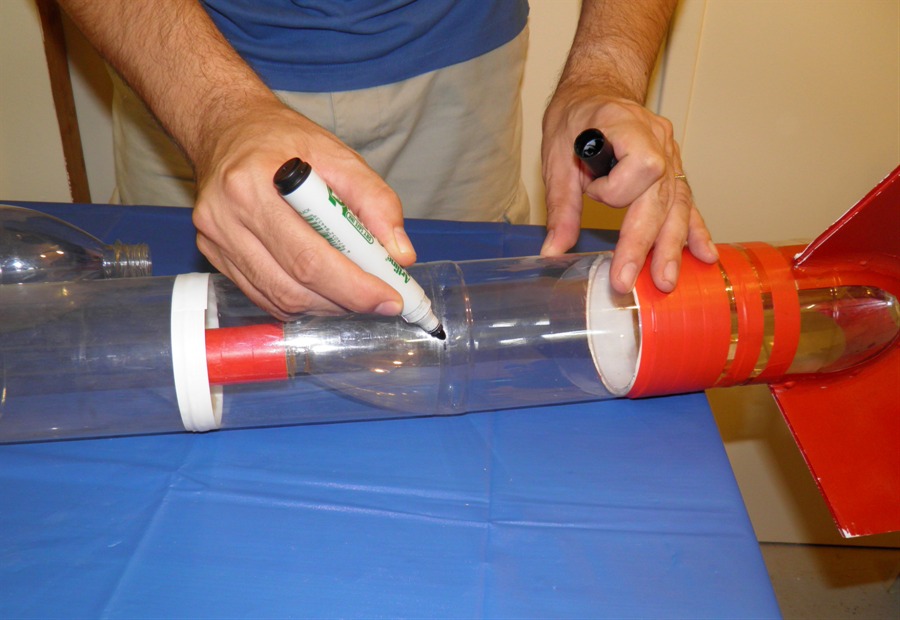
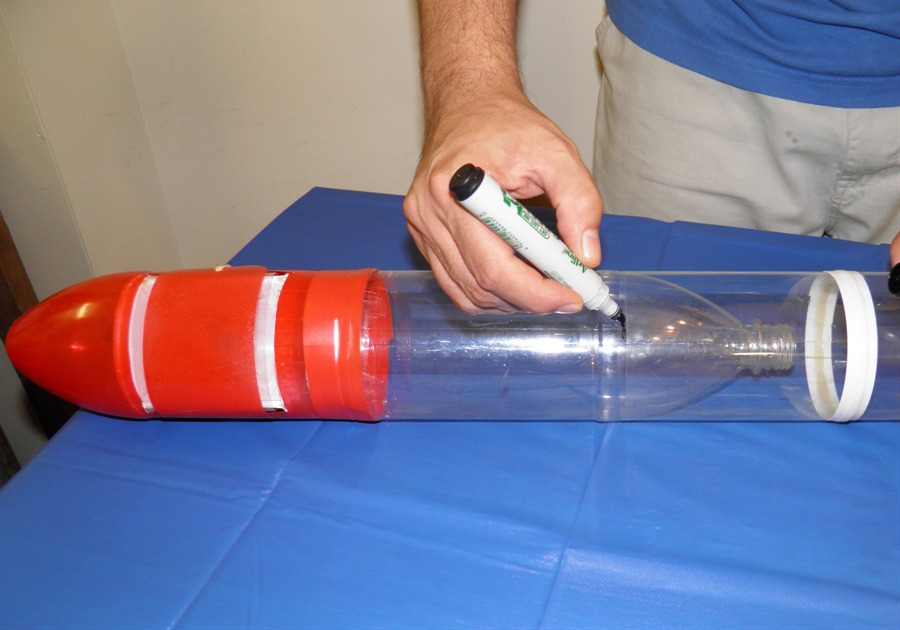
11. |
Next we need to measure how long the
fairing should be. A good fairing will have a tight fit
when the rocket is screwed together. This helps keep the
rocket segments aligned.
Slide the fairing onto the
bottle and mark where the fairing rests on the
curved section. |
 |
12. |
Do the same for the other side of the
rocket. |
 |
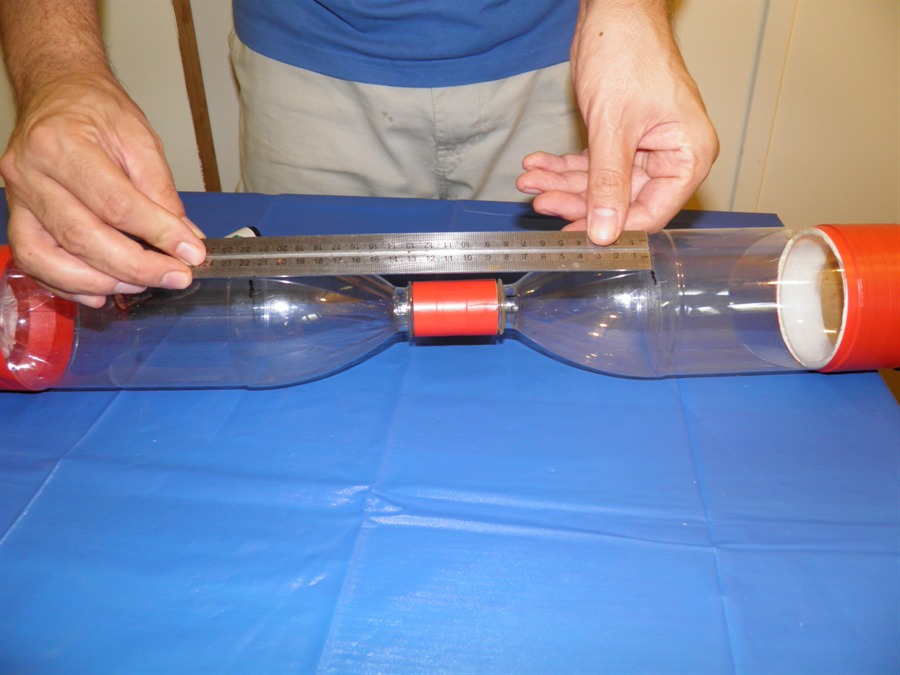
13. |
Screw the rocket together
and measure the distance between the marks. |
 |
14. |
Mark the fairing with the correct length.
You will want to cut off the top ridge. |
 |
15. |
Draw a line all the way around. Use a piece of paper
to get a nice parallel line. |
 |
16. |
First cut around 5mm from the line. If you
don't trust yourself to cut a nice parallel line, then
you can draw several lines next to each other using the
paper technique above. Try the fairing to see how well it
sits. If it is too tight, trim it by a couple of mm and
try again. Repeat this step until the fairing is the
right length. You will now know how long to make all
subsequent fairings. If you switch bottle types, you
will have to perform this step again. |
 |
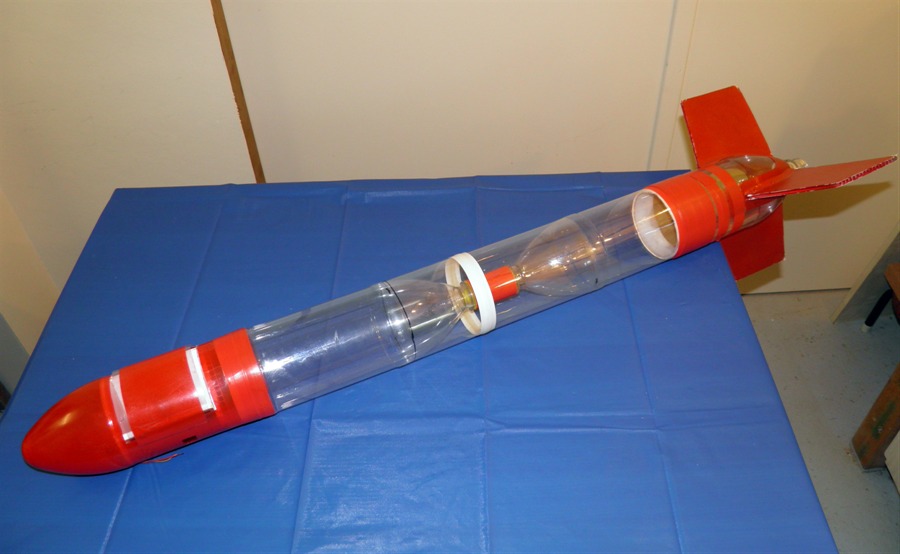
17. |
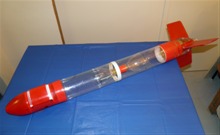
The fairing is now ready to use. You can mount cameras,
altimeters, rail buttons etc. inside the fairing. This
will make it easy to swap the mounts for the different
devices between rockets. Simply unscrew the rocket and
remove the fairing and fit it to another rocket. If you
make the fairing too loose and want to stop it
from rotating on the rocket, you can add a wrap of
electrical tape at either end of the fairing where it
comes in contact with the rocket. If the fairing is fairly tight this
is generally not necessary. |