Each flight log entry usually
represents a launch or test day, and describes the
events that took place.
Click on an image to view a larger image, and
click the
browser's BACK button to return back to the
page.
Day 104 - Quick Launcher
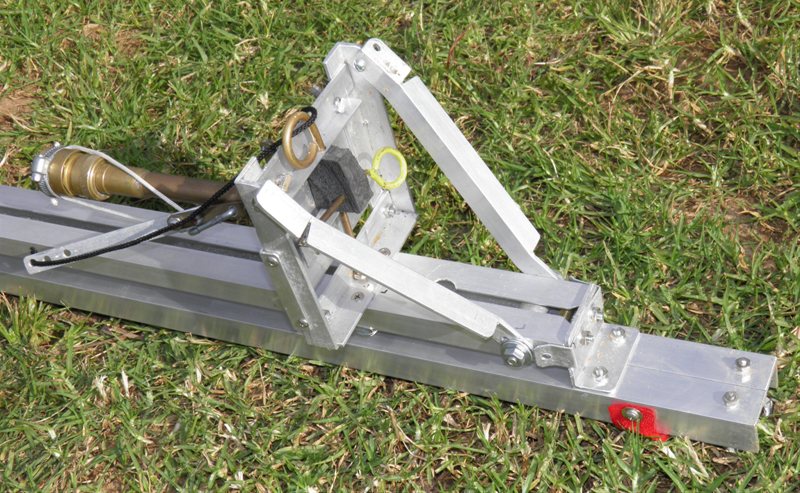
Launcher packed up.
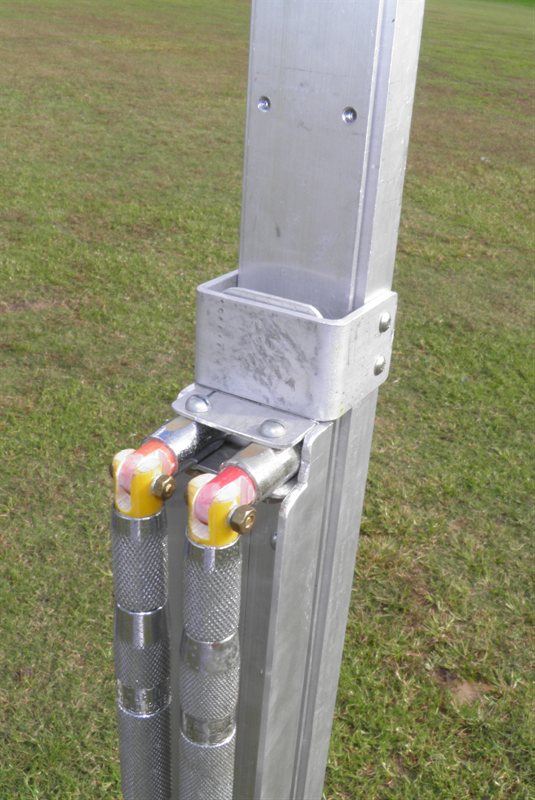
The release head is mounted on a sliding
platform that can be adjusted for different
diameter rockets.
The release head is interchangeable to
different sizes including launch tubes.
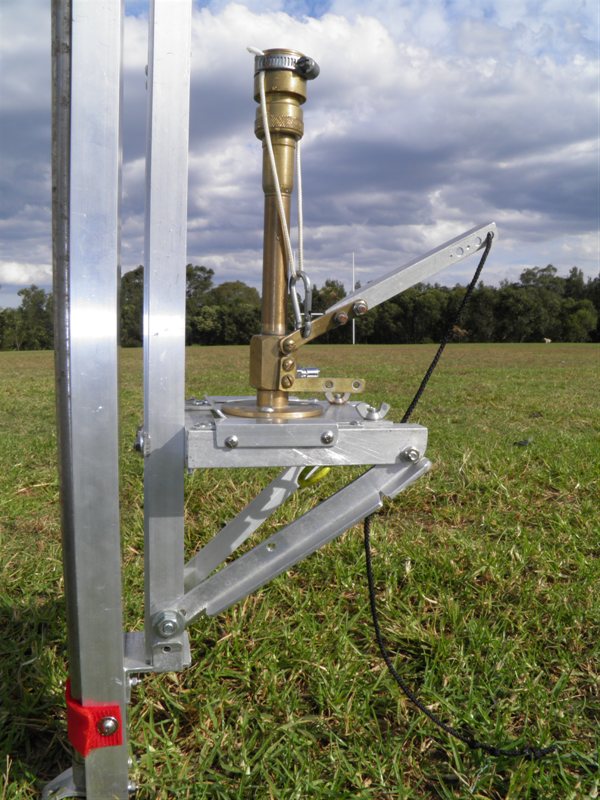
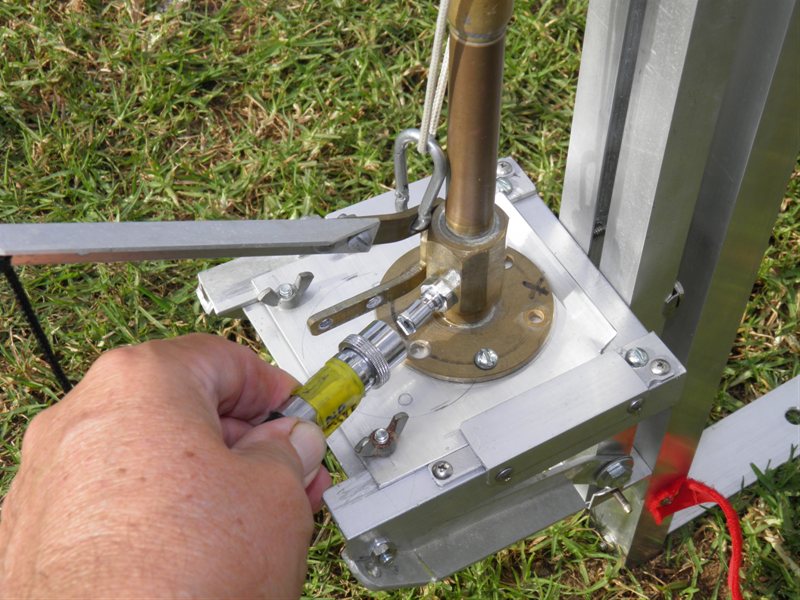
The top mounting point for the support legs.
The legs fold out and extend.
Air supply connection.
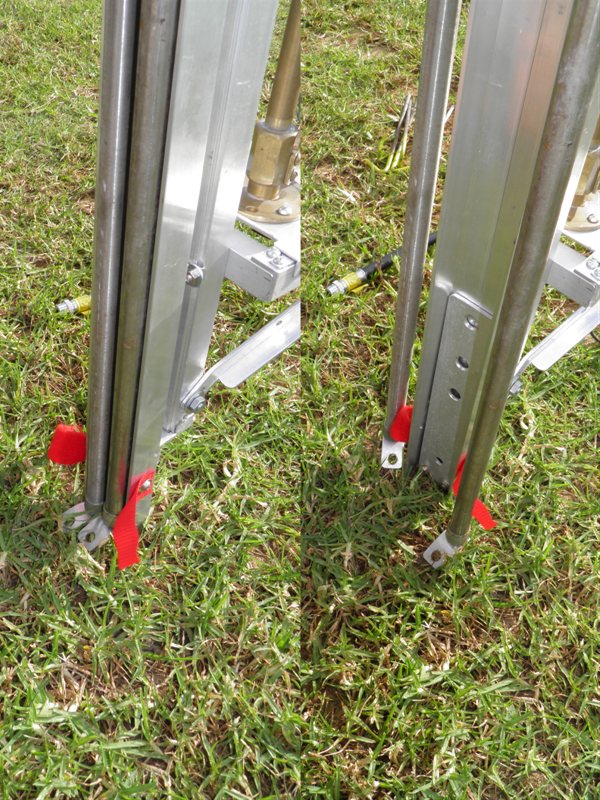
The legs are held in place with a piece of
Velcro for easier transportation.
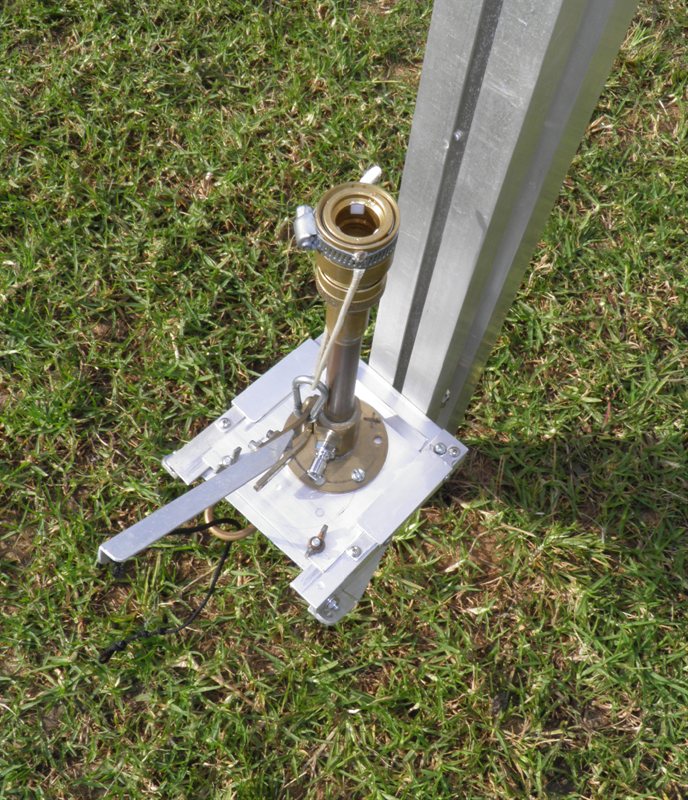
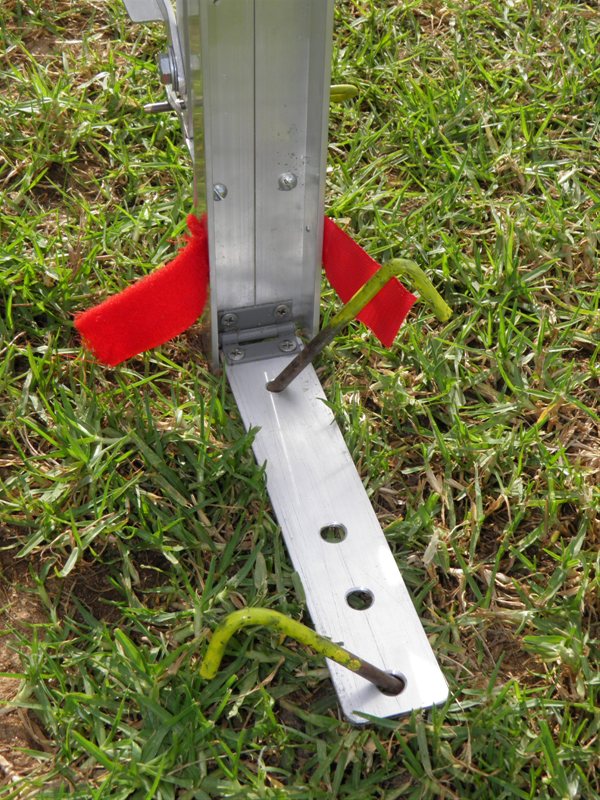
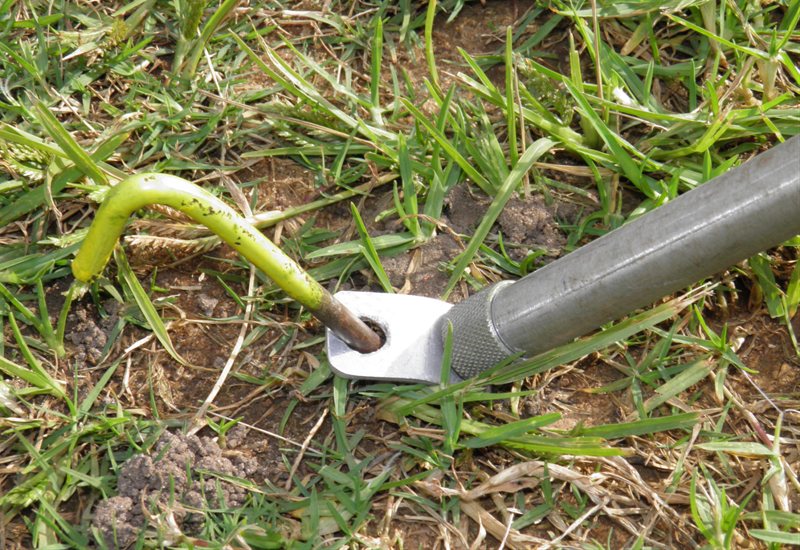
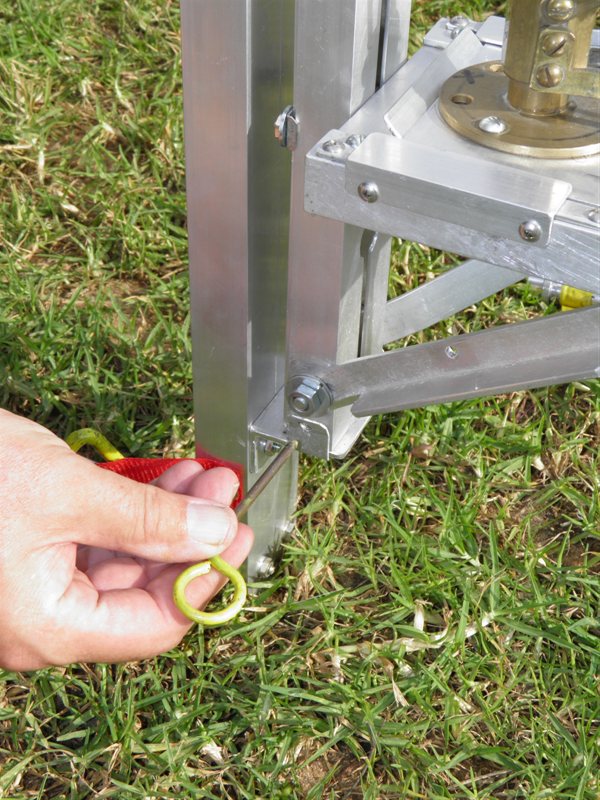
The vertical strut has a fold out attachment
for pinning it to the ground.
The legs are pinned to the ground using tent
pegs.
The removable guide rail locks into position
with a single pin.
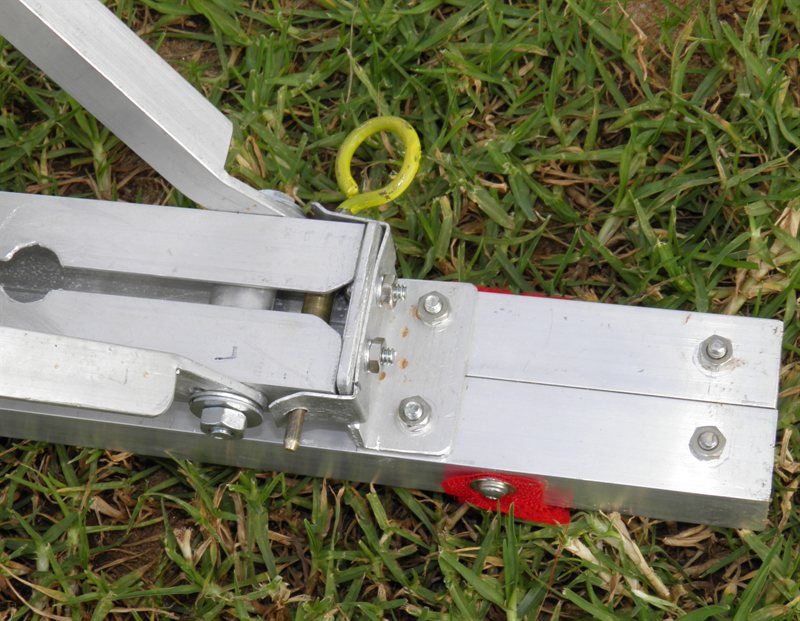
Detail of the bottom of the platform. The
brass loop can be extended and holds the release
string.
Detail of the guide rail locking pin.
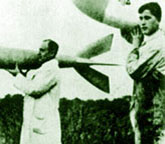
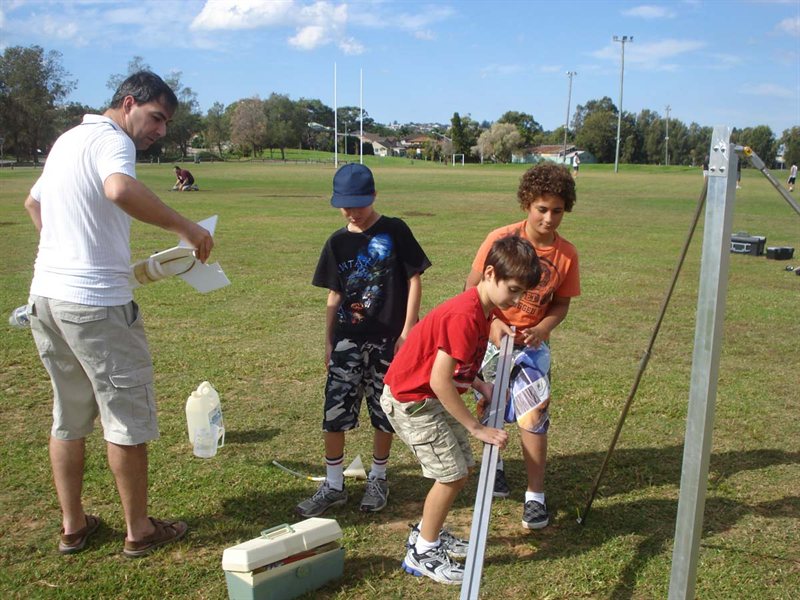
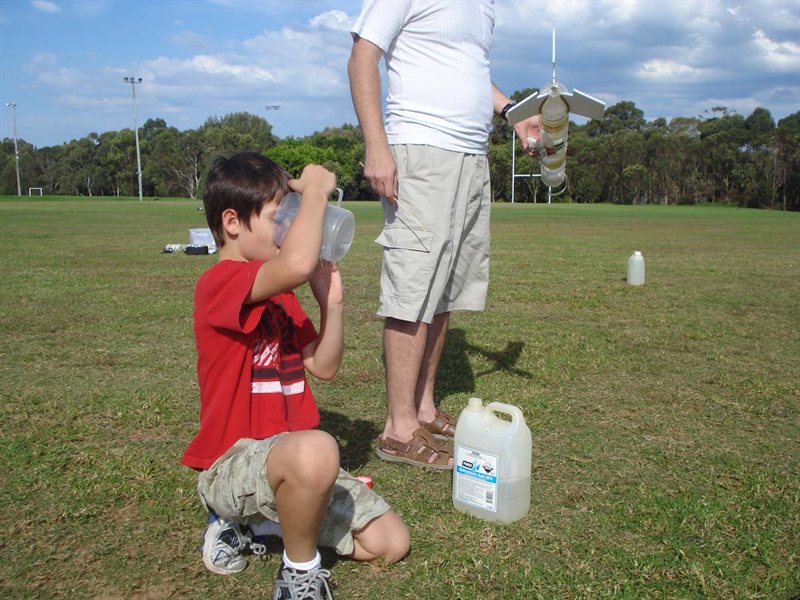
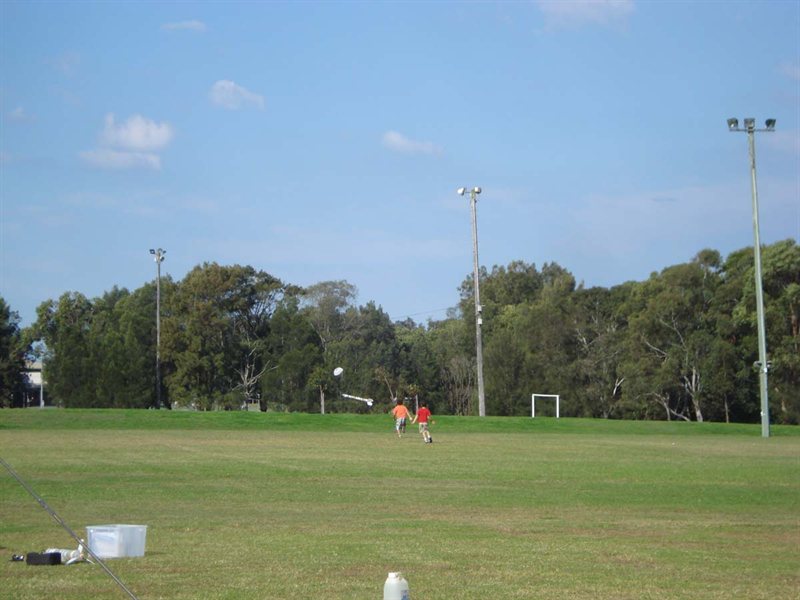
Setting up for the first launch.
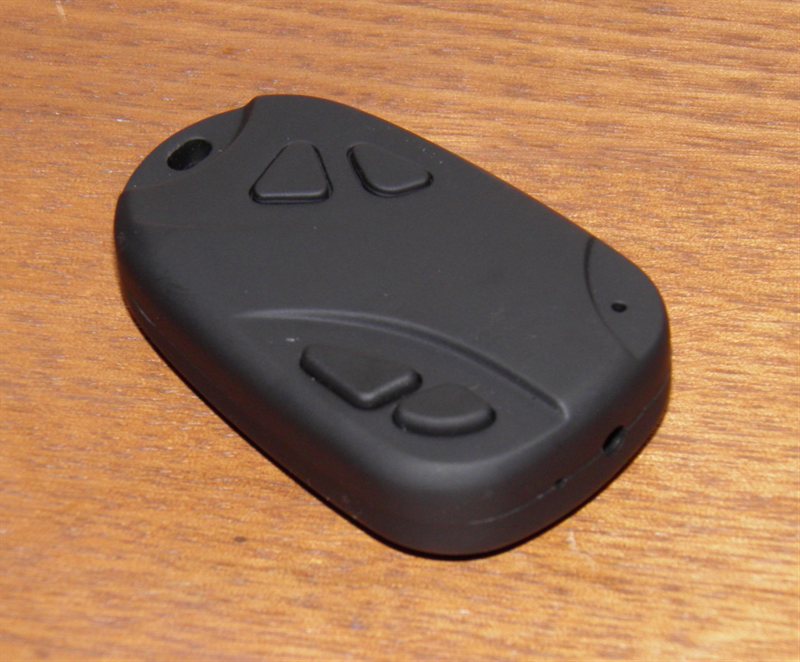
New HD camera records at 1280x720 and 30fps.
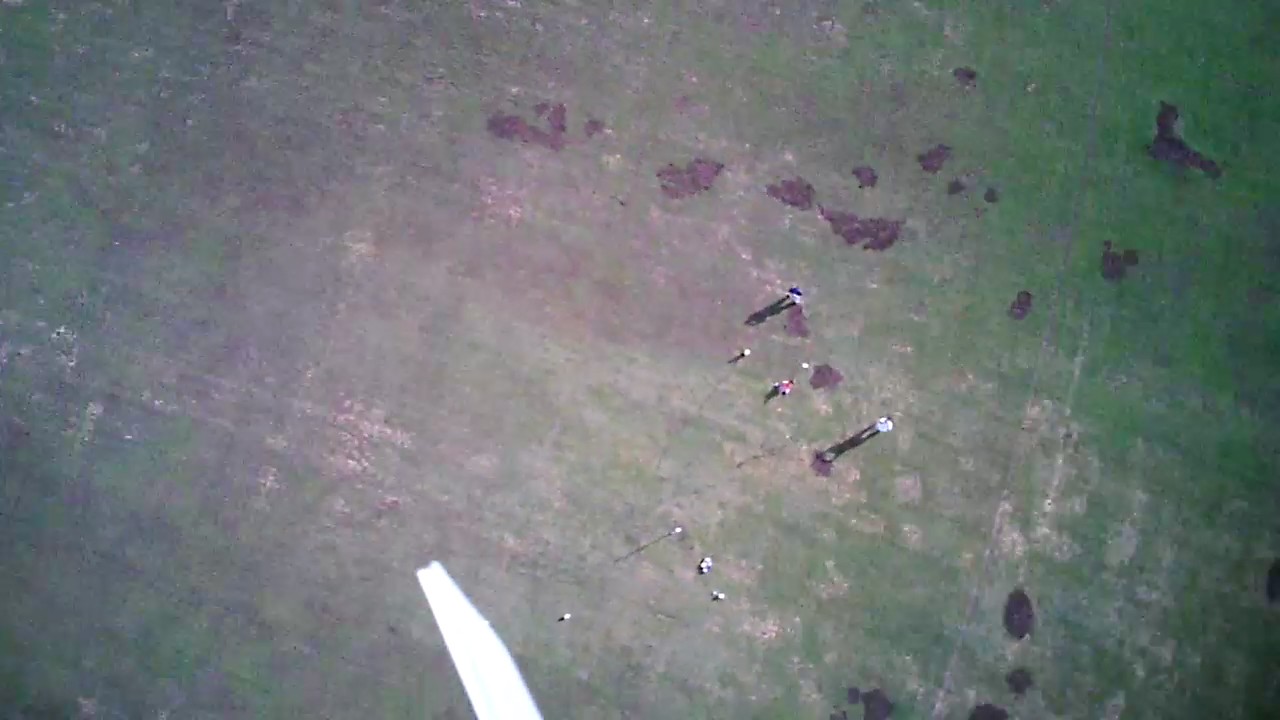
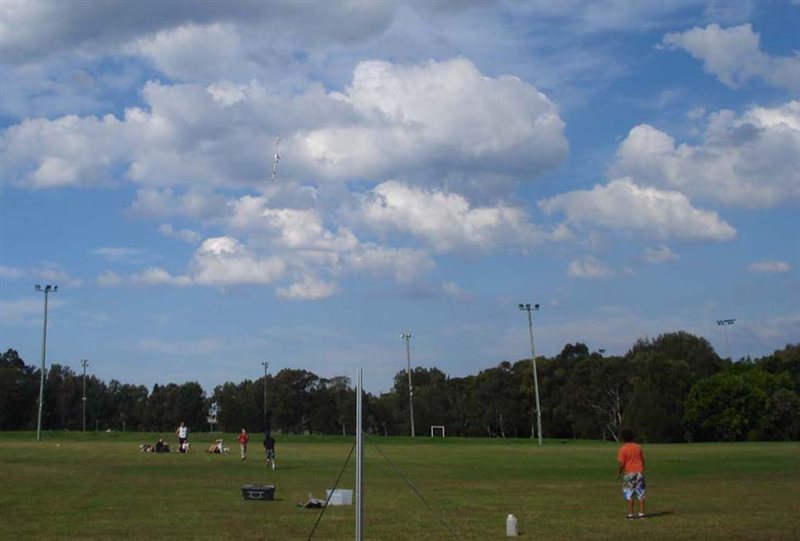
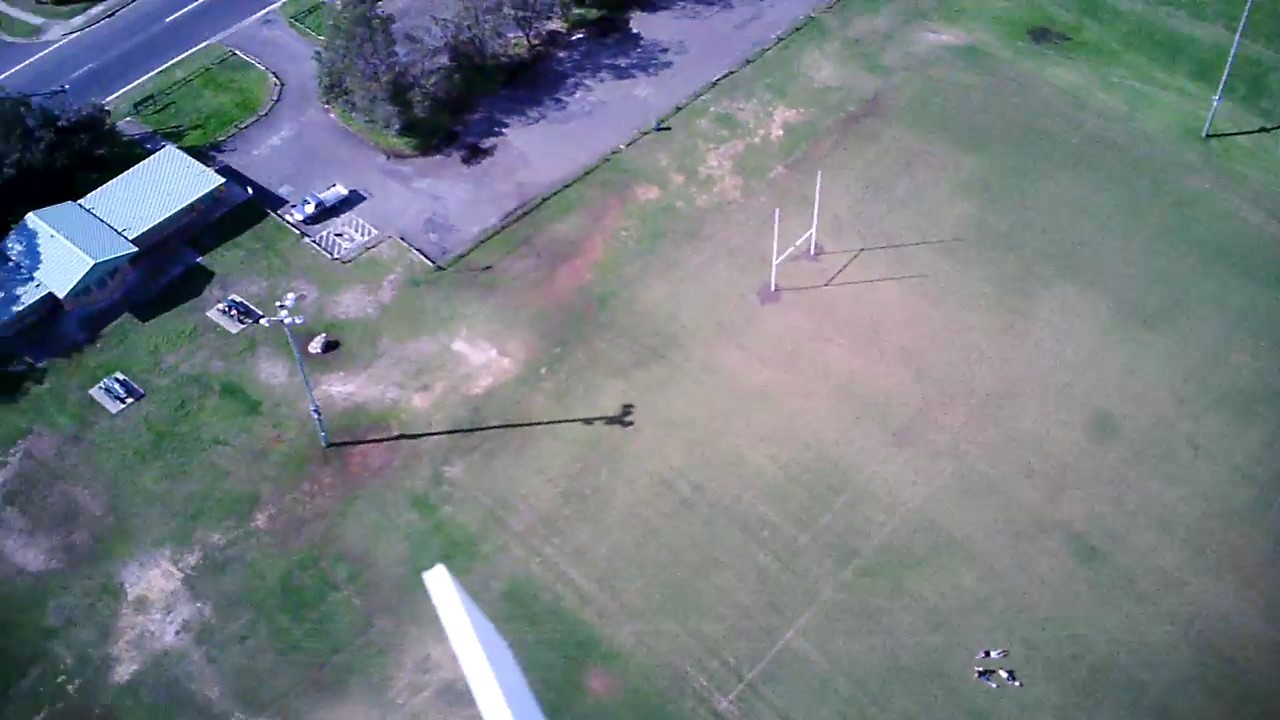
First launch using the camera. Looking down
at the launch crew.
Good resolution stills can be obtained with
this camera.
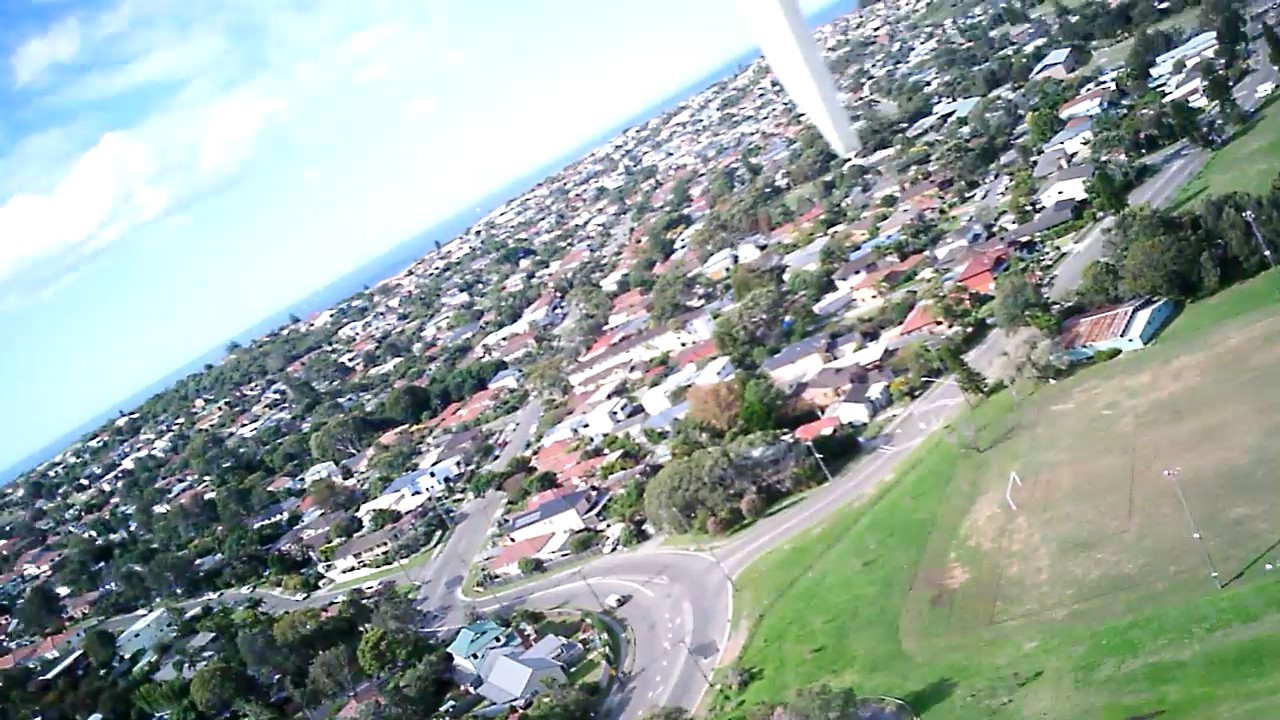
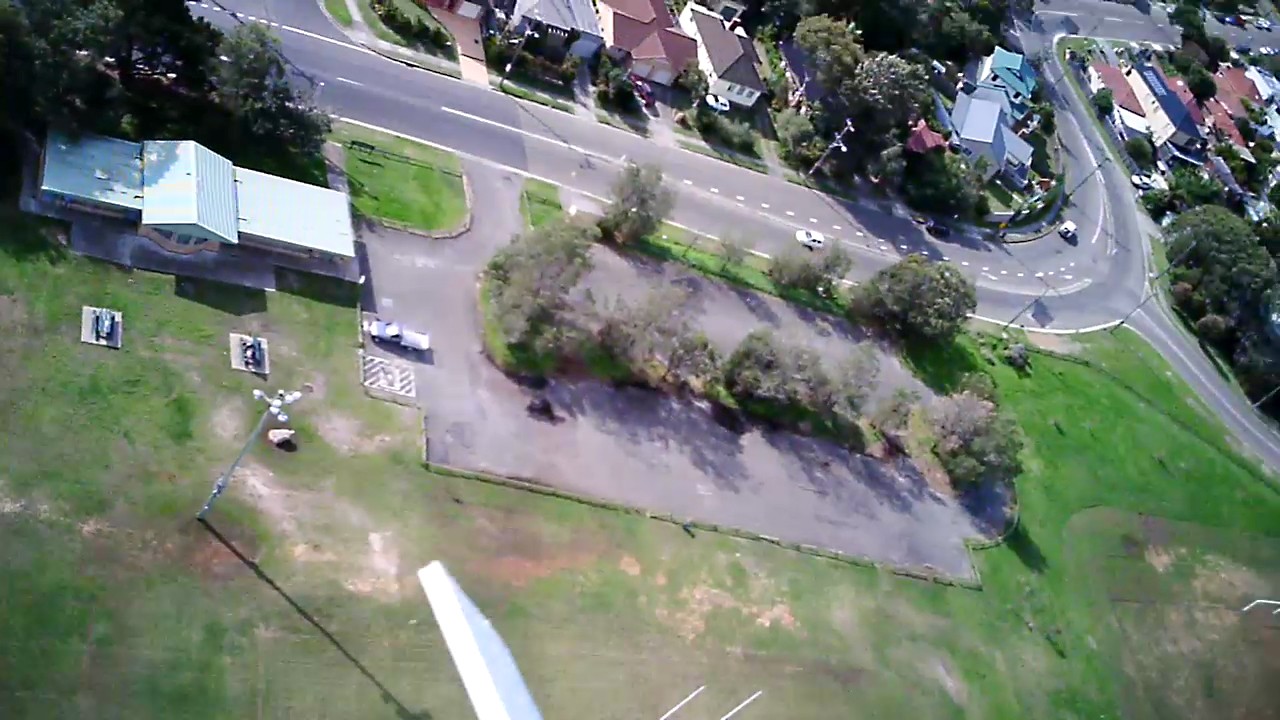
Looking down over the car park.
Rocket coming down with a tangled parachute.
I think I have identified the source of the
fuel leak.
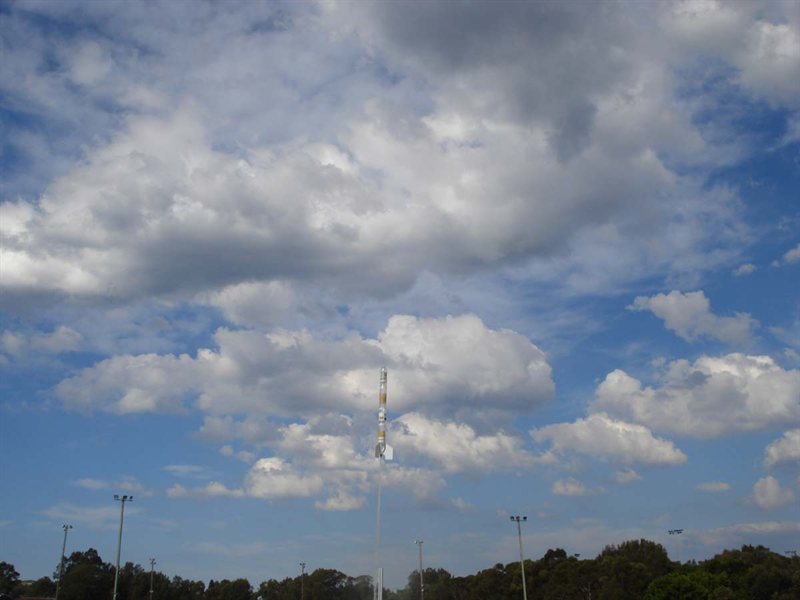
Second launch.
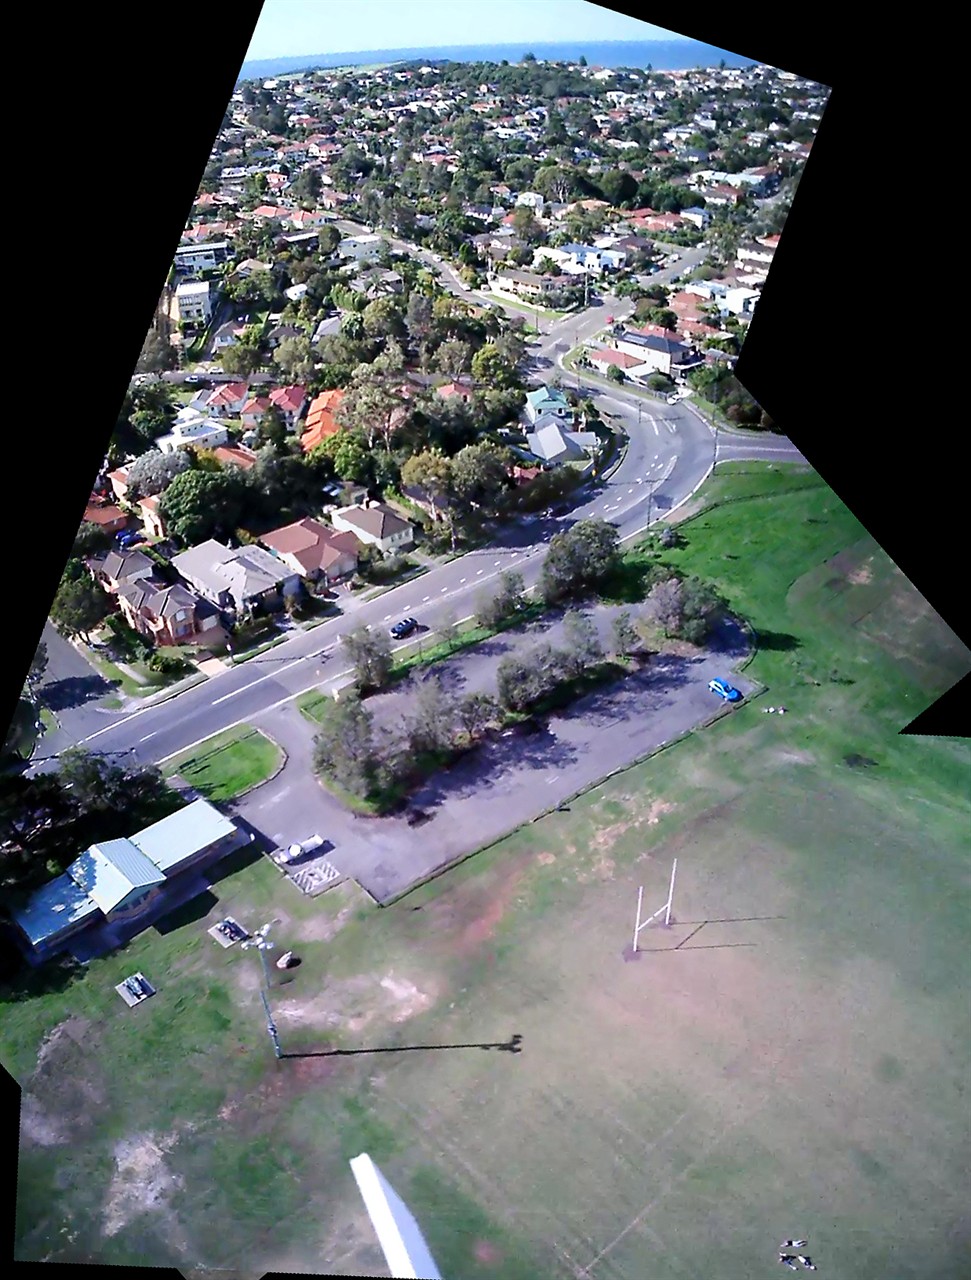
Still ascending on 100psi.
You can see the ocean on the horizon.
Panorama constructed from 3 images.
Third launch landed quite a ways down the
range in the breeze.
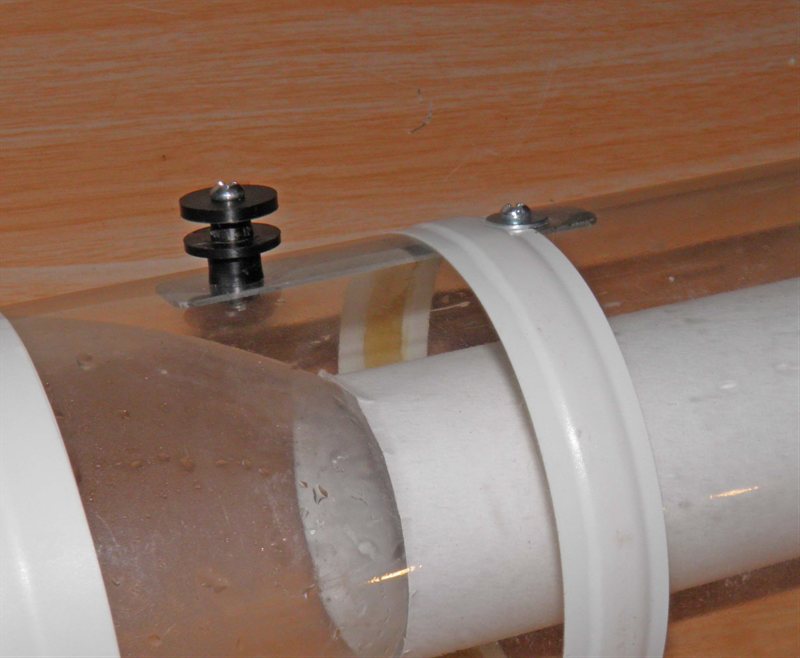
New rail button attached to a fairing. The
backing plate stops the fairing from distorting.
When attached to the side of a pressure
chamber the backing plate is just taped on.
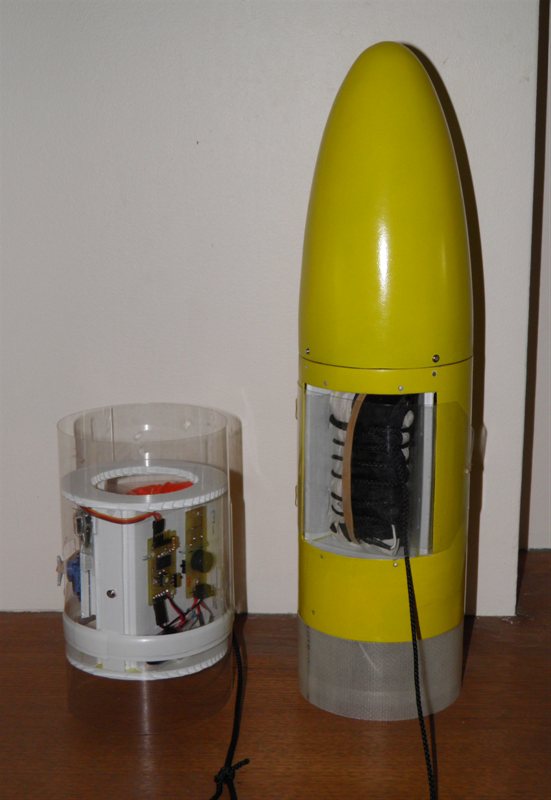
Newly repaired G2 payload bay and nosecone.
Date:22nd
April 20111:30pm - 2:45pm
Location:
Denzil Joyce Oval, NSW, Australia
Conditions:Swirling wind 10km/h with gusts to
15km/h. Temp ~25C
Team Members at Event:PK, Paul K, John K, Jordan K and
GK
Quick Launcher
This week dad built a great launcher to
replace the damaged medium launcher. We call
it quick as it vastly reduces the setup and
pack-up times. This is also a rail launcher
as opposed to a tower launcher as before.
This requires the rockets to use rail
buttons, but those are relatively easy to
make and attach.
The launcher uses interchangeable release
heads so we can continue to fly our rockets
with or without launch tubes and different
sized nozzles. The release mechanism is
attached to a sliding platform that allows
it to be adjusted for rockets with different
diameters. Two wing nuts lock it in place.
This is much easier to adjust compared to
the several minutes it took with the
previous launcher.
Having no ring braces also allows us to
use fins of any dimensions without the risk
of them hitting the ring brace.
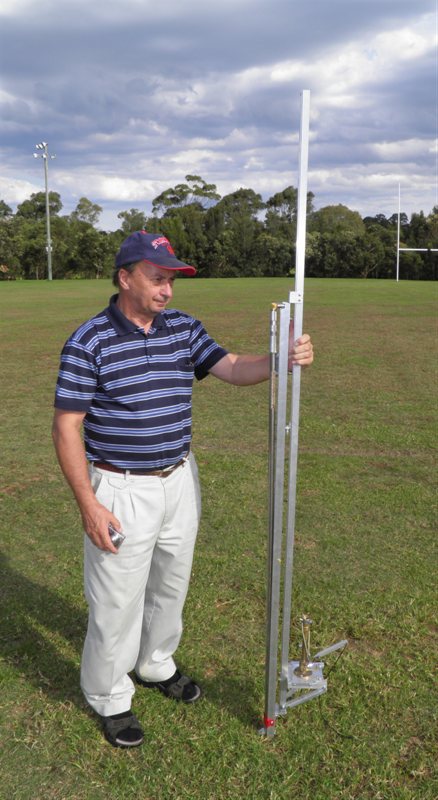
The launcher comes in two parts. The base
consists of a 1.5m vertical strut with a
pair of extendible stainless steel legs. The
legs fold out and are then pined to the
ground with tent pegs. Because the vertical
strut only has a small footprint it can be
tilted in various directions allowing us to
point the rocker in the direction we need.
The strut is also pinned to the ground to
prevent it lifting during launch. The
launcher can now be easily adjusted for
distance launches as well, something not
possible with the previous launcher.
The second part is the 2m guide rail
itself with the attached release mechanism.
This allows us to leave the base permanently
attached to the ground while allowing us to
load the rocket onto the guide rail and
locking it into the release head without
spilling any water. The whole rocket and
guide rail then simply locks into the base
and is secured with a single pin. The whole
launcher is sturdy enough to launch the 3m
G2 rocket.
At the end of the day the launcher neatly
folds up into the two long thin parts.
Detailed photos are shown on the left.
Update: See
Day 133
for explanation of how the Quick Launcher
has been improved.
Rail Buttons
We made a number of rail buttons on the lathe and
attached them a couple of different ways to
the rocket. Where the button needs to be
attached to the side of the pressure vessel,
it is first screwed to an
aluminium backing plate which is then taped to
the rocket. This allows us to reuse the
button between rockets. The other attachment
method is through a fairing wall with a
backing plate to stop the fairing from
warping. Because we screw the different
sections together, the buttons would not
normally line up, so we attach the rail
button to the pressure chamber first and
then rotate the fairing until the buttons
line up.
Thermal
Pressure Test
As we investigate the reason for the G2
pressure chamber failure, this week we
performed a pressure test with a temperature
probe inside the rocket to measure the the
rise in temperature during rocket
pressurisation. We wanted to see if
pressurising the rocket quickly will
increase the air temperature enough to
affect the PET plastic lining in the
pressure chamber.
We used a 90mm spliced pair of bottles
wrapped in a couple of layers of 200gsm
glass. We drilled a hole in a bottle cap and
epoxied a thermocouple into it. The whole
experiment was placed inside a thick
aluminium pipe to stop any shrapnel should
the bottle fail.
We filled the 2.1L bottle at our regular
fill rate slowly increasing the pressure to
160psi. This increased the temperature from
18C to 36C.
We let the air out and let the air
temperature equalize back to ambient of 18C.
With the pressure regulator left set at
160psi we opened the tank valve and let the
bottle fill much quicker. The temperature
quickly rose to 47C.
This experiment was carried out in the
evening, and so there was no additional heat
supplied into the system from the sun. The
air hose was in the shade and hence at ambient temperature.
Conclusion
This test showed that it may well be
possible to come close to the 65C mark that
PET plastic starts becoming weak. On the
launch day the ambient temperature was about
10 degrees C higher and the rocket had sat
in the sun for almost an hour. We also
filled the rocket to 250psi rather than
160psi which would have raised the
temperature further. The black air hose was
also in the sun.
Though we are not conclusively saying
this was a root cause of the G2 failure, it
may have been a factor. We are going to fill
the next rocket a lot slower to allow it to
cool as the pressure builds. We will also
measure the temperatures in the spliced test
bottle at the range to compare how hot
things really get.
Launch Day Report
We took the new launcher down to the
local park to see how it worked in a real
launch day situation. It was very easy to
set up. What's nice is that you can carry
the entire launcher in one hand making it
easier to get to the launch site. We
launched a small rocket 3 times at 100psi
since the park is small and there was a
breeze blowing.
The first launch was less than ideal, as
the parachute tangled on itself (one shroud
line caught on the knot) and resulted in the
rocket coming down pretty hard nose first.
The nosecone was a little bent as was the
top bottle, but not badly enough so we just
popped it back out and used a bit of tape to
repair it. We flew the rocket a couple more
times after that with good deploys. The
rocket also used the Servo Timer II
prototype again as we continue it's flight
testing.
It also gave us the opportunity to fly
our new HD video camera on the rocket. (see
below for details). The camera recorded good
video on the two flights that we had it
attached to the rocket.
We're very happy with how the launcher
performed, and we will bring it with us to
Doonside for the G2 launch.
The camera cost $39.95 including
delivery, though it does not come with the
micro SD card. It arrived in about 8 days.
As it ships the camera has the time stamp
turned on which is quite big, but thankfully
on the above forum are instructions how to
update the firmware to remove the timestamp.
It is only a matter of copying the correct
file to the SD card and turning on the
camera. The camera then loads the new
firmware. The process is simple and quick
and only took about 1 minute. Here is how:
http://www.rcgroups.com/forums/showpost.php?p=16952818&postcount=12
. It is also easy to reverse if you decide
you want the time stamp back again.
Both the video and audio are quite good
from this camera with really no evidence of
dropped frames. Footage from the camera is
included in the highlights video:
Day 104 - Highlights
Polaron G2b - Repairs
The G2 repairs are going well, with the
backup parachute payload bay and the
nosecone fiberglass body now repaired. We
really only have to assemble the rocket
and attach the new rail buttons. With the
new launcher we are looking good for trying
another launch again at the next
opportunity. I am still waiting for the MD80
clone camera and SD cards to arrive, but
with the Easter break these may take a
couple more days.
Good flight but
parachute partly tangled. Rocket
nosecone was partially damaged and
the top bottle was slightly bent.
Easily repaired and flown again on
subsequent flights. Good onboard
video - our first HD flight