The following procedures describe various things you will need
to do when preparing and launching rockets. There are a number
of warnings that you should heed if you want to enjoy an
extended rocket career.
Determining Maximum
Operating Pressure / Burst Testing
Tests from: 8th October 2006
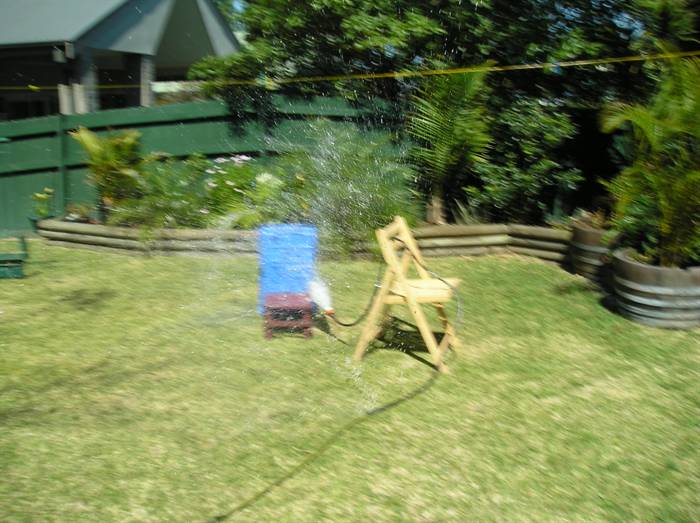
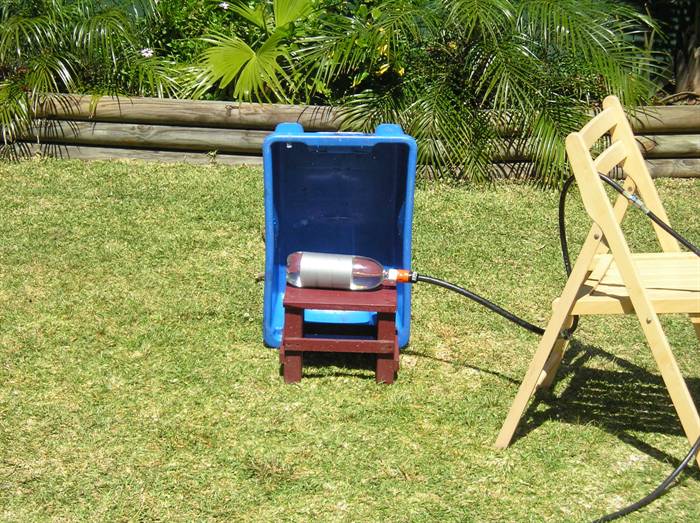
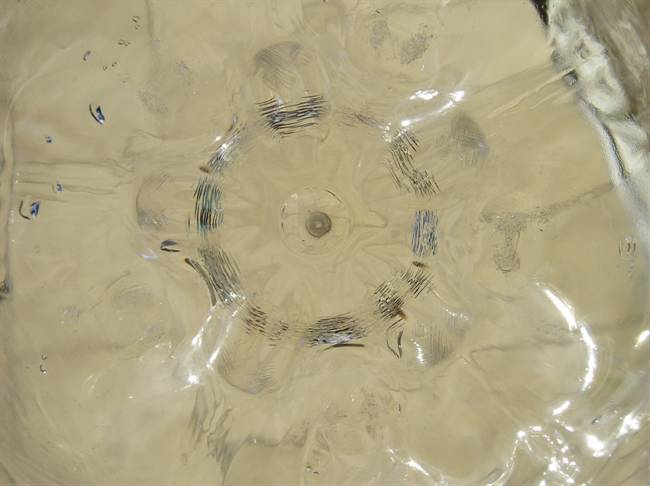
Setting up for testing bottles.
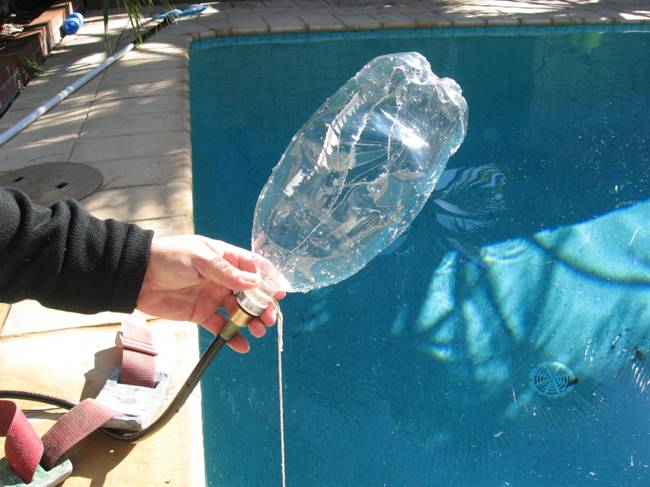
Burst in progress. The bang scares you into pressing the
shutter release.
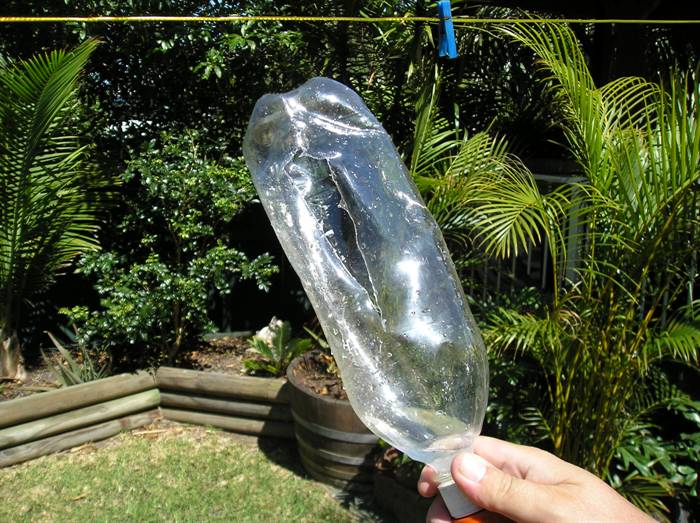
A little too much air in the bottle does more damage...
...than when there is only water.
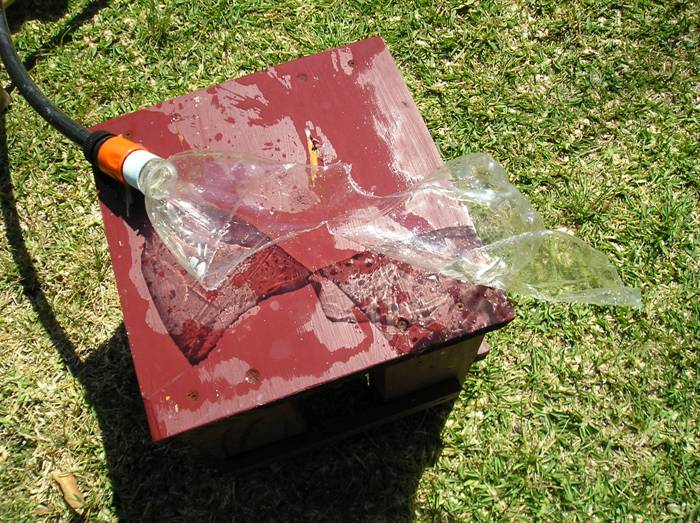
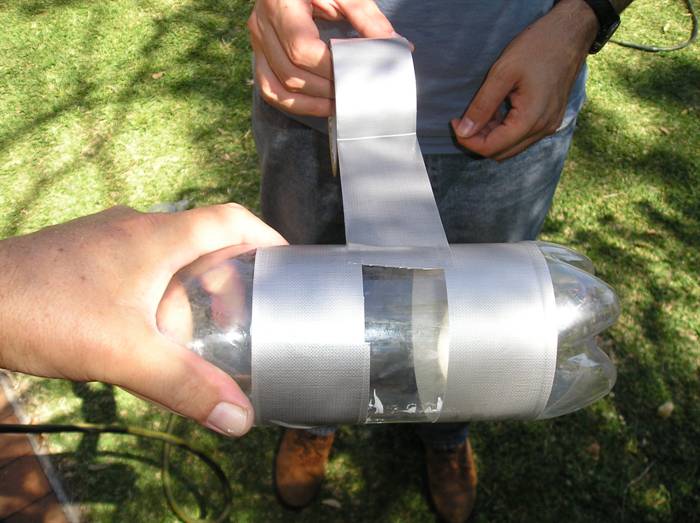
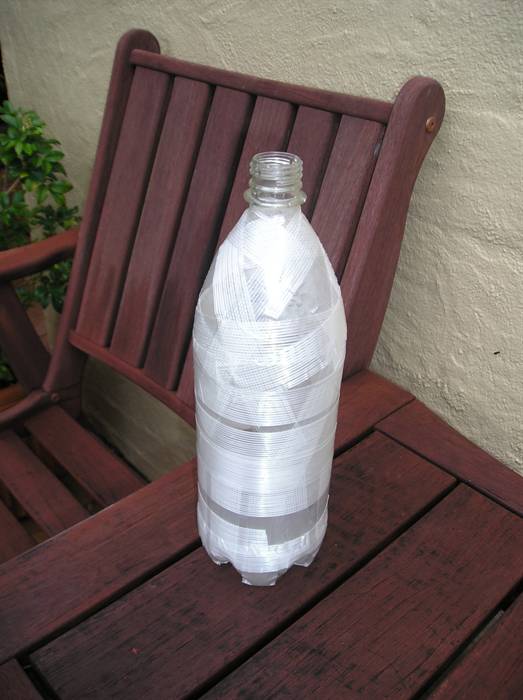
Applying some re-enforcement gaffer tape.
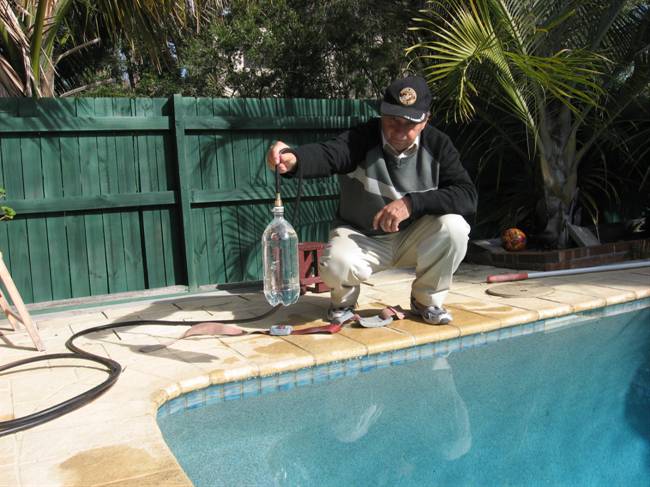
Bottle on test stand.
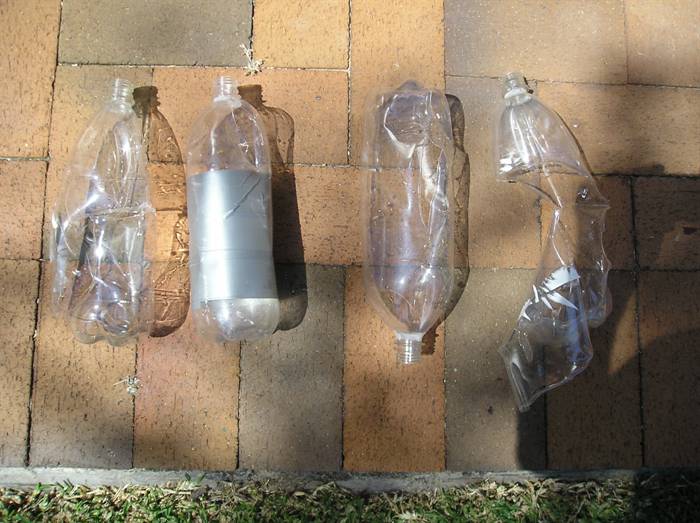
The victims.
Tests from: 22nd October 2006
A standard 2L Coke bottle.
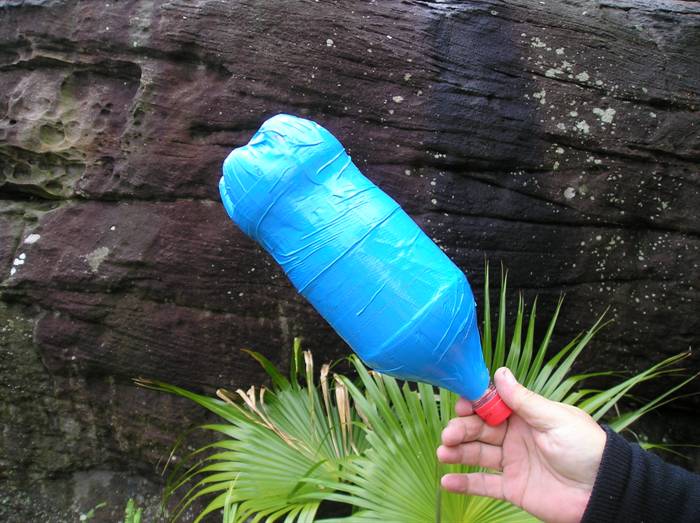
1.25L bottle re-enforced with Scotch Strapping tape.
An angry looking hose just after burst.
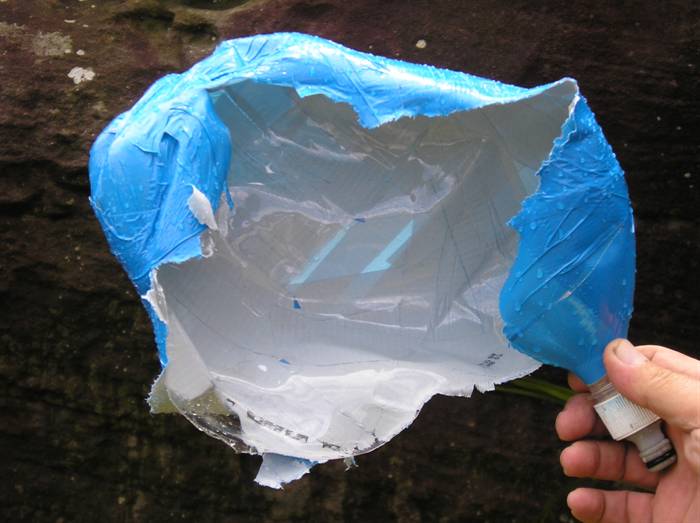
Failure of the re-enforced bottle. Note that the tear is
very limited.
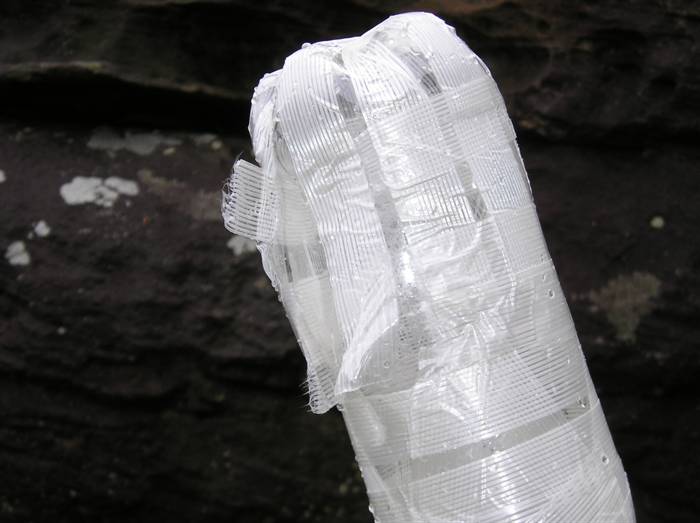
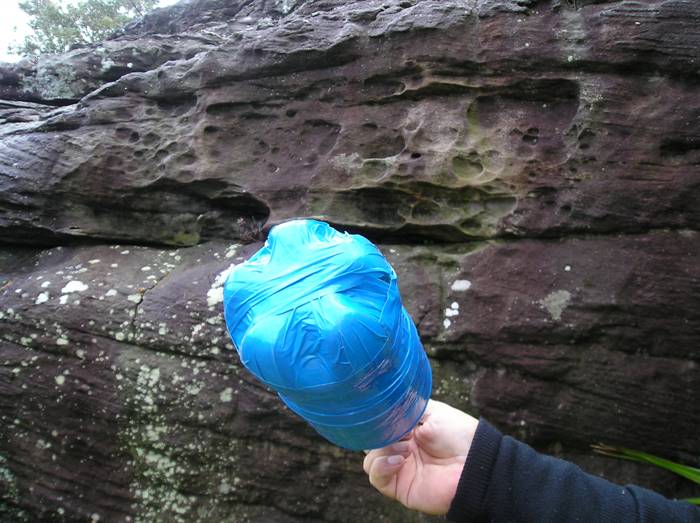
Blue Scotch "gaffer" tape on a 2L Coke bottle.
Detail of the base re-enforcing.
Bottle failed at just above the normal burst pressure. This
tape is useless for re-enforcing.
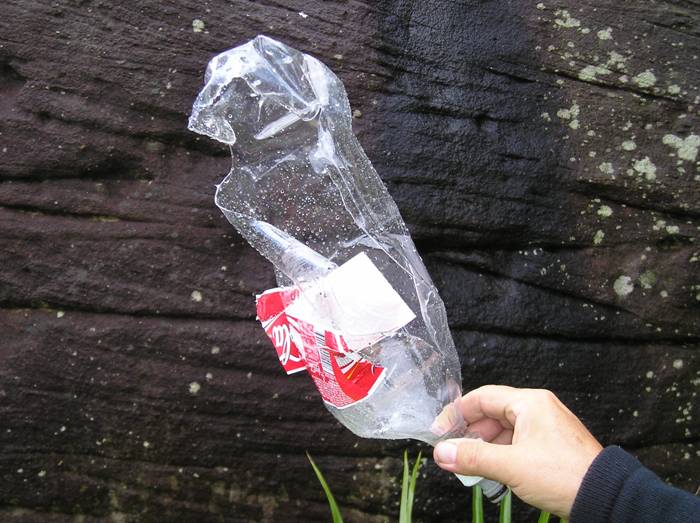
Failed shrunk 1.5 L bottle. The neck shattered as well as
the nozzle.
Tests from: 15th July 2007
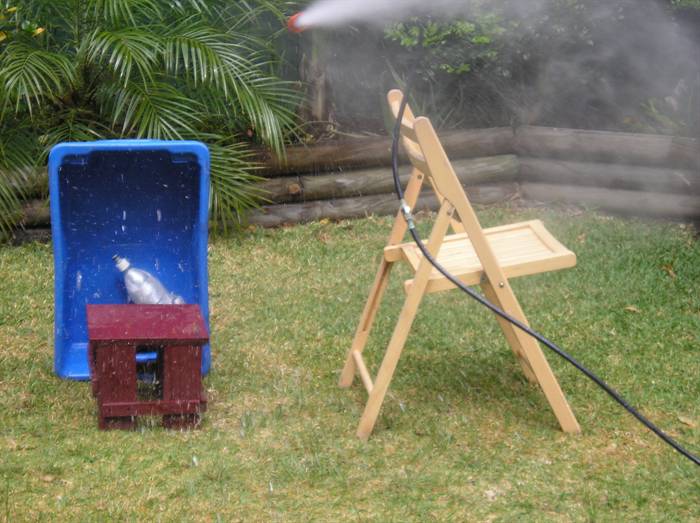
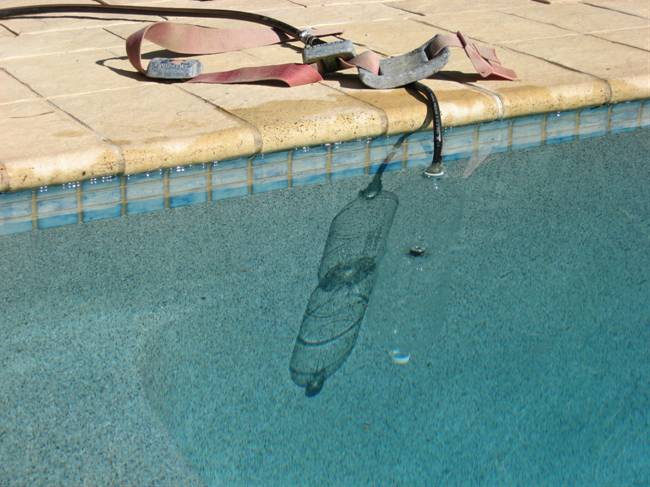
We submerged the bottles under test to
contain the noise.
Two 2L Robinson coupled bottles failed at
165psi.
Preparing to test a 2L bottle.
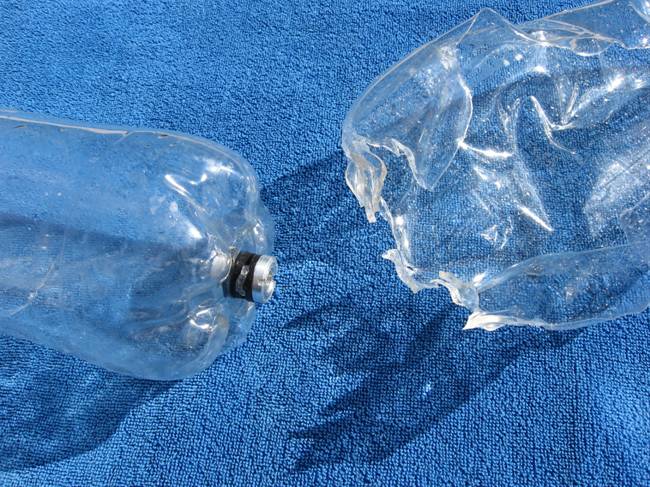
A typical 2 L bottle failure. Splits down
the side.
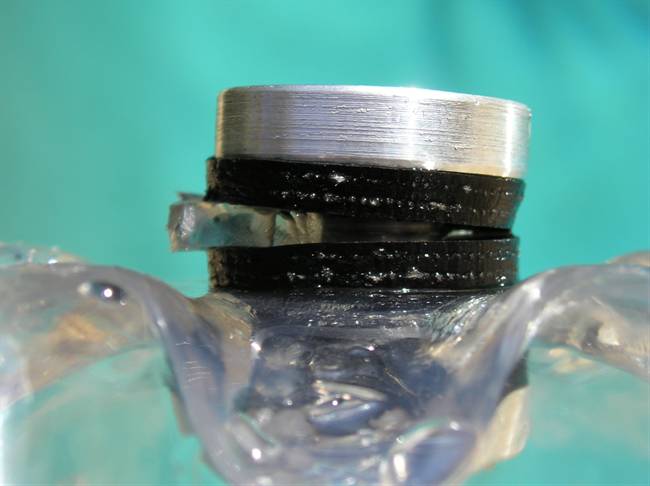
The coupling still retained some of the
plastic from the failed bottle.
Stress fractures in the base of a 2L bottle
after being subjected to 140psi.
One of the very first questions you will ask yourself when
building your rocket, is "what's the maximum pressure I can put
into this thing?" Generally, the more pressure the higher the
rocket will go, and so naturally you will want to increase the
pressure more and more.
There is a limit, however, and beyond this limit the bottle will
rupture. An exploding bottle can be very dangerous, so you
should ensure that you never get to this point, ... well kind
of...
The Burst Test
You need to perform a burst test on the bottles you will be
using for your rocket. Make sure no one goes near the bottle
when this test is being performed.
Take an identical bottle to the one you are using for
your rocket.
Fill it completely with water so there is no air in it.
We use a fairly long piece of garden hose as the air line
and also fill it completely with water. This water is pushed
into the bottle as it expands during pressurisation. This
helps reduce the amount of air in the bottle when it bursts.
Less air means smaller boom.
Place the bottle behind a protective barrier.
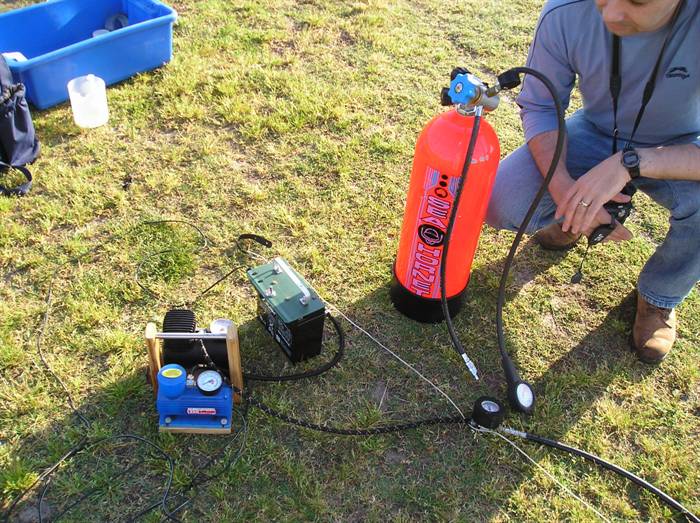
Connect the bottle up to the pressure supply and slowly
start increasing the pressure, continuously taking note of
the pressure. (The pressure supply and gauge should be the
ones you will be using to launch your rockets.)
When the bottle bursts (you will know when that happens)
write down the maximum pressure reached.
Now repeat this test a few more times, recording the
pressure at which each bottle burst.
When the burst tests are complete, take the lowest pressure that
caused a bottle to burst and take 30% off that value. This will
be the Maximum Operating Pressure.
Example:
If your burst pressures were: 160psi, 150psi, and
155psi then the Maximum operating pressure is: 150 x 0.7 =
105 psi.
Never pressurise your rocket above the
Maximum Operating Pressure.
You do not want your rocket to
rupture on the
launch pad ... not only may you injure someone, but you will
have to build a new rocket.
Maximum Operating Pressure could be referred to as MOP, which
is appropriate because that's exactly what you need if you do this test indoors.
Results
Here is an example of typical burst tests:
Some burst test results for common bottles:
Date Tested: 8th October 2006 Testers: PK and GK.
Capacity
Burst Pressure
(psi)
Notes
1.25 L
190
This was a standard 1.25L bottle with
the label and cap ring removed. This bottle had a
significant amount of air in it and as a result got
quite shredded.
1.25 L
185
Same bottle as above but this time there
was no air in it. This one only split along the side.
1.5 L
175
A standard 1.5L bottle with label and
cap ring removed. There was no air in this one and it
split along the side.
1.25 L
195
We used 3 bands of gaffer (duck) tape on
the widest part of this one. During filling the hose
sprung a leak and it went only up to 180psi. Refilling
it a second time it was already pre stressed and failed
at 195 on the neck part of the bottle.
Date Tested: 22nd October 2006 Testers: PK and GK.
Capacity
Burst Pressure
(psi)
Notes
2 L
168
This was a standard 2L "shaped" Coke bottle
had
the label still attached. It is likely that the label
provided a little re-enforcement.
1.25 L
250
A standard 1.25L bottle re-enforced with
1 layer of Scotch 3M strapping tape. The bottle showed
very good shape retention at high pressures.
2 L
190
The same Coke bottle as above but this
time it was re-enforced with a single layer of blue
Scotch "Gaffer" tape. This tape is quite flexible and
provided very little re-enforcing strength. In the video
it is quite obvious that bottle stretched significantly
before bursting. This tape is useless for
re-enforcement.
1.5 L
Heat Shrunk to 1 L
170?
This was test to see if shrinking a
bottle using hot air would make it stronger because of
the smaller diameter and hence slightly thicker walls.
Nope! The bottle stretched quite asymmetrically and
burst at regular pressure. This bottle also failed
unlike the others. The bottle failed at the neck and
shattered the nozzle. Ooops, that was a good nozzle.
When bottles stretch it is very common for little
stretched "V"s to form right at the base of the neck.
The bottle probably failed at one of these and the crack
propagated all the way to the top shattering the nozzle
around it.
Date Tested:15th July
2007 Testers: PK and GK. Notes: These tests were carried out under water about
40-50cm below the waterline.
Capacity
Burst Pressure
(psi)
Notes
2 L
165
This is a standard straight walled 2L
bottle. The wall has a small ridge in the middle of it.
Typically contains Pepsi. The bottle burst on the side.
2 L and 2.25L
coupled
165
A 2L bottle as above and a 2.25L bottle
were coupled base to base using our standard 8mm
Robinson coupling with three thick hard rubber washers.
It appears the bottle burst again on its side and the
crack propagated to the coupling hole. From there the
cracks fanned out from the hole. There was significant
damage all around the coupling. The 2.25L bottle was
stretched but otherwise undamaged.
2L
-
A standard 2L bottle again but this time
without the central ridge on the flat section. We
pressurised this bottle to 140psi. We stopped the
pressurisation and held it for 40 seconds. During this
time the bottle continued expanding and air having
entered it it started floating to the surface. We
aborted the test and let the pressure out. The bottle
was stretched considerably. Normally the bottle has a
2280ml capacity, but after stretching it held 2360ml
unpressurised.
2L
150
Same bottle as above. We pressurised it
to 130psi and held it at that pressure for 3 minutes. No
visible continued inflation could be seen. Then we
slowly increased the pressure and the bottle failed at
150psi.
SCUBA tanks and compressors work well as air
supply.
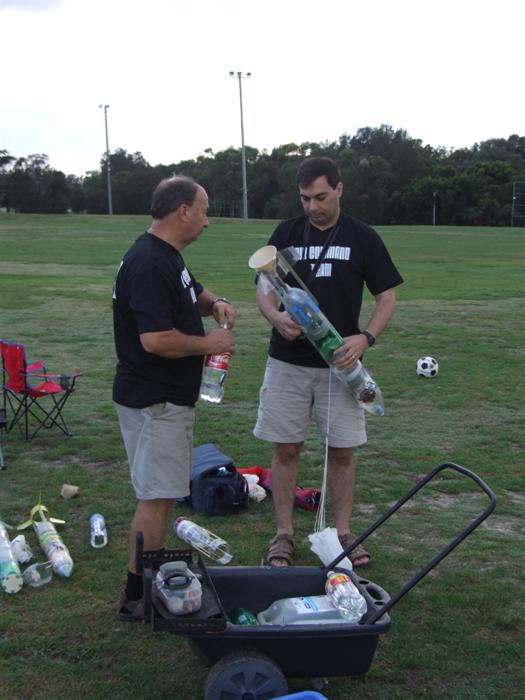
A funnel makes it easier to pour the water in.
Filling the rocket
To fill the rocket with water, remove the
nozzle, and simply pour the water in. Using a funnel can make it
easier, and putting marks on the bottle at various levels allows
you to easily fill it to the right level for a particular flight
profile.
Placing the rocket on the launcher
Place your finger over the nozzle and turn
the rocket upside down.
Thread the rocket into the launcher, and
pull back the hose quick release.
Align the nozzle with the quick release
hose fitting
Quickly remove your finger and drop the
nozzle into the fitting
Snap the fitting in place.
The amount of water lost is negligible.
Pressurising
Before pressurising the rocket clear the
area of kids or anyone who could accidentally launch it. Leaving
a big loop in the string is good idea.
On your first attempt you should only
pressurise the rocket to around 30 psi. This will help you
determine which way the rocket is going to go as well as
familiarise yourself with the whole launch procedure. The rocket
can still reach pretty high altitudes at this pressure.
Increase the pressure on successive
launches to see the difference in altitude. Remember
DO NOT exceed your maximum
operating pressure. (See determining maximum operating pressure)
Make sure all people in the launch area are aware
that a rocket will be launched and may fall on or
fly directly at them!
When pressurisation is finished, check the
surrounding area again and make sure everyone is aware that a
rocket launch is imminent. Check with people wanting to take
pictures of the launch that they are ready, batteries are
charged up, lens covers removed, film in camera, camera is out
of the camera bag etc.
You may also have someone time the flight with a stop watch to
help you record your rocket's flight performance.
In a clear loud voice count down to
zero and on zero pull the string firmly until the rocket is
released.
Now shout and cheer and yell “Wow look at
it go, …. look how high it is …it is a bit windy up there … the
rocket is coming back …. LOOK OUT!!! … the wind shield was dirty
anyway ….”
Rockets can land anywhere. With the same
rocket, off the same launch pad on successive lift offs there
were more than a 100 meters between the locations where they
landed for us even though they both mostly went straight up.
After touchdown, inspect the rocket for any damage. Damage is
very common after a hard landing especially without a parachute.
Make sure that the main bottle does not have any kinks or
scratches that may cause it to burst at a lower pressure.
Also
inspect that the fins and nosecone are still securely attached.
If something is loose usually a bit of tape can fix it.
Don't try to launch a rocket with loosely attached
components. A rocket launch puts quite a lot of stress on the
component joints, and if a fin should fall off during take off,
the rocket may have a less predictable path.
It is fascinating to see peoples reaction to an out of
control rocket flying parallel to the ground.