Each flight log entry usually
represents a launch or test day, and describes the
events that took place.
Click on an image to view a larger image, and
click the
browser's BACK button to return back to the
page.
Day 121 - Shadow II Flights
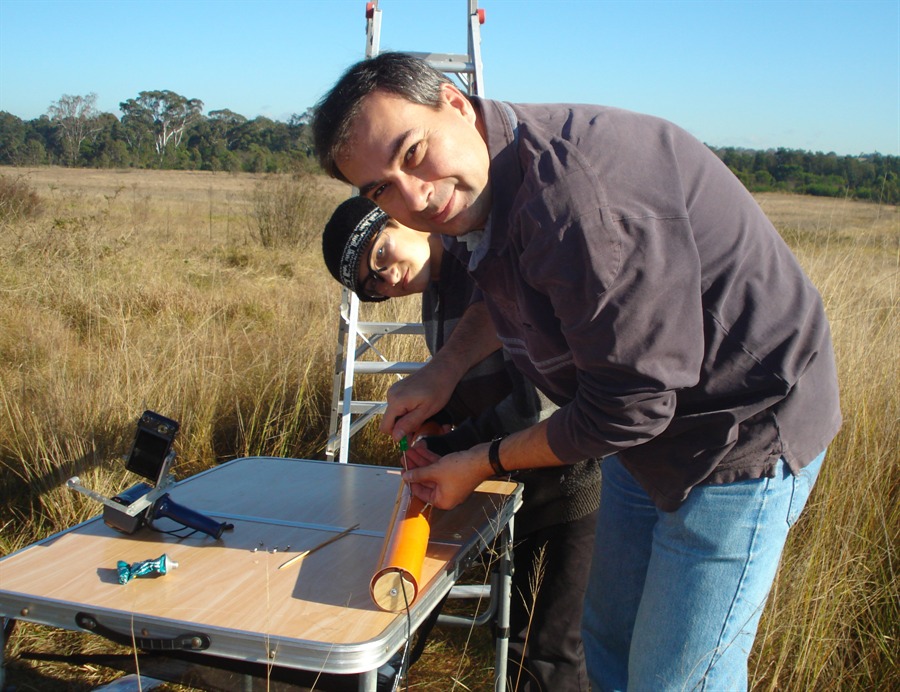
Doing final preparation the night before.
Camera, LiPo batteries and altimeter on the
back.
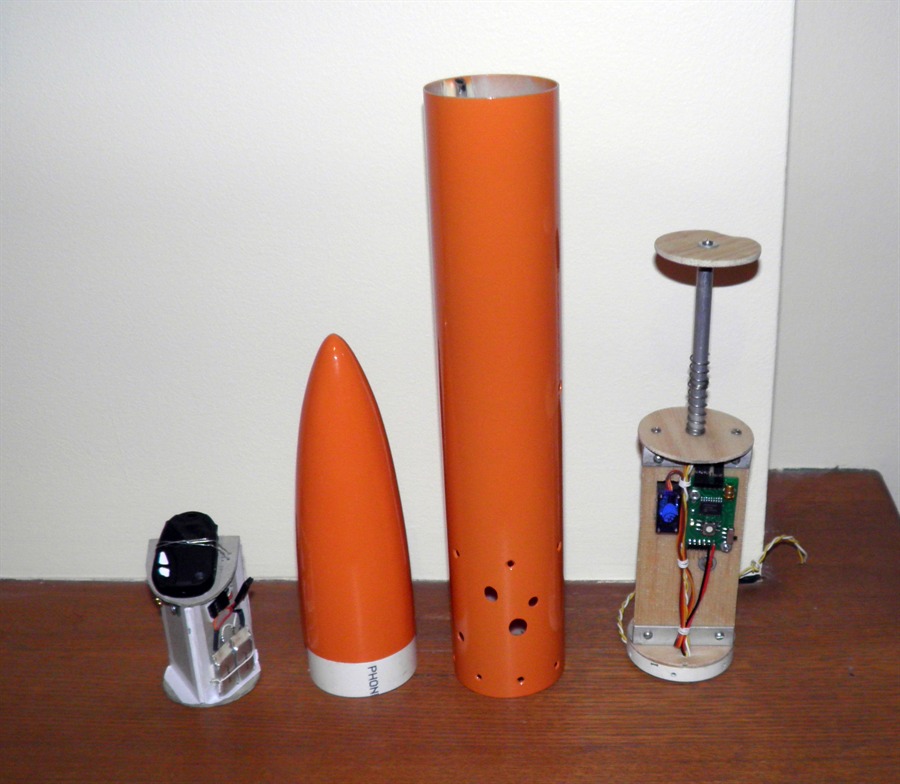
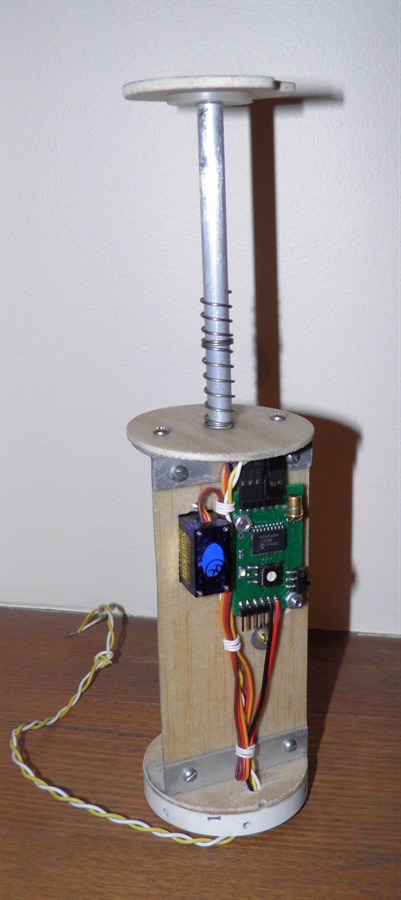
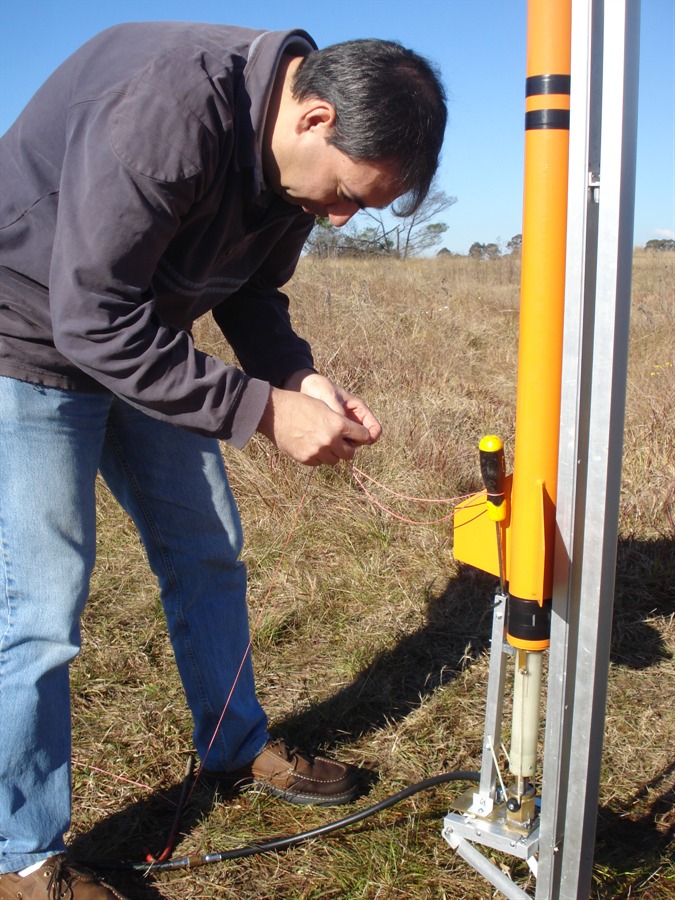
Piston ejection mechanism.
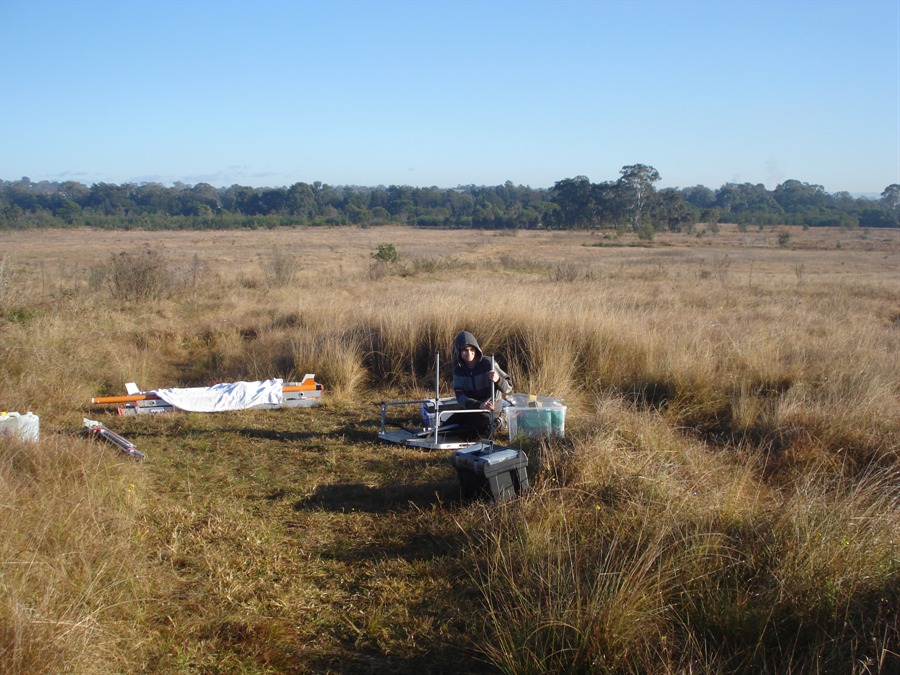
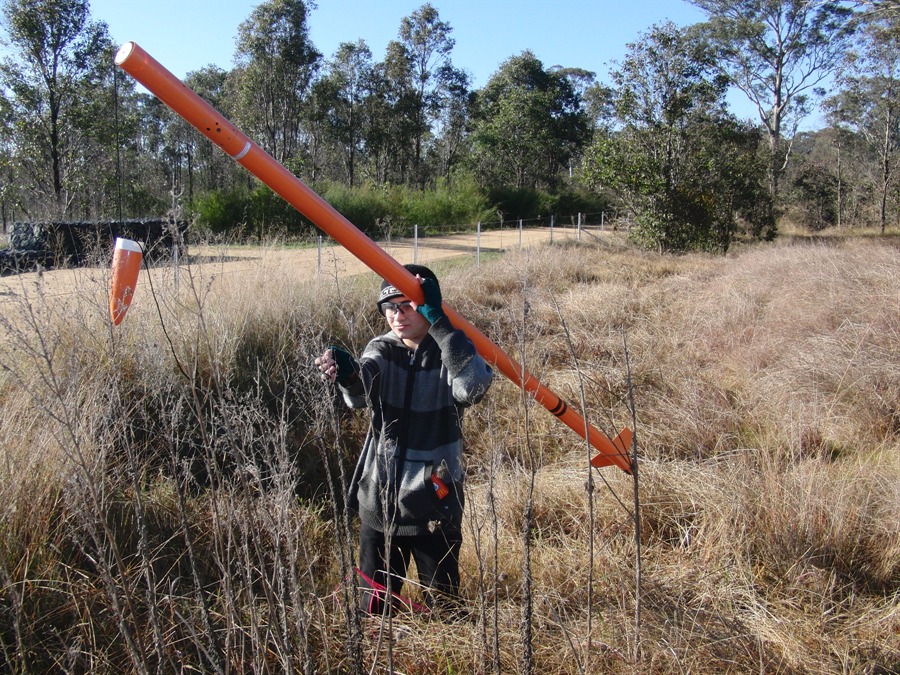
8:30am ... time to set up.
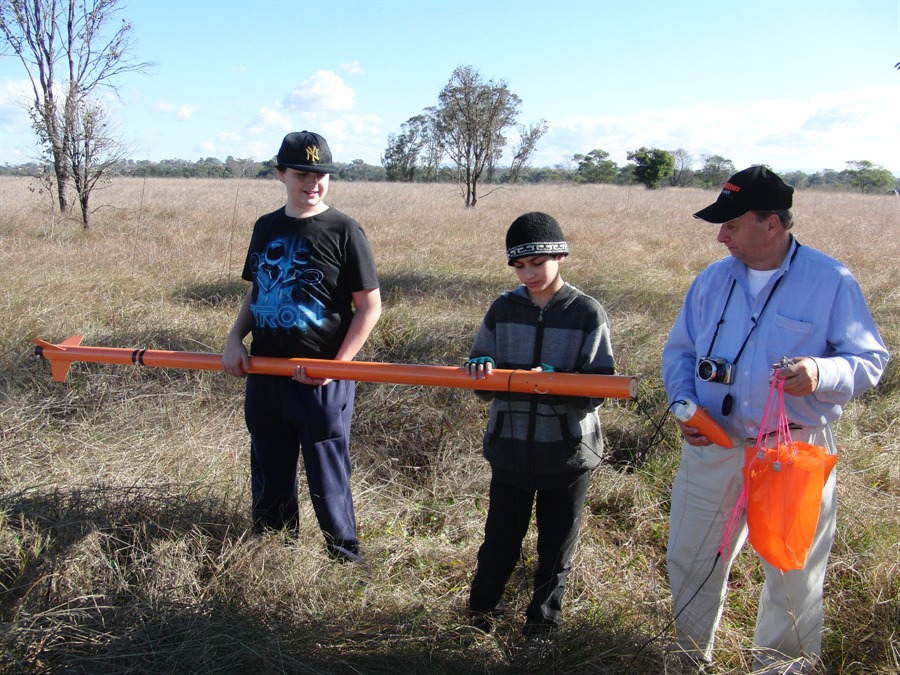
Assembling rocket on location.
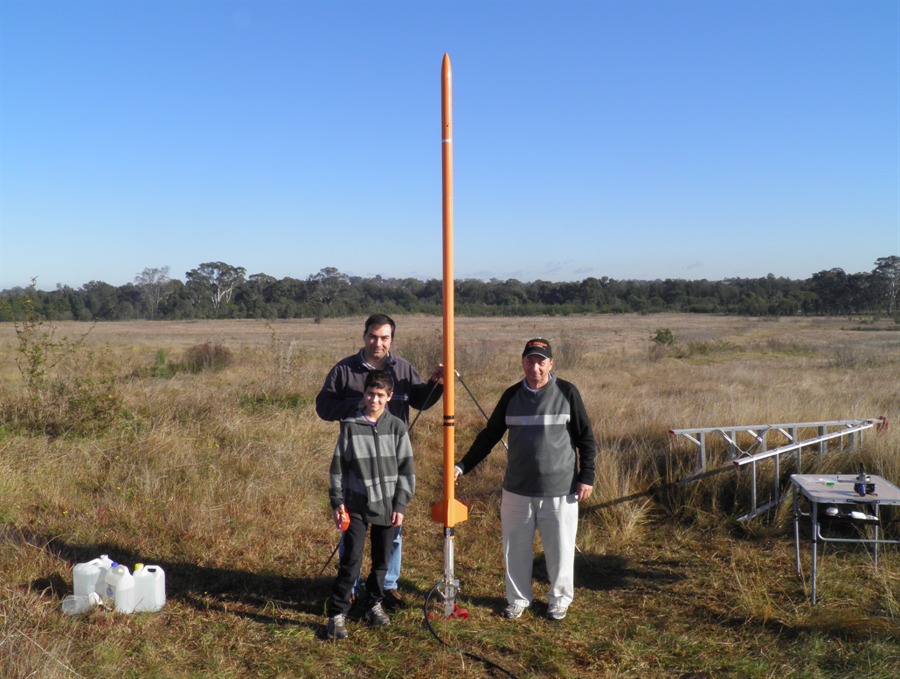
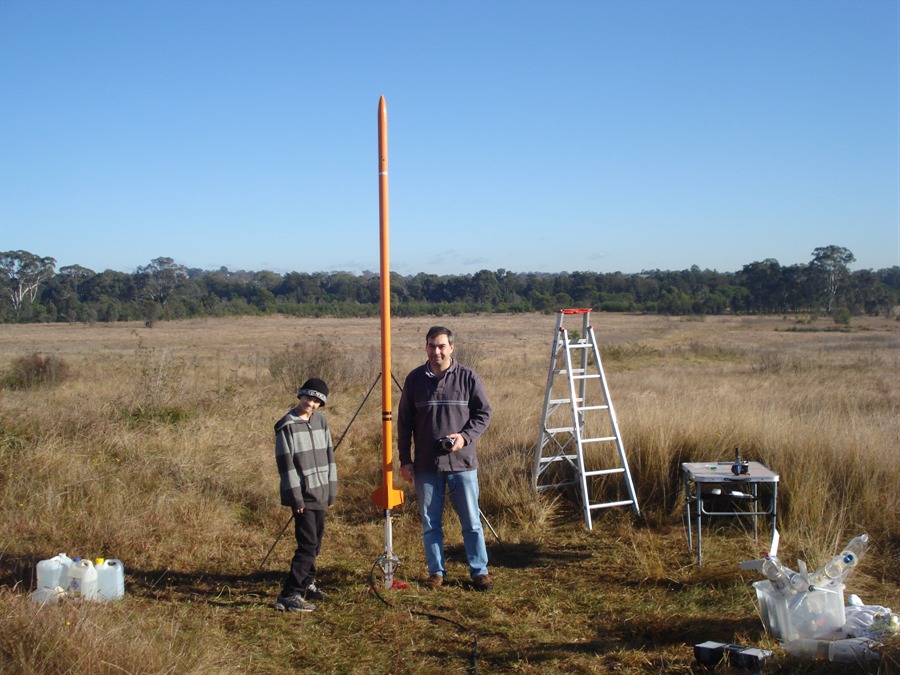
Final pose before first flight.
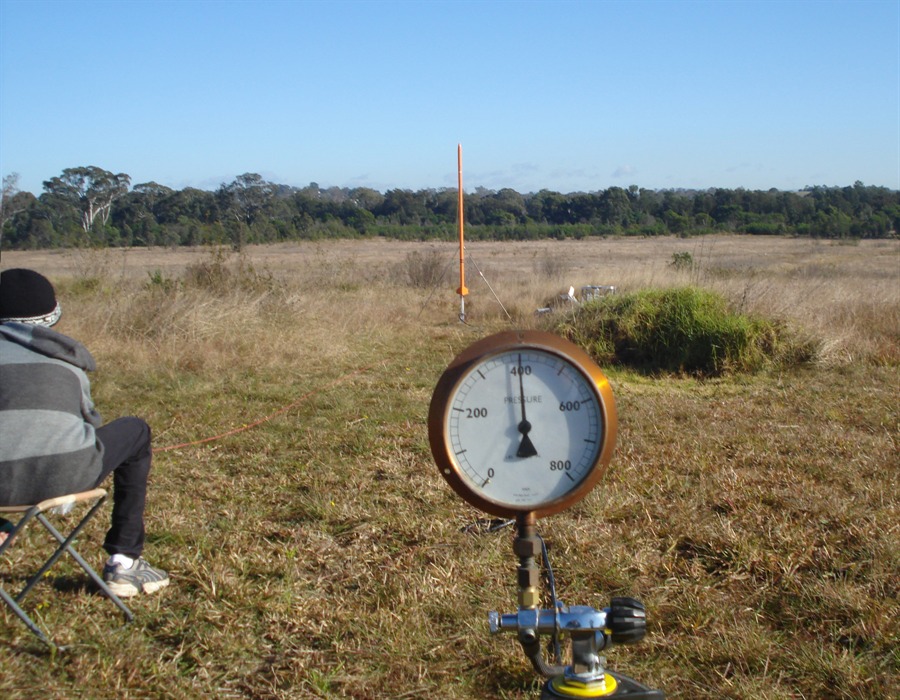
Pressurised to 400psi.
The launch took a bit of effort to get
going. Everything seizes up at the higher
pressures.
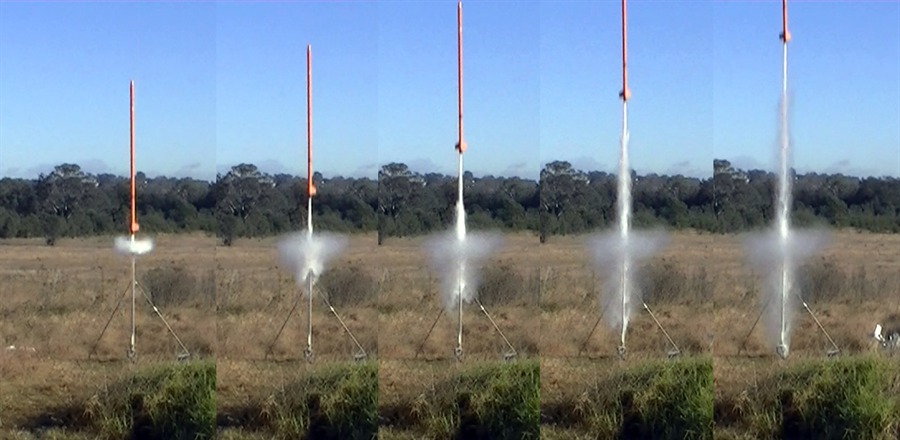
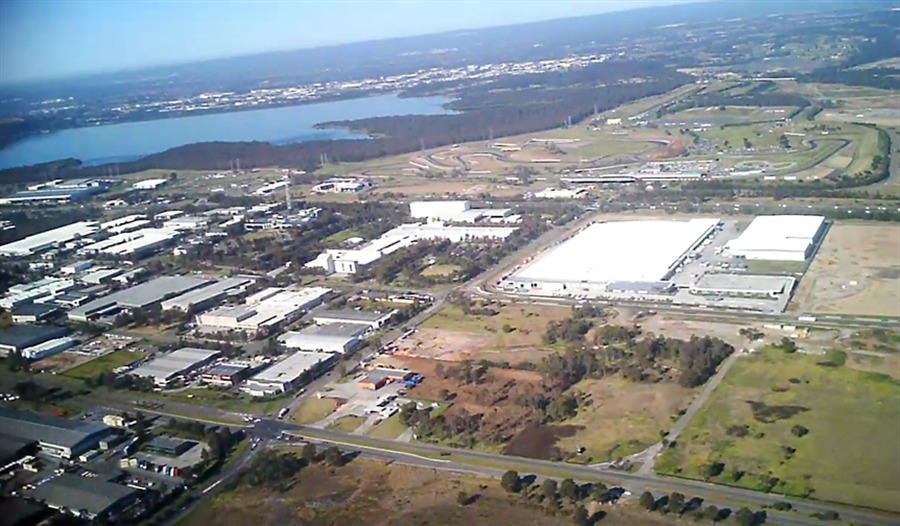
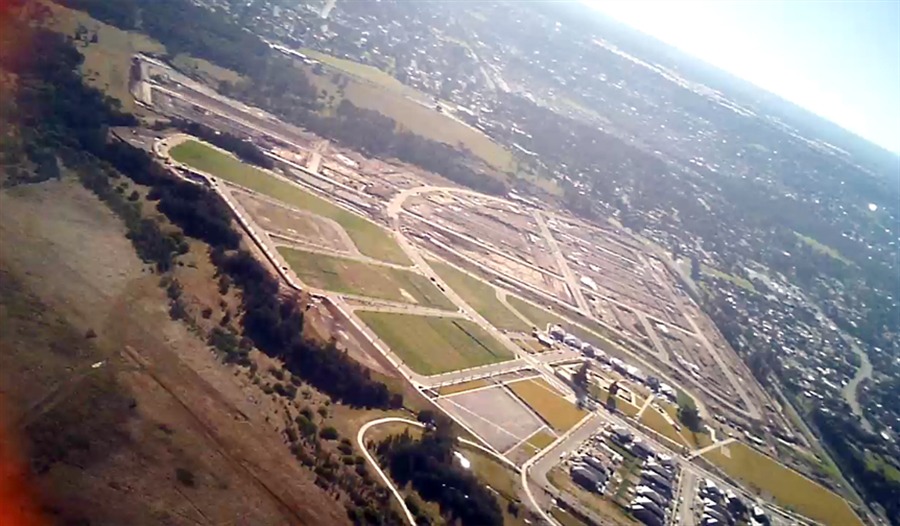
Stills taken from video.
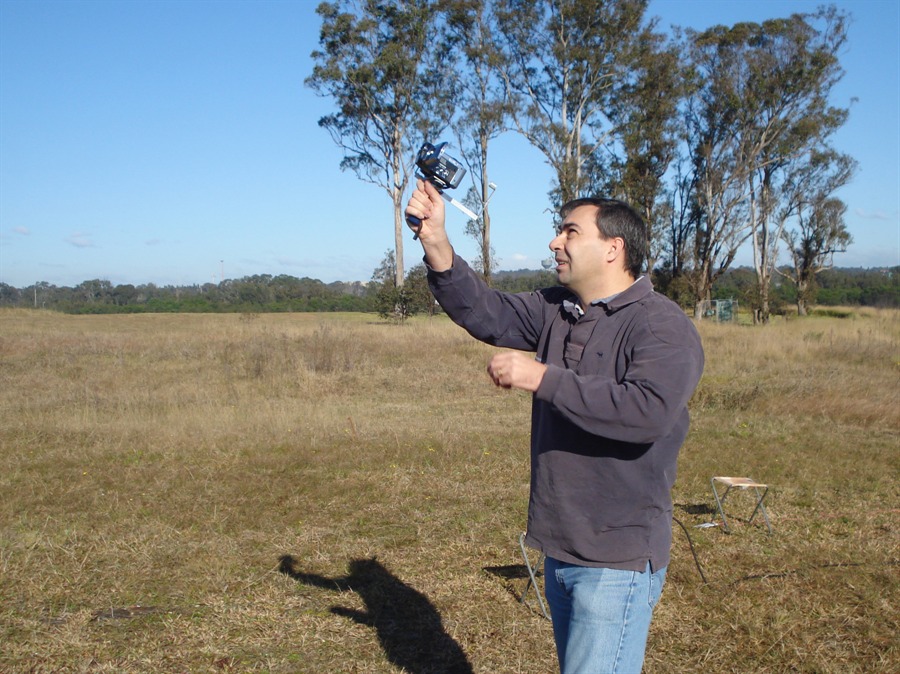
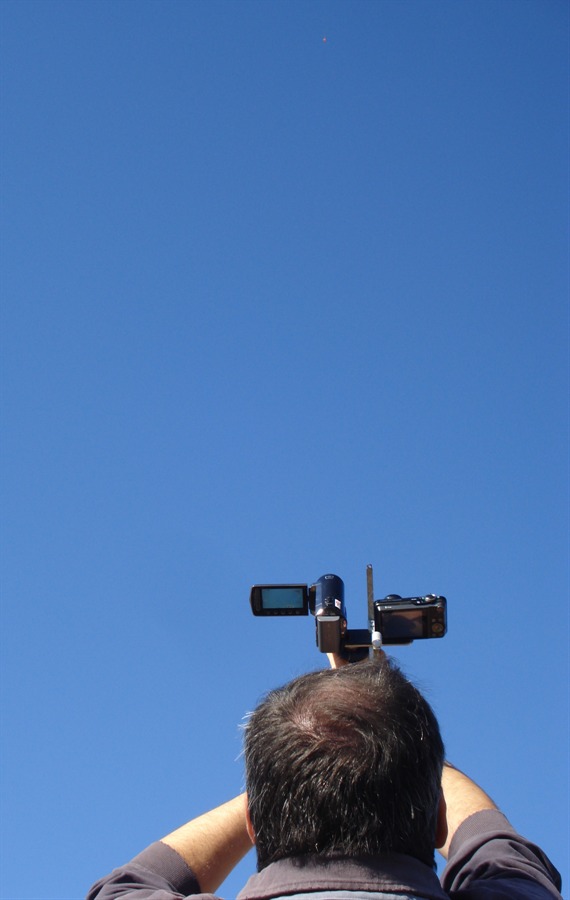
Filming the launch.
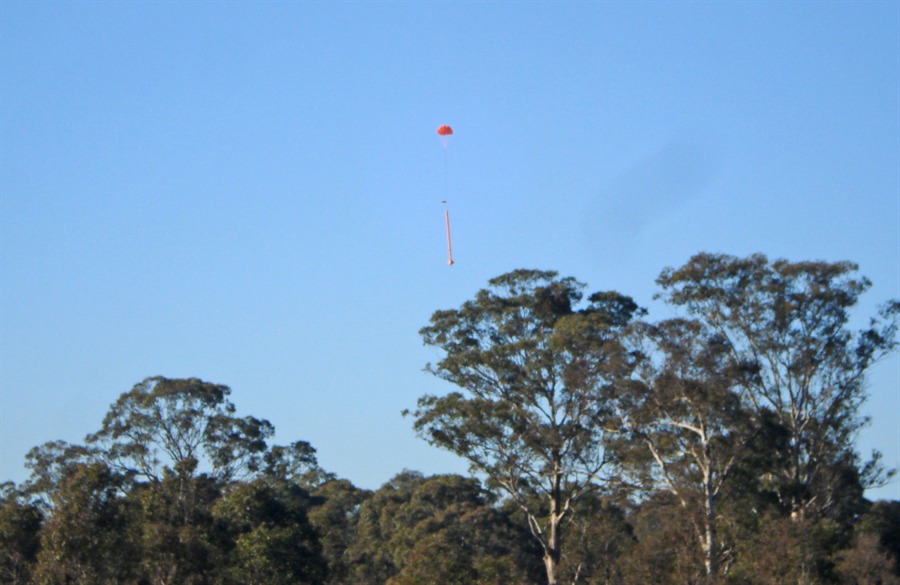
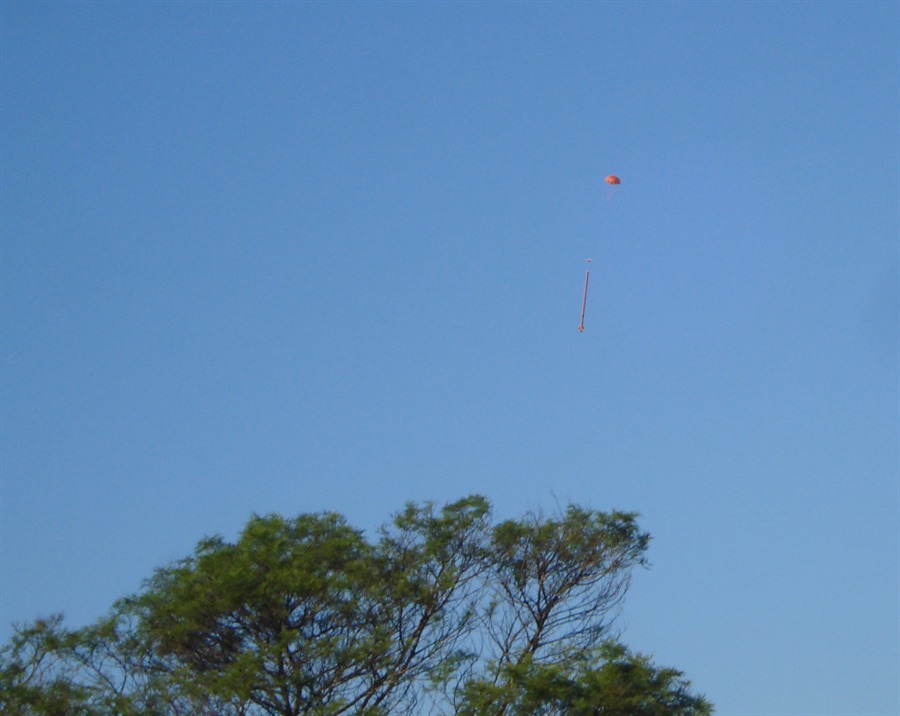
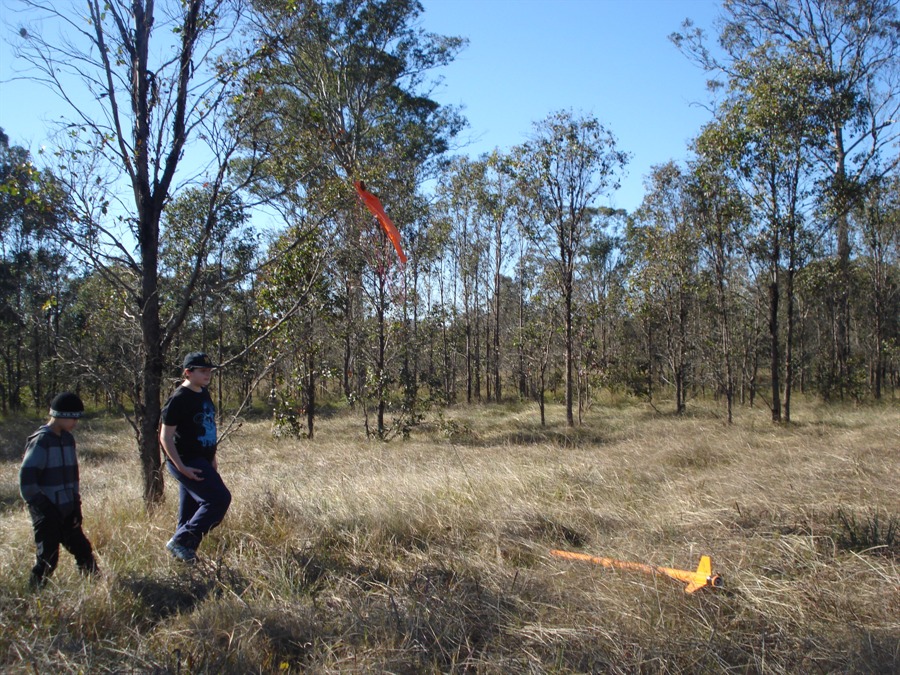
Coming down
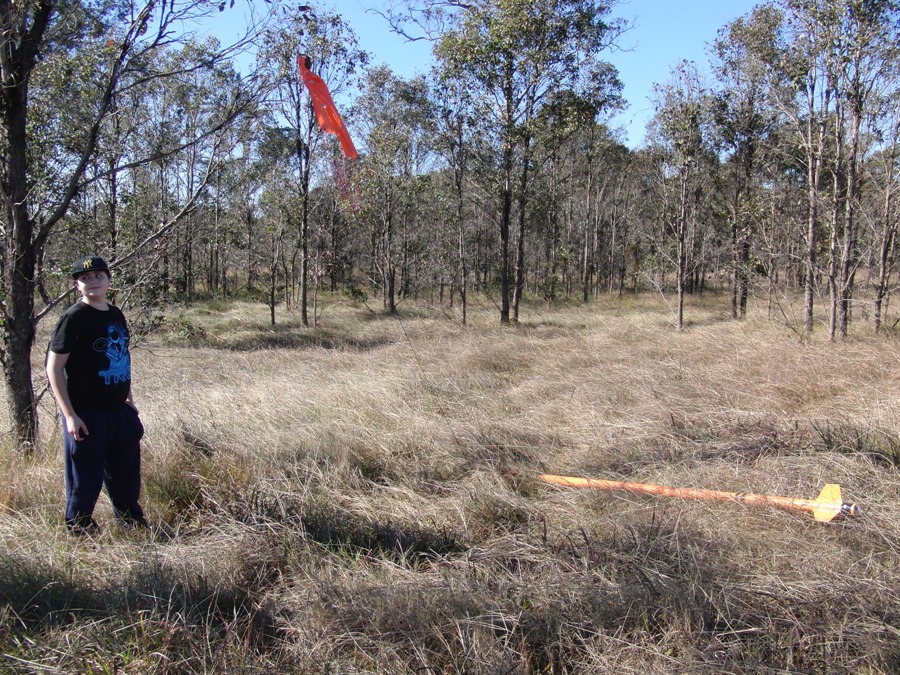
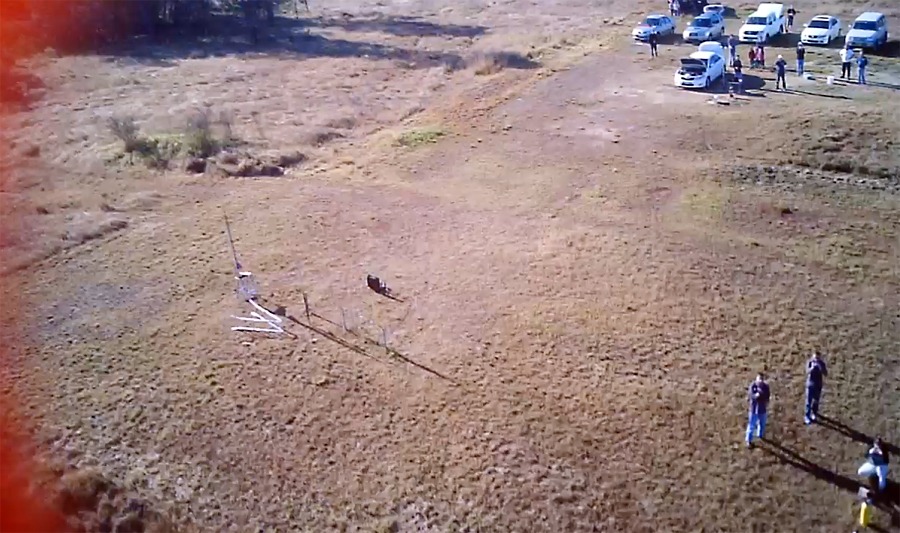
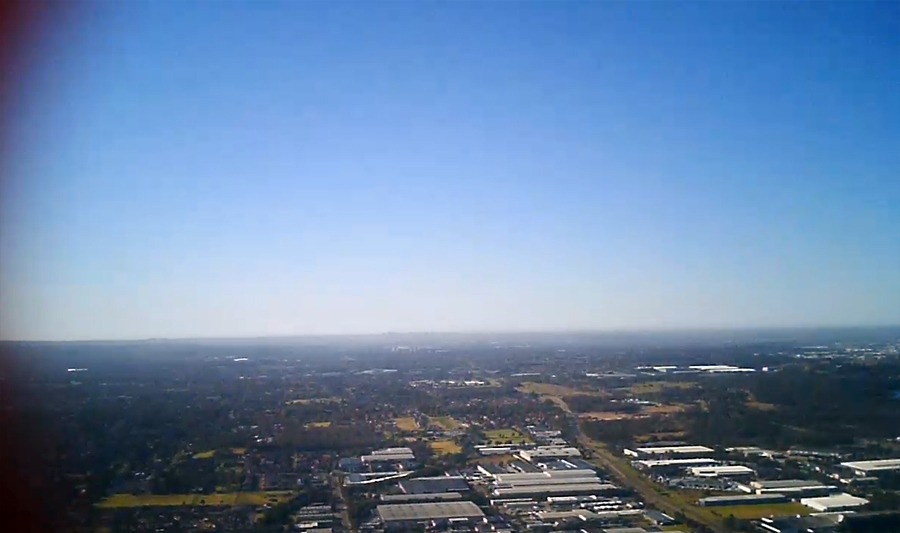
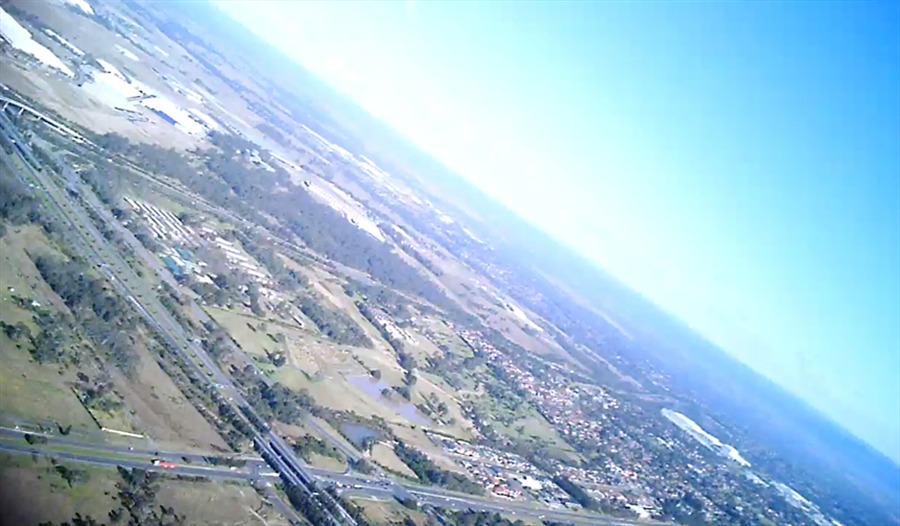
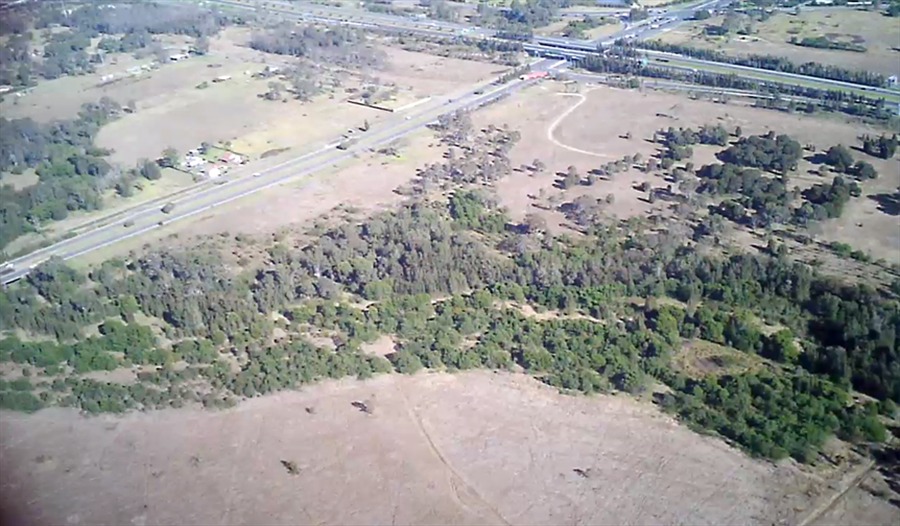
The rocket landed about 180m from the launch pad.
Landed in the grass without damage .
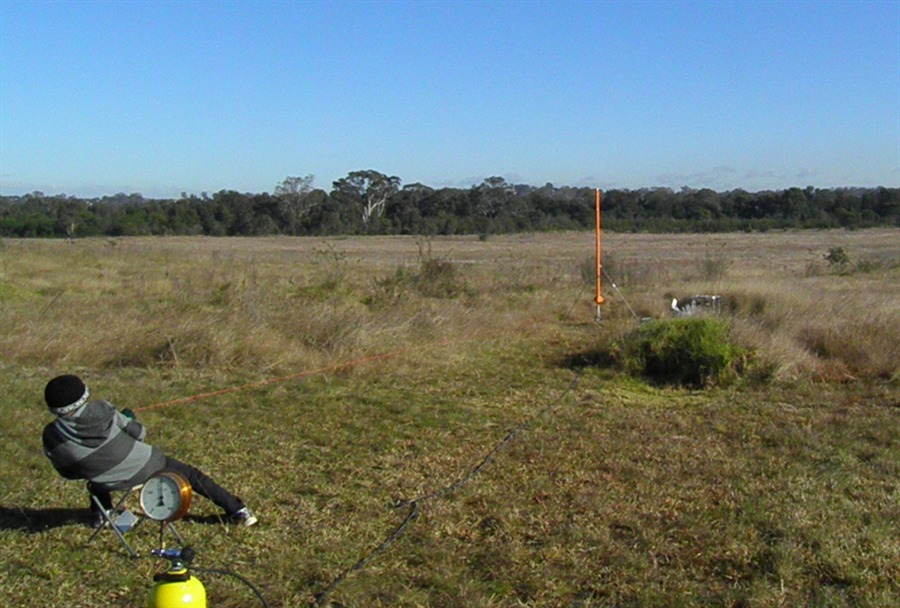
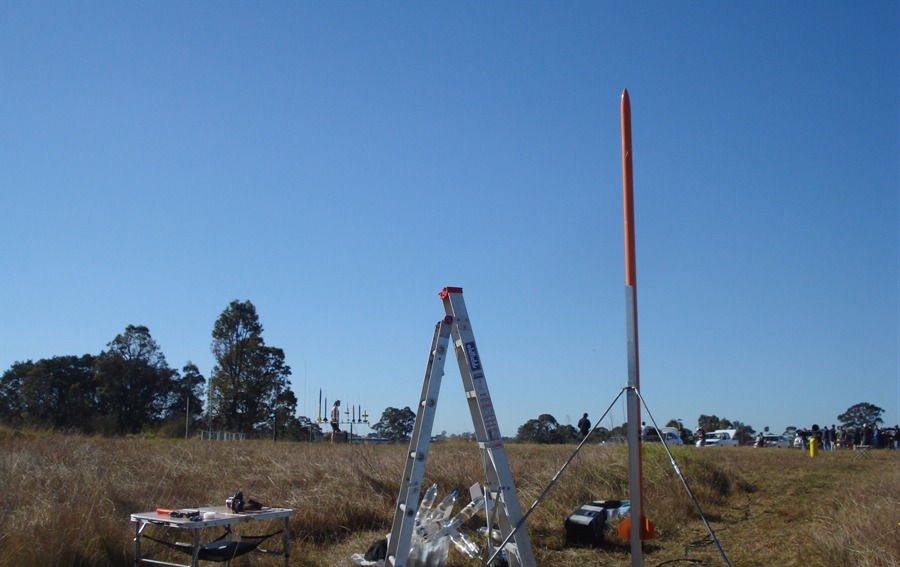
Setting up for the second launch just over
an hour later.
Improvising with a screwdriver to get extra
leverage on the release arm. This did the trick.
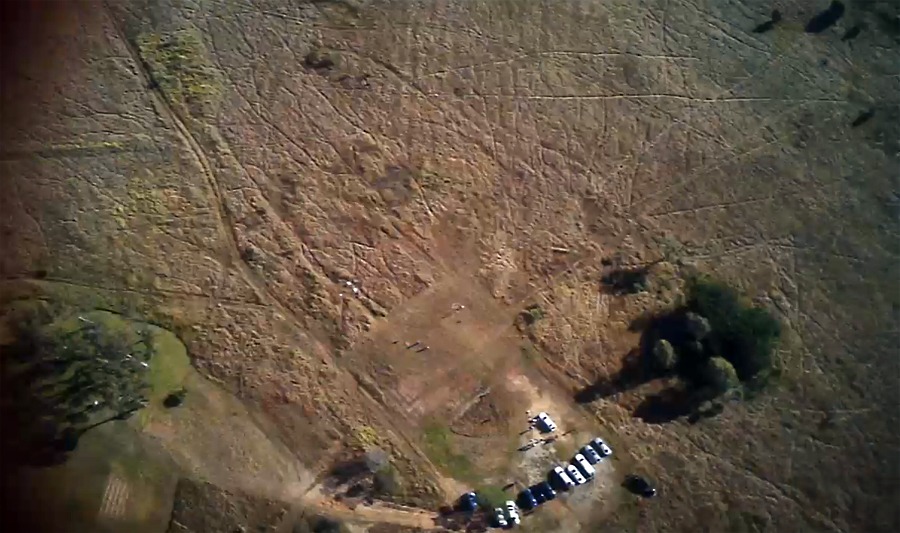
Looking back at the pyro launch pads.
Second launch at 420psi.
Chris sends Shadow off on it's second
flight.
Whoosh...well more like boom.
Blink and it's gone
Returning from 1239 feet.
The parachute was about the right size to
stop it drifting too far.
The parachute was caught in a tree.
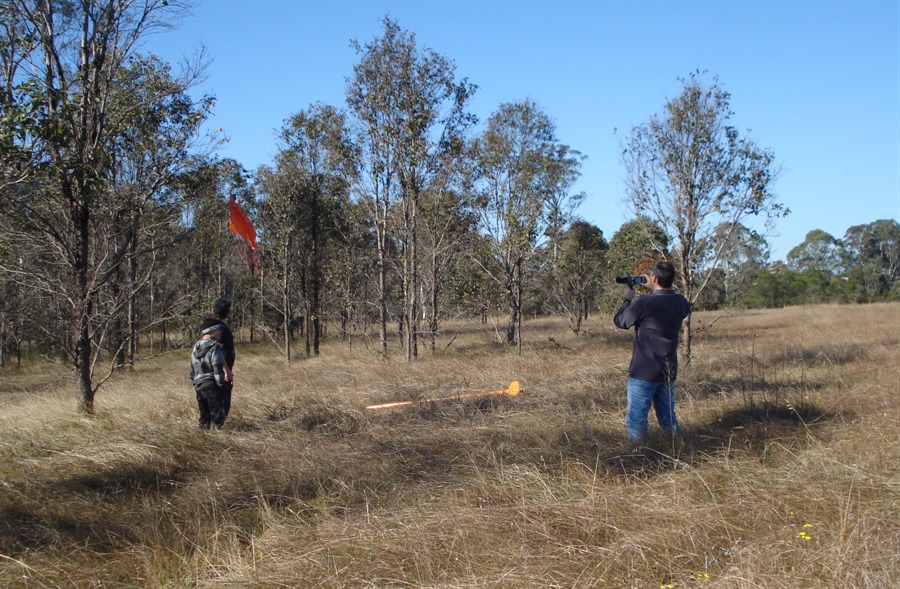
Documenting the flight.
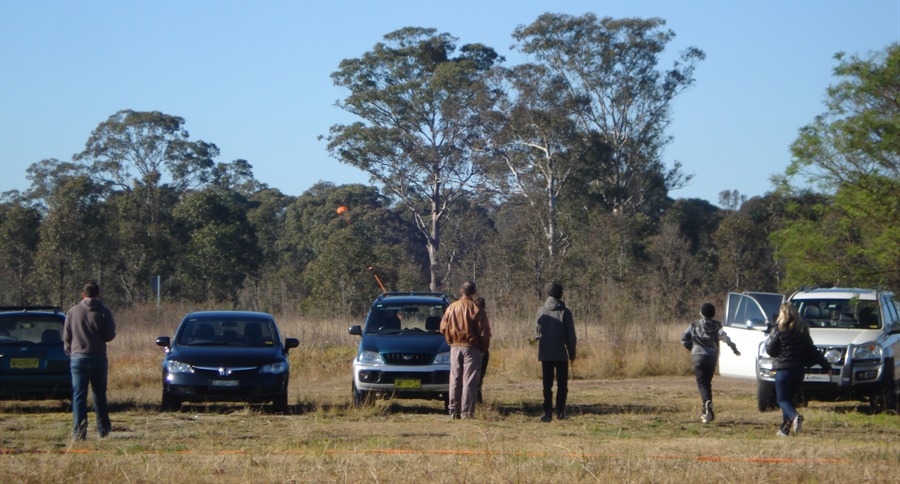
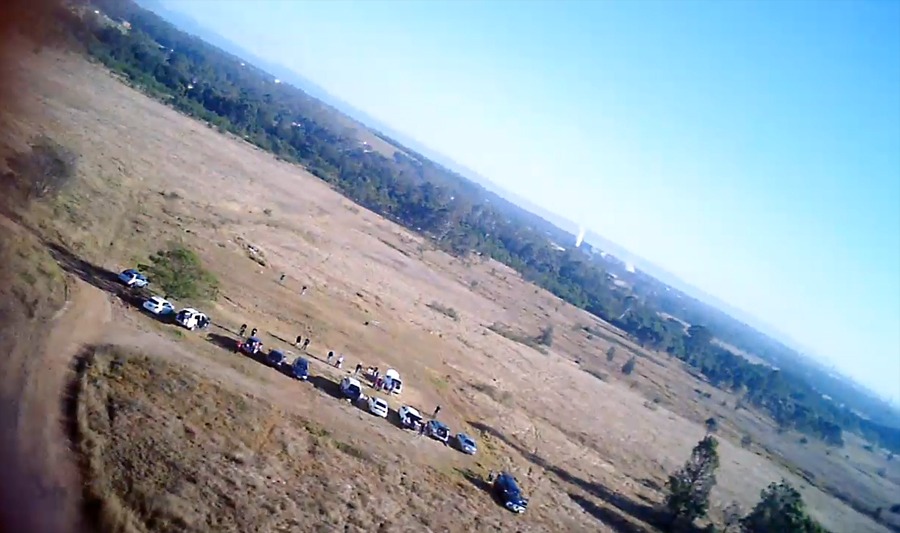
Recovery crew. Thanks to Ryan for helping
out on the day.
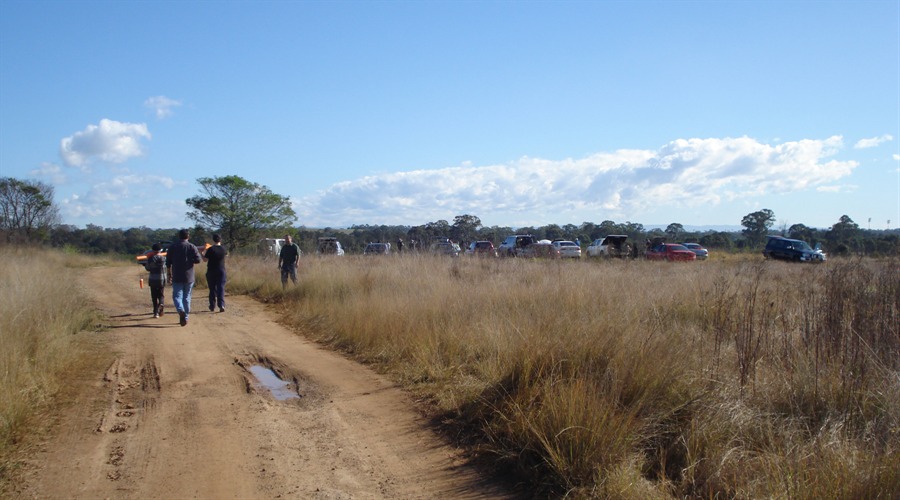
Time to pack up ...
... and head home.
Date:
30th June 2012, 8:30am - 12:30pm
Location:Doonside, NSW, Australia
Conditions:Calm 0 - 5km/h wind, mild ~15C, blue
skies
Team Members at Event: Paul K, PK and
GK
After a few months break we started
repairing the Shadow about 3 weeks ago. Most
of it was straight forward as we really
weren't redesigning anything new on the
rocket. We knew that the deployment
mechanism worked well on the first flight so
we wanted to see if we could get it to work
again on these flights. We decided to
simplify the whole setup and just use the
single Servo Timer II (no uMAD) and with a
break wire to trigger it. To save on weight,
we used two 100mAh LiPo batteries to power
the ST II, servo and the zLog altimeter
instead of the normal 9V battery.
We also replaced the normal slide power
switch with a
screw
switch to ensure good contact at the
high accelerations.
In final testing the night before launch,
I did a number of deploys and the nosecone
became wedged on two test runs. This was
bad. After carefully removing the nosecone I
noticed that the parachute was jammed diagonally pushing only on one side
of the nosecone. The parachute was packed
the same way (long and thin) on the flight
that crashed. This is most likely the cause
of the crash. So I repacked the parachute
short and stubby so it fit fairly snugly
into the body tube. I also sanded the
nosecone coupler down to make it even
looser. Next I added about 1cm of dense foam
into the nosecone coupler so the piston
would need less travel to eject the
parachute. Less travel means it can eject it
with greater force. I also greased up the
piston guide and the spring mechanism to let
it slide as easily as possible. With these
changes, the next 5 tests were successful. I
didn't want to make the nosecone too loose
as there is always a danger of drag
separation especially since the deceleration
was going to be around -1.7G.
I also decided to check the #16 camera
after fully charging it for a couple of
hours the night before....nothing... the
camera just didn't want to turn on as if the
battery was completely dead. I plugged it
into the computer, but it was fine, it just
wasn't holding a charge for very long. So I
removed it and replaced it with the older
#11 camera. This one worked fine. The lesson
is to always double check everything the
night before, and leave yourself enough time
to fix anything you may find.
Launch Day Events
We woke to a beautiful morning with blue
skies and a little bit of wind. We normally
have some wind on the coast, but because
Doonside is about 50km away inland we were
hoping the wind would be calmer. When we
arrived at the launch site it was almost
completely calm. Yes! Perfect launch
conditions.
It took about 40 minutes to set up the
launcher and rocket and we were ready to
launch. We decided to change the launch
procedure a little bit, because
the rocket is almost a foot taller. It is
harder to get to the electronics to turn
everything on. Because the access holes are
all around the rocket it would have meant
relocating the ladder several times. Since
the quick launcher allows the rocket to be
removed from the base, we simply lifted it
off, laid it horizontally and turned on the
power, camera, and altimeter, and then put
the rocket back on the pad and inserted the
locking pin.
We also used the extra hose extension for
this rocket to put us back about 20m in case
it decided to scatter itself into little
pieces.
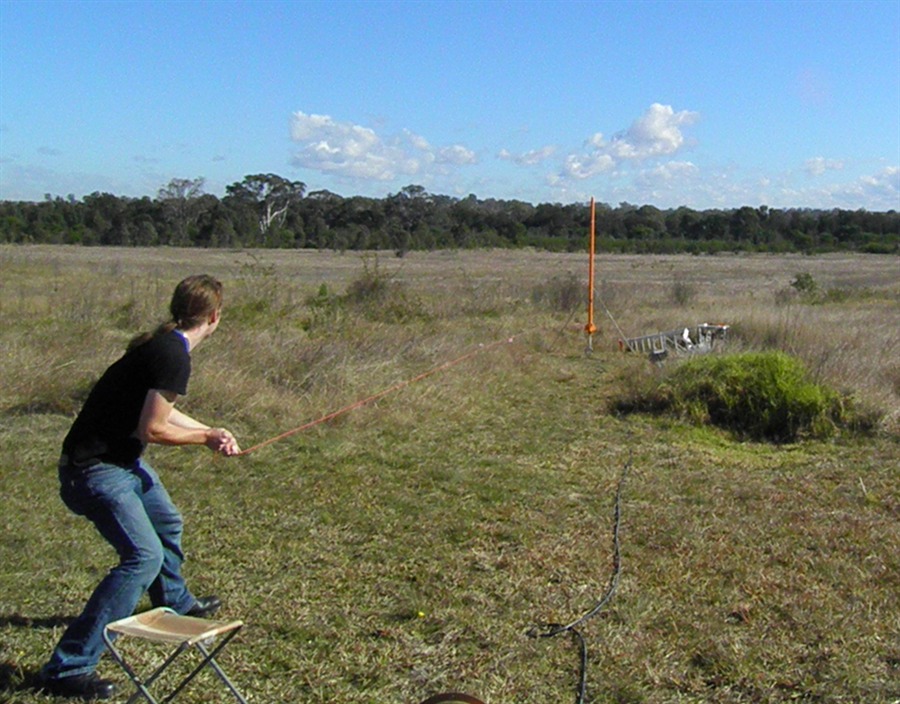
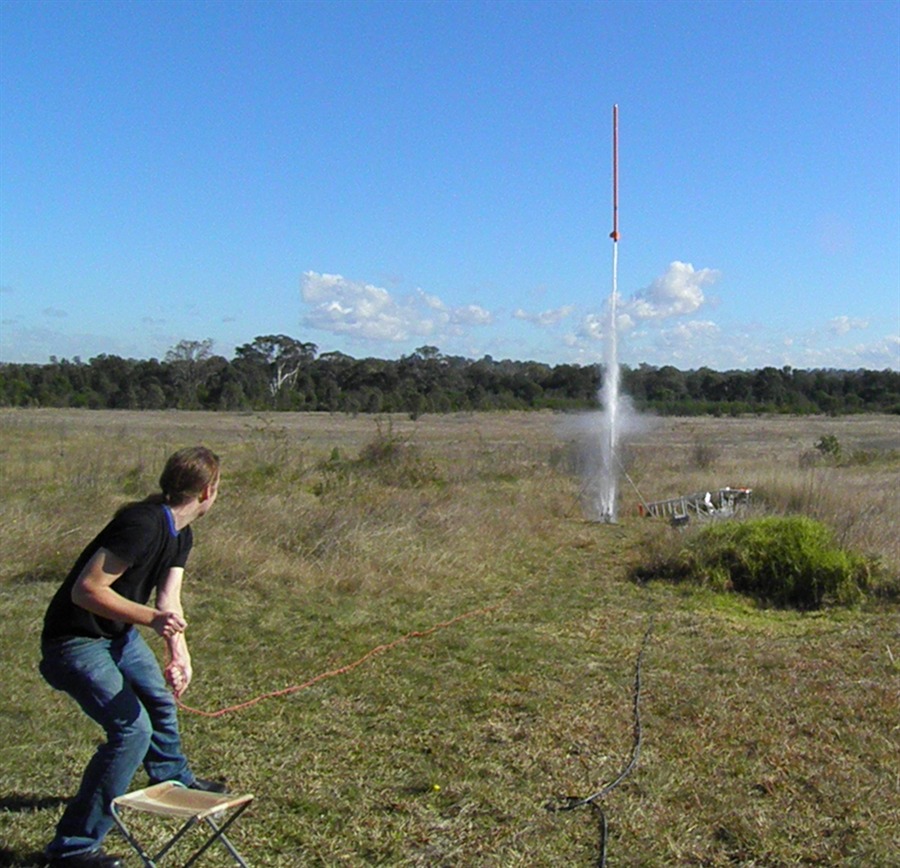
Launch #1
The rocket was slowly pressurised to
400psi. When the count down came and it was
time to pull the cord, the rocket didn't
want to release. Poor Paul was trying as
hard as he could until with one final pull
the rocket released. It seems that with the
high pressures the release ring just does
not want to slide down as easily. With the
amount of pull Paul was putting on the
release mechanism I was sure glad that the
whole thing was pinned to the ground.
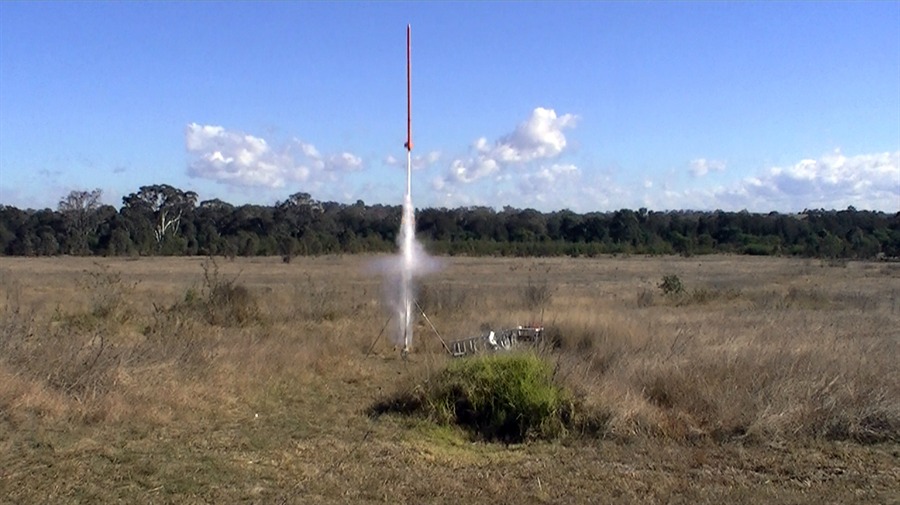
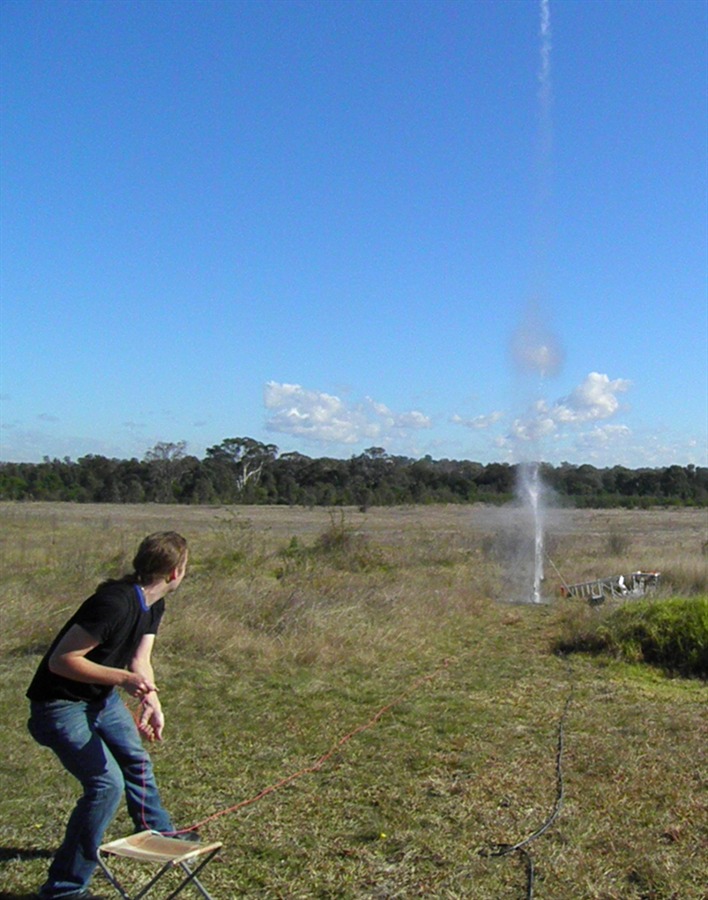
The rocket took of very fast with a loud
bang. It went up perfectly straight as an
arrow. As we increase the launch pressures
we look very carefully to see if the rocket
is bending. The rocket was quite
difficult to see at that altitude, but the
orange helped. The parachute ejected just as
the rocket was passing through apogee and
nicely opened. We set the delay to 8 seconds
even though the sims predicted about 8.6
seconds to apogee. We'd rather start the
whole parachute ejection just a little
sooner in case the sim is a little
optimistic. As it turned out the 8 seconds
was spot on.
The rocket came down fairly gently about
180m from the launch pad. Even though the
parachute we use is a little under sized
for what it should be the rocket itself
generates quite a bit of drag and so the
combination is quite reasonable.
We hooked up the altimeter to the laptop
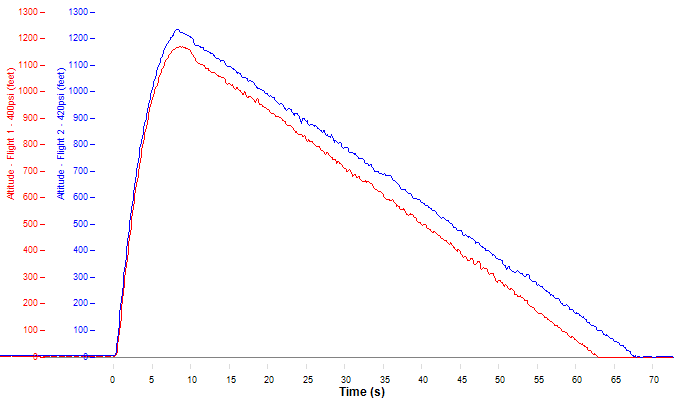
and downloaded the data. The maximum
altitude was 1173 feet
(357m)! This was a great result
and was our new personal best altitude. The
sim had predicted 1246 feet for this launch
pressure, but from past experience we knew
this was optimistic and so were expecting
something closer to 1100 feet.
Here is the altimeter plot for the
flight:
The on-board video was also pretty good,
although the camera mount must have moved
because a part of the window was visible in
the frame. The other nice thing was that the
rocket only did one approximately 360
degree turn from launch to apogee. This made
for much more stable video. Here is a
selection of on-board frame captures from
flight #1:
Launch #2
The wind had picked up a little bit by
now but within acceptable limits. I was kind
of umm-ing and ahh-ing whether to launch
again, but dad managed to convince me to
have another go. So we agreed to a 420psi
launch pressure to see if we could push
things a little more since we still had very
nice weather, and we knew the rocket was
able to handle the previous launch without
problems. The rocket had never been tested
beyond 400psi and so it was a bit of a
gamble.
The set up was very much similar to the
first except when we slid the rocket onto
the launcher we managed to push the nozzle
and bulkhead about 5cm into the rocket. A
little air pressure through the launcher
made the bulkhead pop right back and we were
able to load up the rocket as normal. We
also discussed a number of options for
extending the lever arm to make the next
launch easier. In the end we just jammed a
big screwdriver into the top of the arm and
tied the string to that. We'll extend the
arm properly for the next launch.
The release this time didn't give us any
trouble and the take off was again very much
like the first - very fast and loud. Thanks
very much to Chris for helping to launch the
rocket this time.
The rocket again opened it's parachute
right near apogee and landed only about 30
meters from where it landed last time. This
time the parachute had got caught on the
branch of a tree but only about 2m above
ground. The rocket survived without
any damage.
Downloading the data from the altimeter
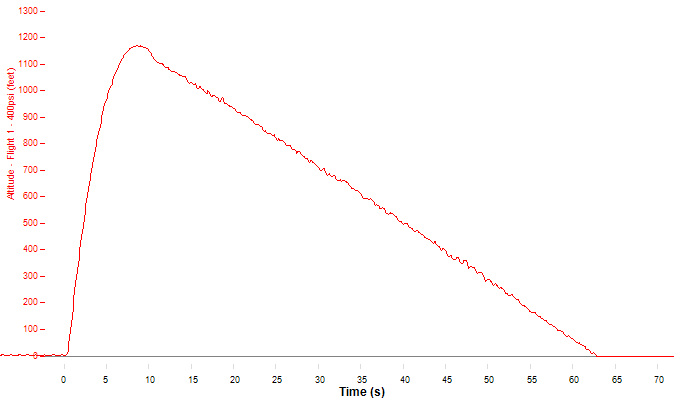
gave us a new personal best at
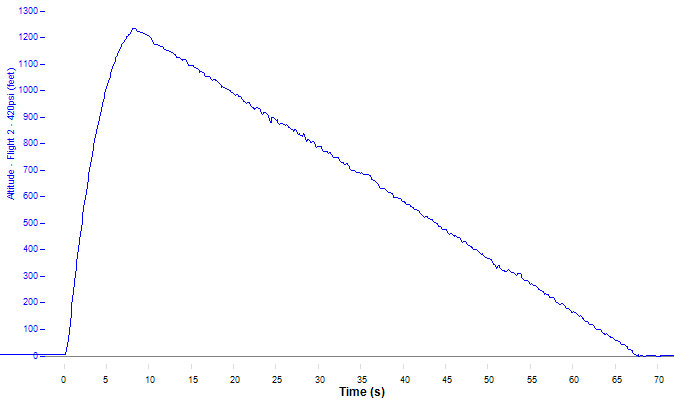
1239 feet ( 377m )!
The altimeter data also shows that the
parachute probably opened just a little
early as you can't see the nice apogee curve
before the descent curved. This quite
possibly took several feet from the peak
altitude, but from the onboard camera you
could see that the rocket was very close to
it.
Here is the altimeter plot from flight 2.
And here are the two plots combined for
comparison.
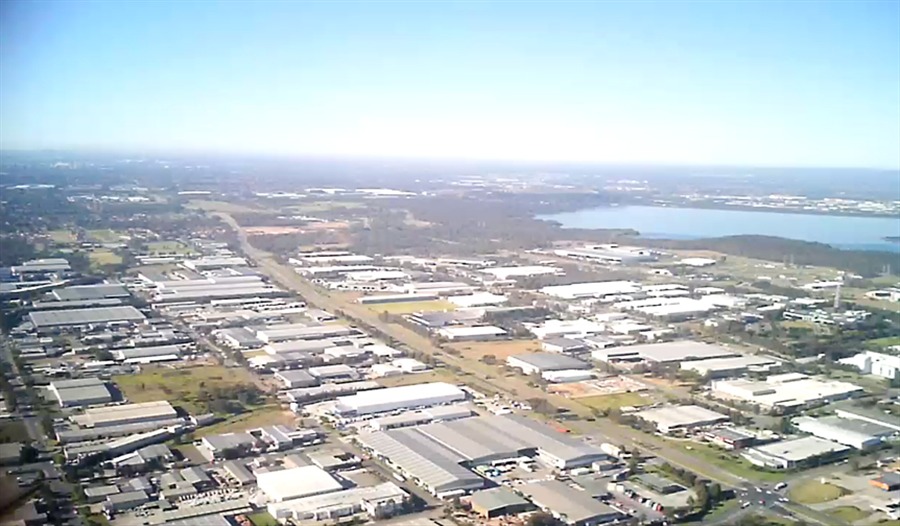
Here are some stills from the onboard
video. On the second flight the rocket only
turned about 300 degrees from launch to
apogee and in the same direction. We're
pretty happy with the fin alignment. :)
Here is a highlights video from the two
launches:
After the second launch we
set up Paul's Pod 2 rocket for a 2 stage
flight on a C6-0 staging to a C6-5. The
rocket went great and the second stage
ignited right on time. The rocket landed
well and we set it up again, but this time
only as a single stage on a C6-5. The
rocket flew well although the parachute
opened a little late.
So a great day all round,
and we look forward to more launches with
this rocket.
Perfect flight with
only ~360 degree roll from launch to
apogee.
Parachute deployed at apogee and
landed safely. Good on board video and
altimeter data.