Each flight log entry usually
represents a launch or test day, and describes the
events that took place.
Click on an image to view a larger image, and
click the
browser's BACK button to return back to the
page.
Day 133 - LaRF, Projects Update
Date:
30th March, 14th April, 27th April, 18th May
2013
Locations:Doonside,
Sydney Observatory, Macquarie University, NSW, Australia
Conditions:Sunny, light winds < 10km/h
early,
25C
Team Members at Event:GK,
PK, Paul K, and John K.
It has been quite a while since the last
update, mostly because we took a break from
a couple of launches while we build more
water rockets and attended club events. But there has been plenty of
work in the background.
We spent some time in the past few
weeks re-stocking our rocket component
supplies including nosecone repairs, making
up new splices and testing them, making a
number of nozzles, parachutes, fairings etc.
This allows us to quickly assemble a number
of rockets when needed.
Locating Lost Rockets with LaRF
At the last NSWRA launch we tested a
simple low power laser device for locating
lost rockets in the tall grass. The LaRF
(Laser Rocket Finder) proved
very successful with 4 out of 4 rockets
located at up to 850 feet from the launch
pad. All were found quickly and within a
couple of meters of where they were
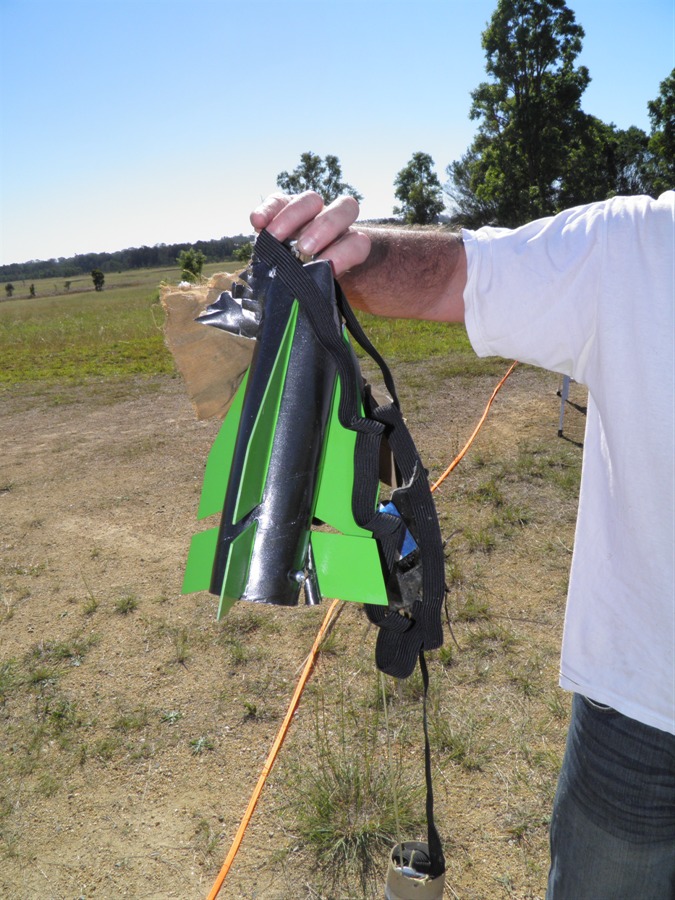
expected. We even found one within 2 minutes
after a lawn dart at the previous
launch. The rocket was black and green and
half of it was buried. There had been about 5 people
looking for it for over half an hour with no
luck.
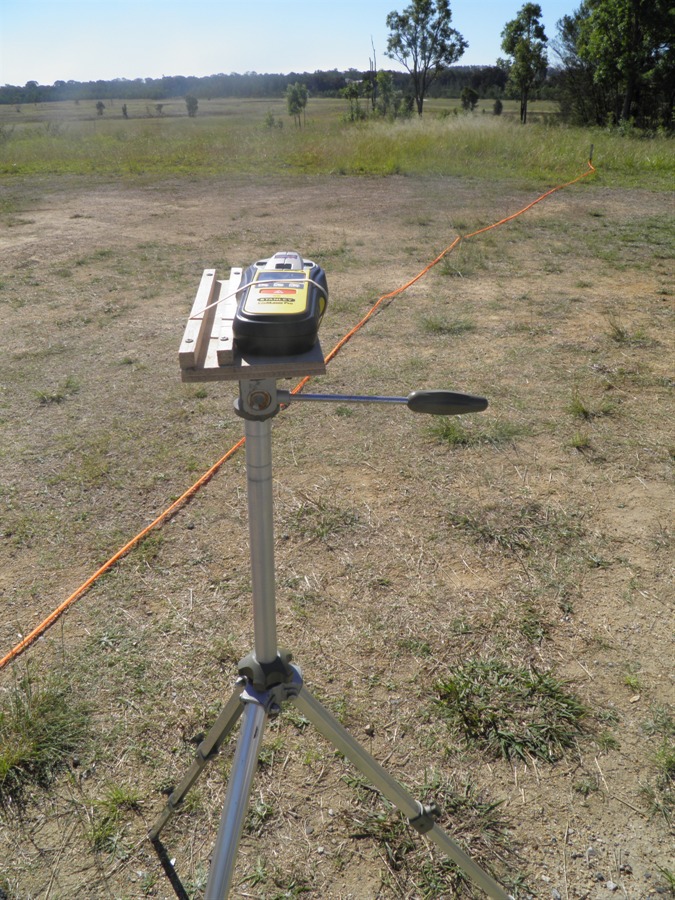
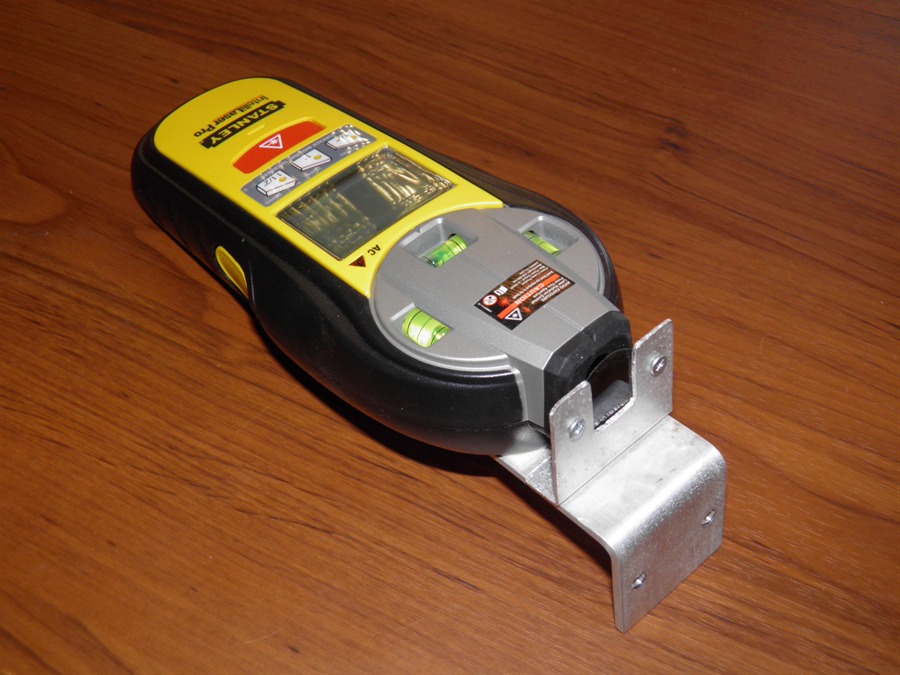
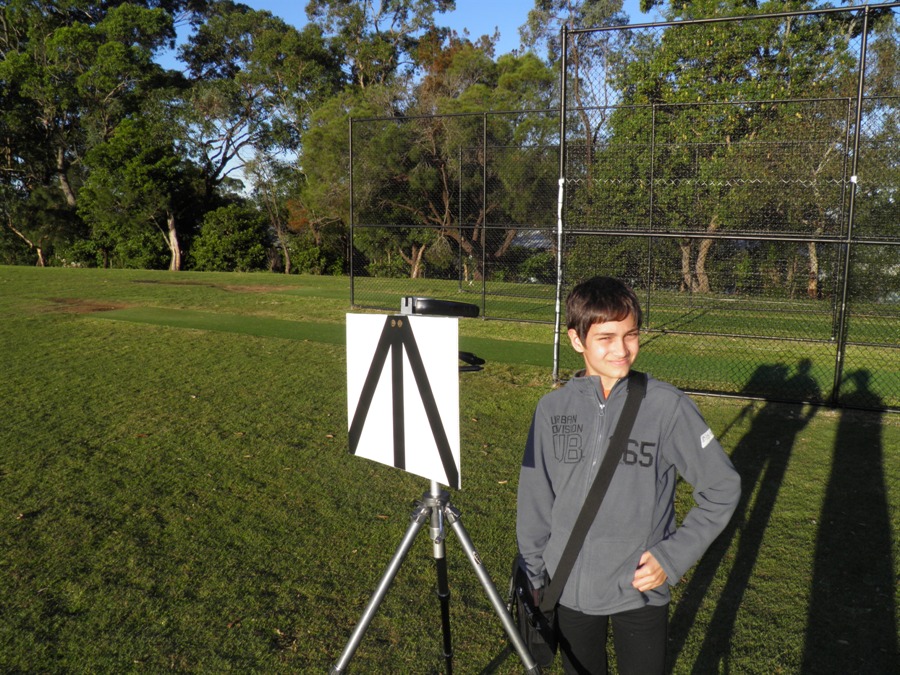
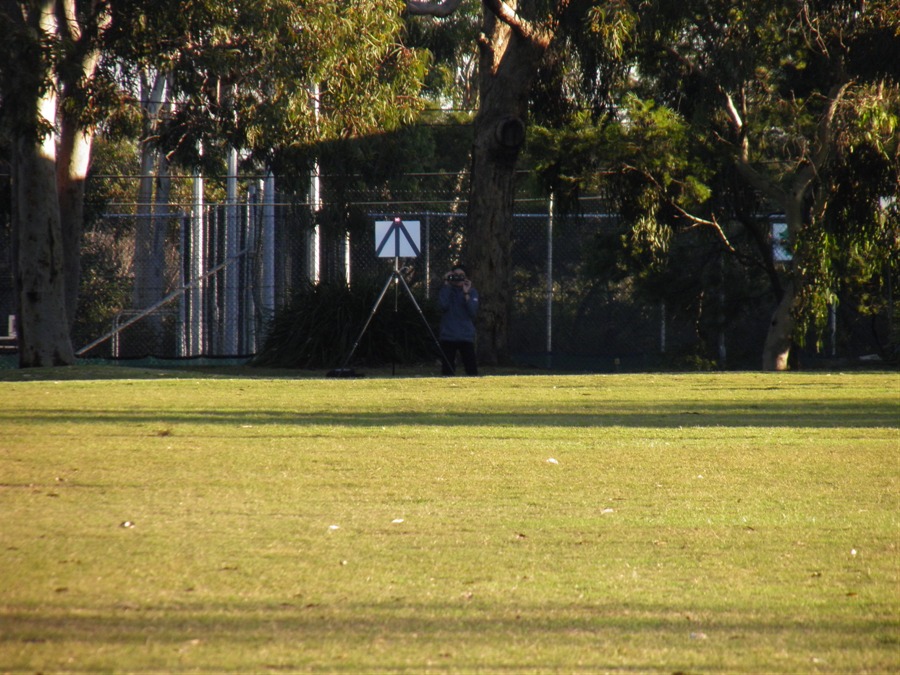
LaRF Prototype
LaRF Prototype setup to find
rockets
Recovered rocket.
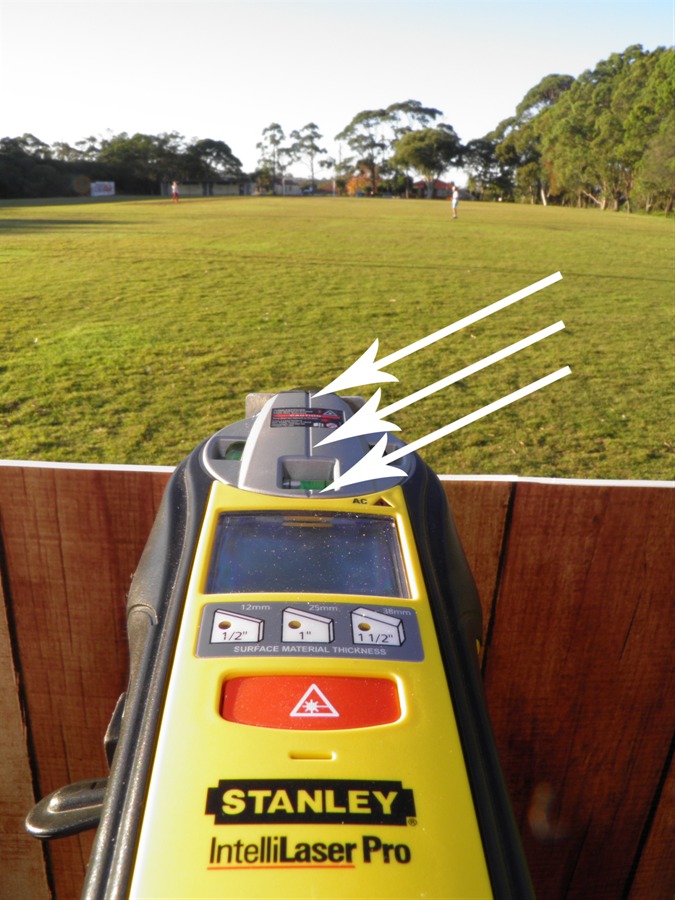
The design is based around a laser line
generator used for aligning tiles or
pictures in the home. The one we used is a
Stanley Intellisensor Pro that is
also a stud finder but we are only using
the laser for this application. The light source is a
red class II laser of less than 0.16mW. The
beam spread is approximately 45 degrees from
the source so the further you get from it
the laser intensity is greatly reduced. The
beam is approximately 4mm wide.
Laser Safety
Now it is never a good idea to look
directly into a laser and so we did a number
of
calculations to work out what the beam
intensity is at a certain distance, and to
make sure it was safe to use. Because
of the wide spread of the beam the intensity
is quite low at the distance at which we are
using it. Here are
some good references on laser safety:
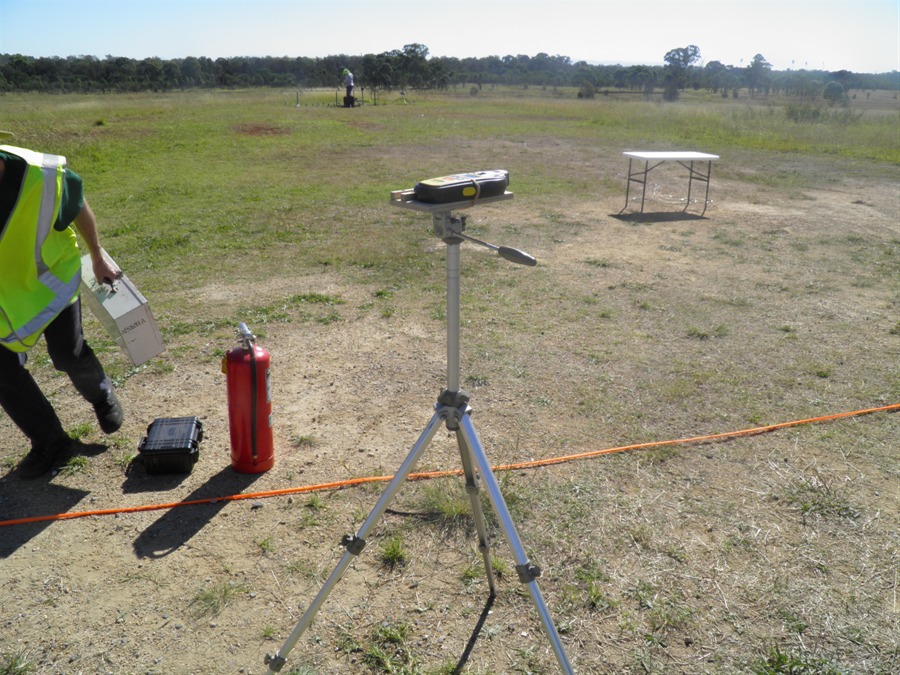
Doing range and beam divergence
tests
Context photo
Beam divergence tests
With telephoto
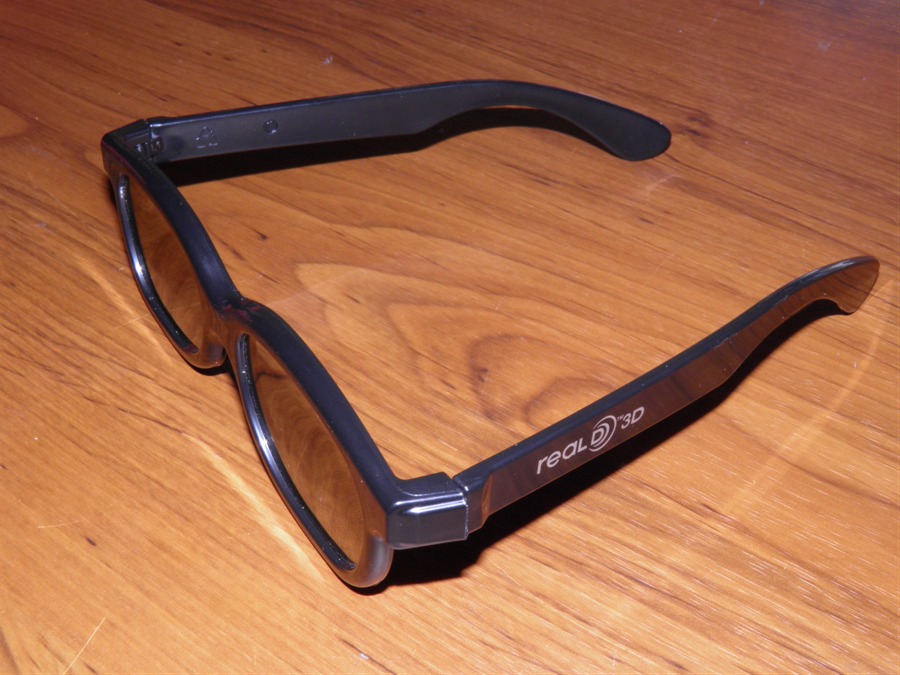
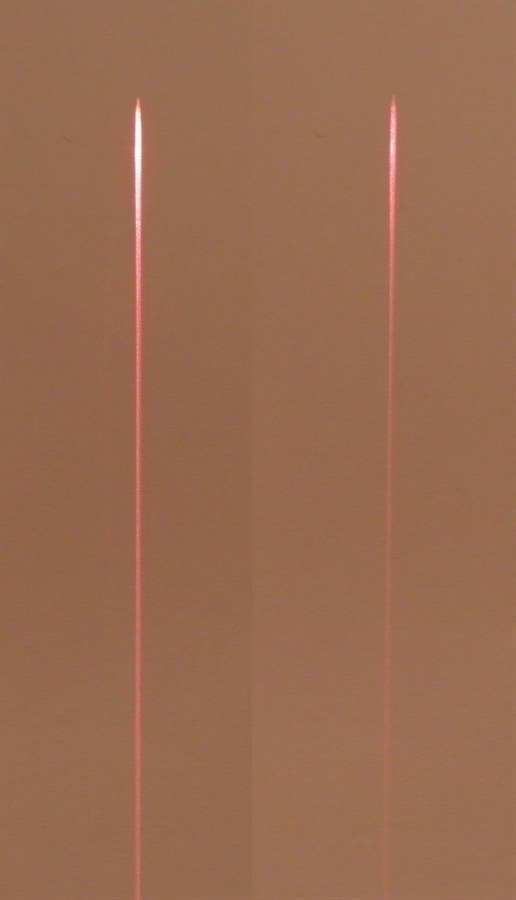
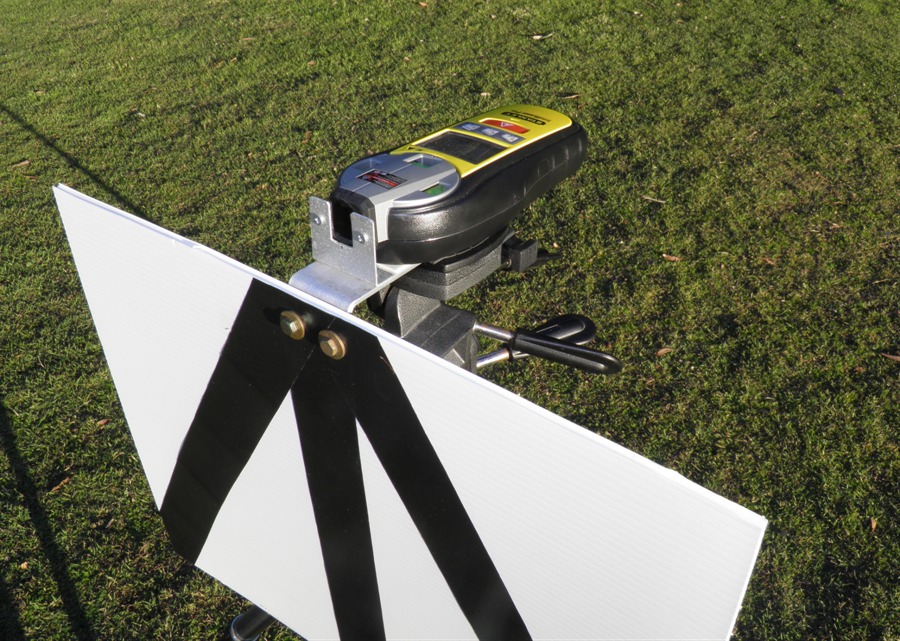
To further reduce the laser intensity we
used a polarizer rotated
relative to the polarised laser beam. The polarising sheet came from 3D glasses
that you get when you go to the movies. These
use circular
polarisers. The light from
the laser is also polarised and
hence only one polarising sheet was needed
to attenuate the beam based on how much the
polarizer was turned. You could use a couple
of these to even further attenuate the beam.
3D glasses were used for the
polarizer
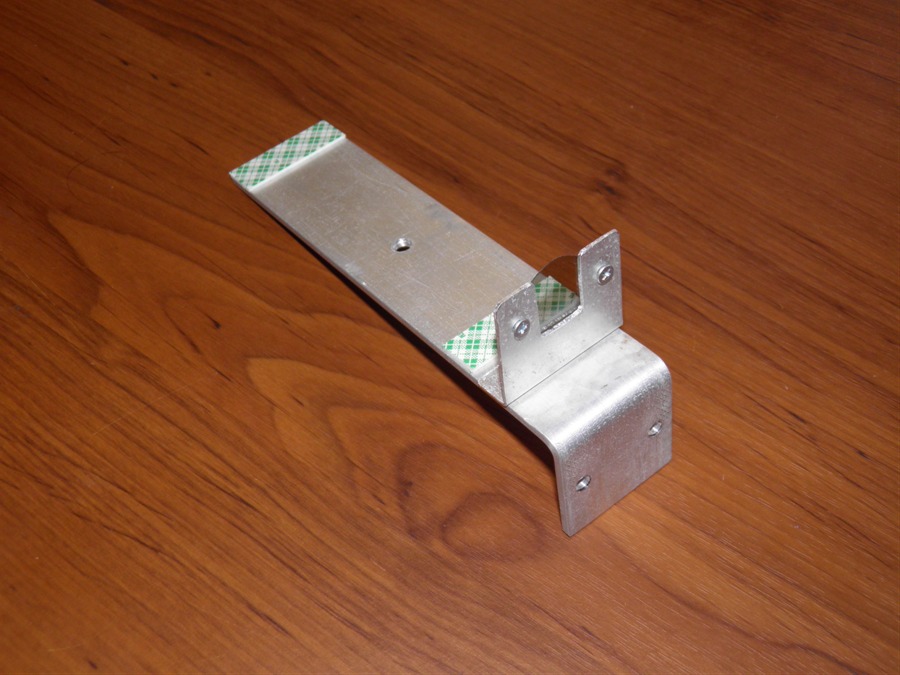
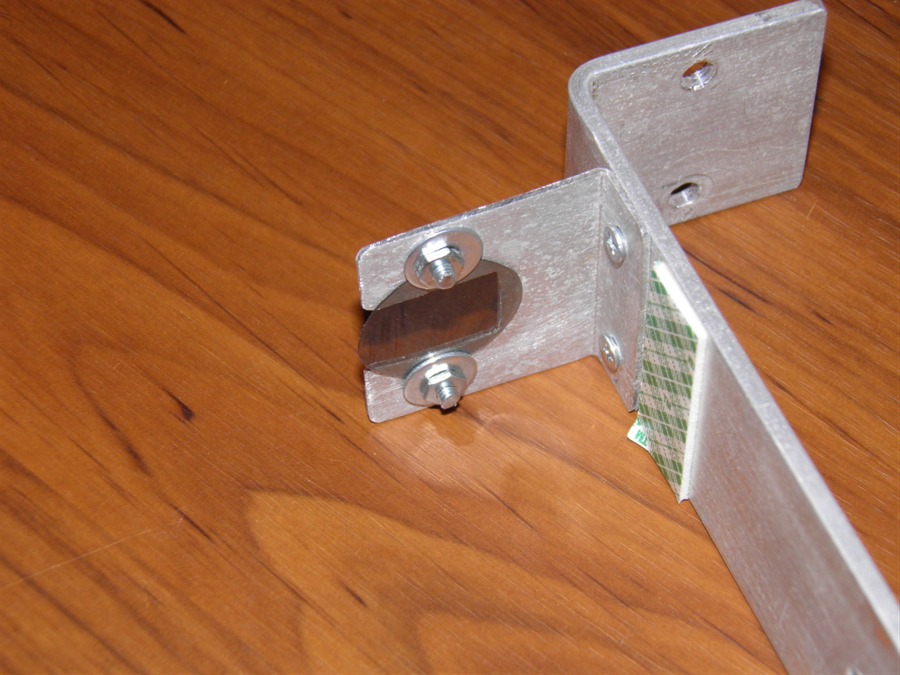
Bracket for mounting the LaRF
On a tripod
Here is the polarizer which can
be
rotated to adjust the
attenuation.
Laser source mounted on the
bracket
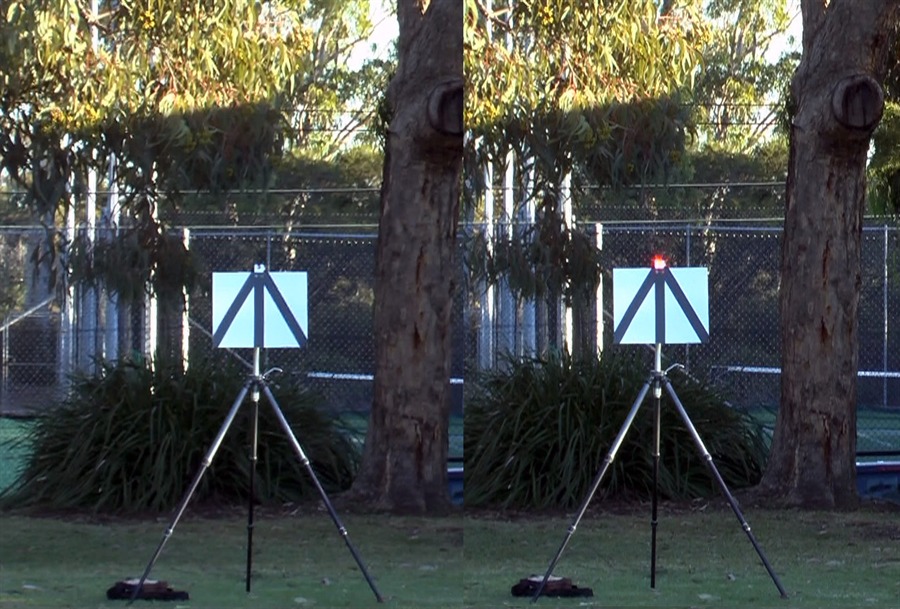
Left: Normal beam, Right:
Attenuated
Screen distance from LaRF: 1m
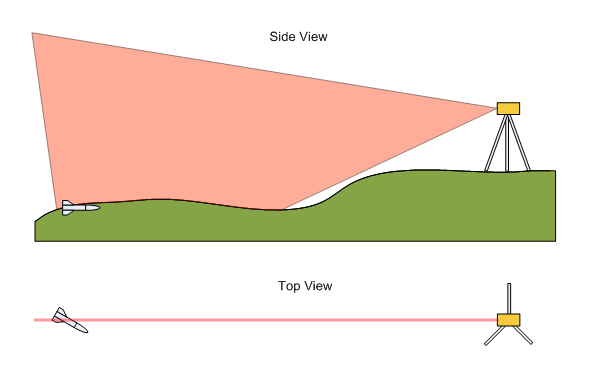
Top view
Finding rockets
Finding rockets is simple. You just watch
where the rocket lands and then aim the
laser in the direction. The laser is far too
weak to see in daylight and so you have to
sight along the top of the laser at the
landing
location. The unit we have has sight marks
which makes it very easy. You then turn on the
laser and start walking towards the
rocket. You occasionally look back over your
shoulder to see if you are on track. If you
can't see the beam you need to walk
perpendicular to the beam until you see it
again. This keeps you on the correct line of
sight. It was amazing to see just how far
you drift from the line when just walking in
an open field when you think you are heading
in the correct direction. As you walk down
the line you just look for the rocket. It
turns your 2 dimensional search problem into
a 1 dimensional search problem.
It's essentially the equivalent of
someone standing at the launch site and
directing you through a walkie-talkie "left
a bit... right a bit".
Because the beam is a vertical
line you can travel up and down over rough terrain and
still see the beam,
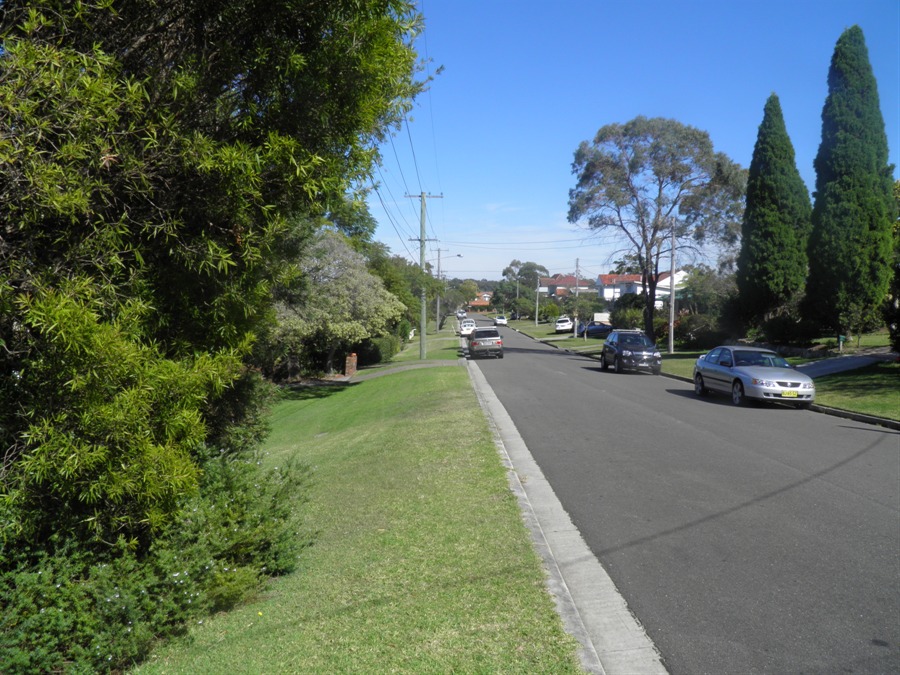
We did another trial run of the LaRF at
the local oval and I had Paul drop a 20c
coin in the grass about 150m (450 feet) from
the LaRF. When he dropped it, he raised his
arm and I pointed the LaRF in his direction.
Paul then came back so I only had a rough
idea how far it was. I walked down the beam
and found the coin about 1m from the beam.
This test was intended to see how well the
sighting screen works ... works great.
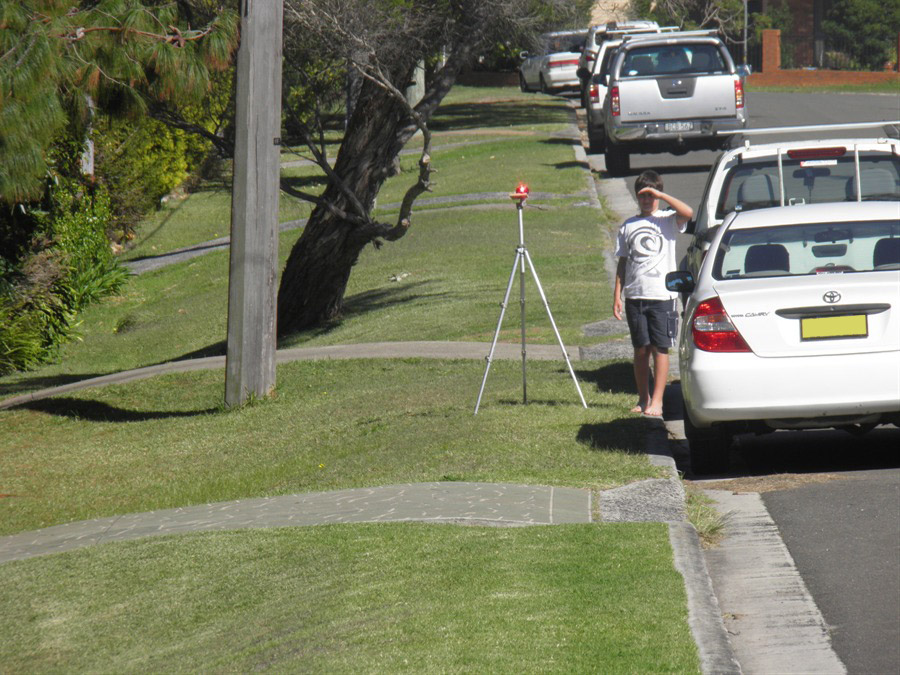
Setting up tests with sighting
screen
Here you can see the sight marks
used for aiming
The sight screen is removable
for
easy transport.
Observer shift: approximately
20cm
Distance to LaRF: ~50m
(telephoto used)
Distance to LaRF: ~150m
You can see that the sight
screen is useful
A limitation of the LaRF is that
the rocket must land within line-of-sight. If it lands behind trees then you
won't be able to see the laser if the trees
block your view of the LaRF. Also at distance while it
was easy to see the beam it was difficult to
see where to look for the beam. We have
now
added a black and white stripped sighting
screen to
make it easier to find the beam source from
a distance. I think we'll be bringing it to all the
launches from now on. It's more useful for
small rockets rather than large rockets
which
are much easier to spot in the grass.
Quick Launcher Upgrades
We also took some time to improve a
couple of little things on the quick
launcher to make it even quicker to set up
and re-configure. One of the main criteria
was to make it completely
tool-free to be able to adjust it and
replace various components. These changes
are designed to allows us to launch a
variety of rockets easily during a launch
event.
The upgrades included the following:
Swapping Gardena release
heads. You can now hand tighten the
retaining screw as you used to need a pair of
pliers to tighten it enough to prevent
leaks.
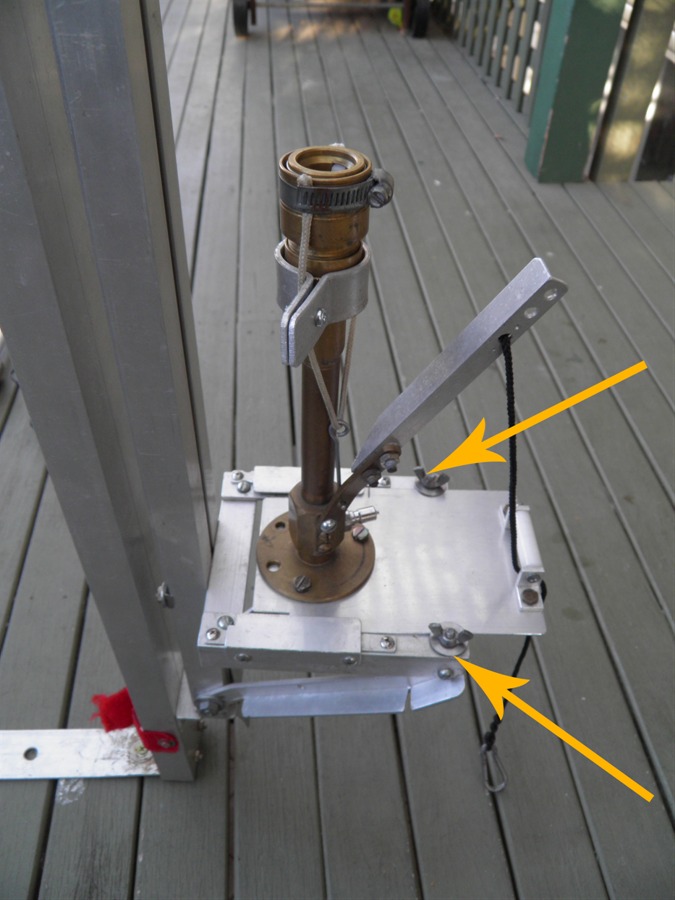
Changing nozzle offset from guide
rail for different diameter rockets. You now
only need to tighten two wing nuts. This used
to need a screwdriver.
Changing the whole release head
assembly. We can now swap from the Gardena
system to the Shadow's high pressure
launcher easily without tools.
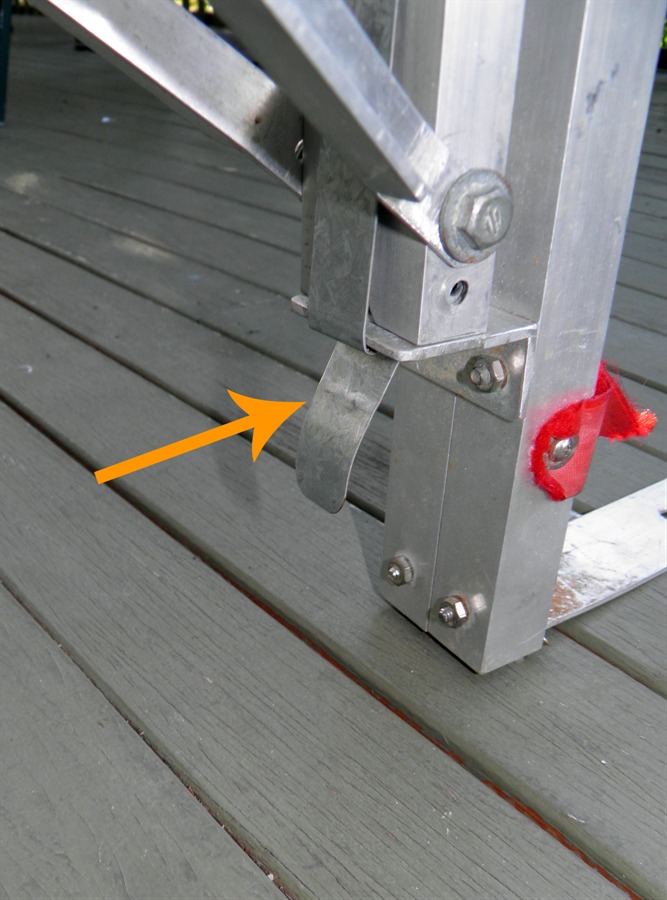
Locking pin for guide rail
has been replaced with simple latch. This
makes it much
easier to remove the guide rail
and put it back onto the base. There is
also no chance of losing the pin.
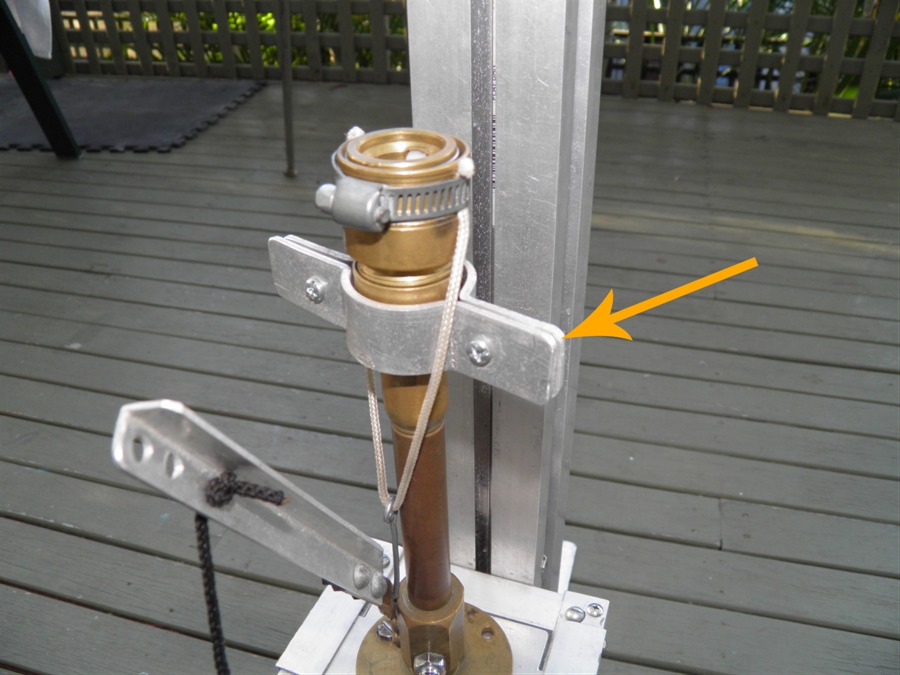
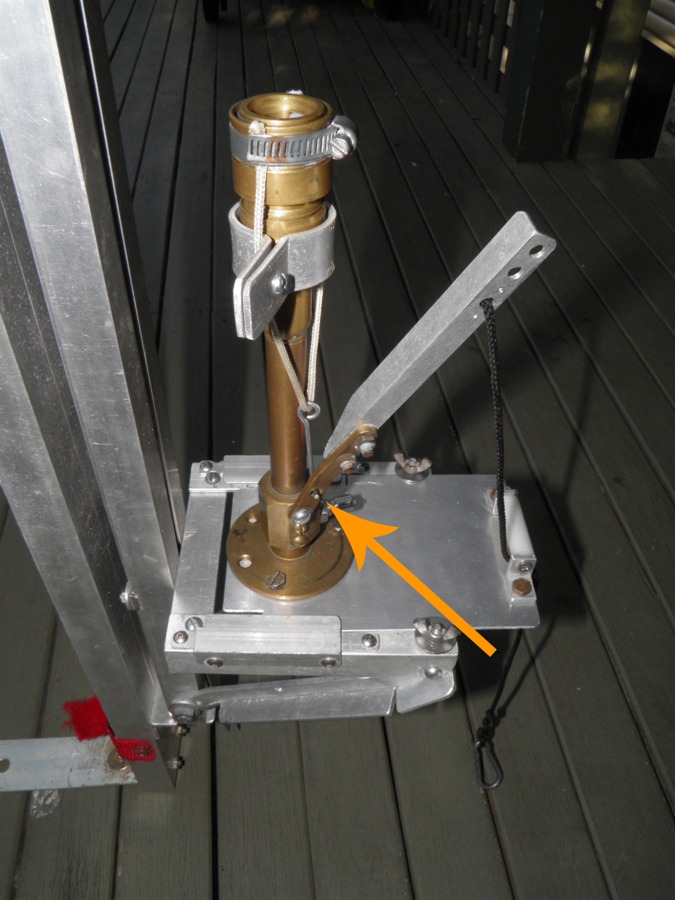
We simplified how the
release head string clips onto the lever arm. This
sometimes required a screw driver to loosen
the release string.
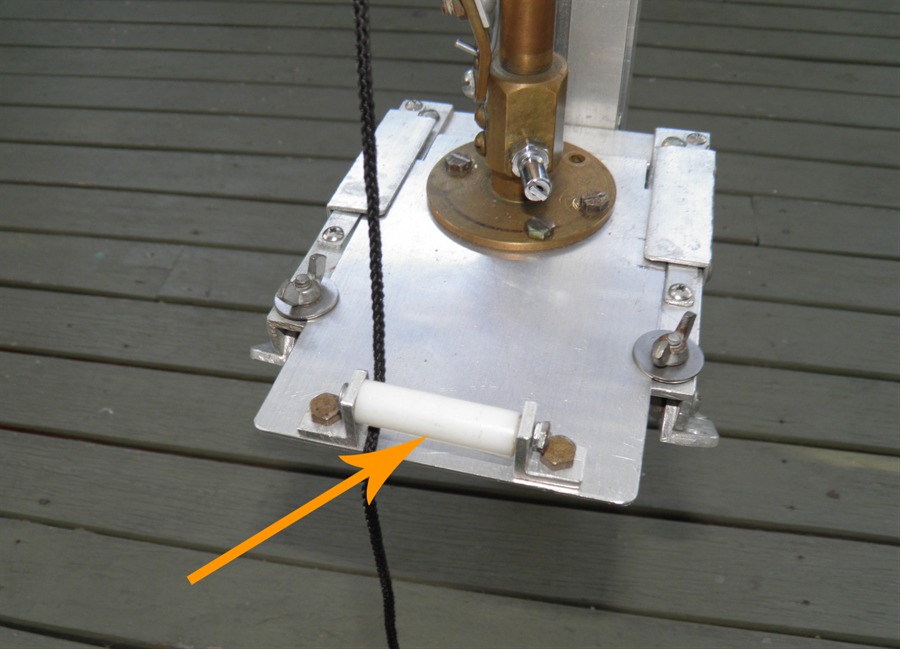
We added a roller for the release string which makes
the design more compact.
Large wingnut for hand
tightening
release heads.
Wing nuts for adjusting launcher
offset from launch rail.
New roller for smoother
operation
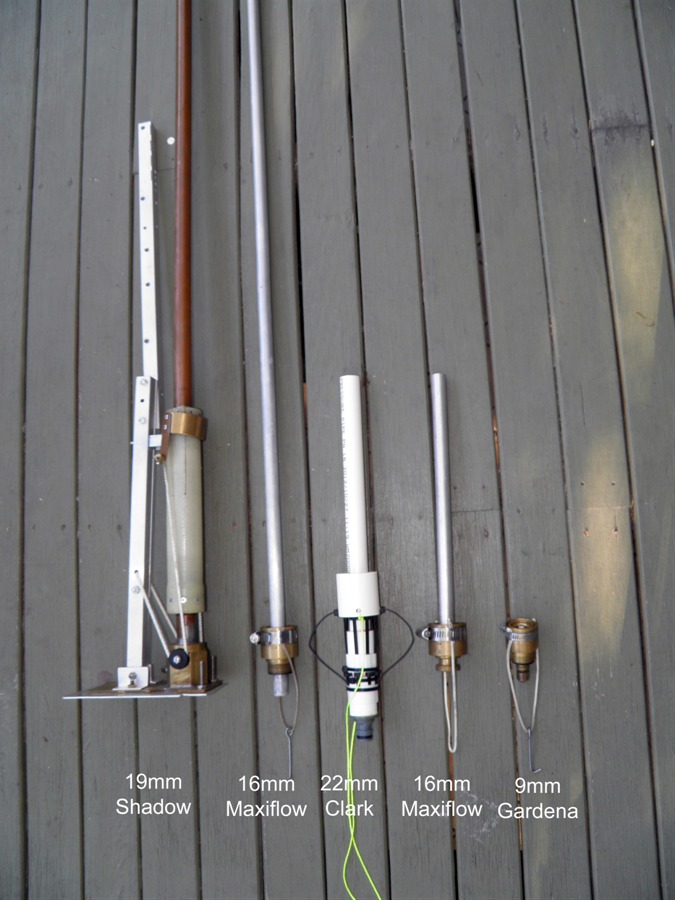
With the launcher we can now swap between
the following:
9mm release head for nozzle
diameters of 10mm and less,
16mm release head for 16mm nozzles (Maxiflow) with
a 250mm launch tube suitable for single
bottles,
16mm release head for 16mm nozzles with
an 1800mm
launch tube,
19mm high
pressure release head with 1500mm launch
tube.
22mm Clark cable-tie release head
with a 250mm launch tube suitable for
full bore nozzles.
All these release heads can be
adjusted relative to the guide rail for various diameter rockets.
The only tool we now need is a hammer to pin
the base to the ground, although we are
considering making permanent mounting
brackets at Doonside so we don't need to
hammer the pegs in each time.
Latch for securing guide rail
Hook for connecting release
string
Collection of release heads
Details of the launcher upgrade
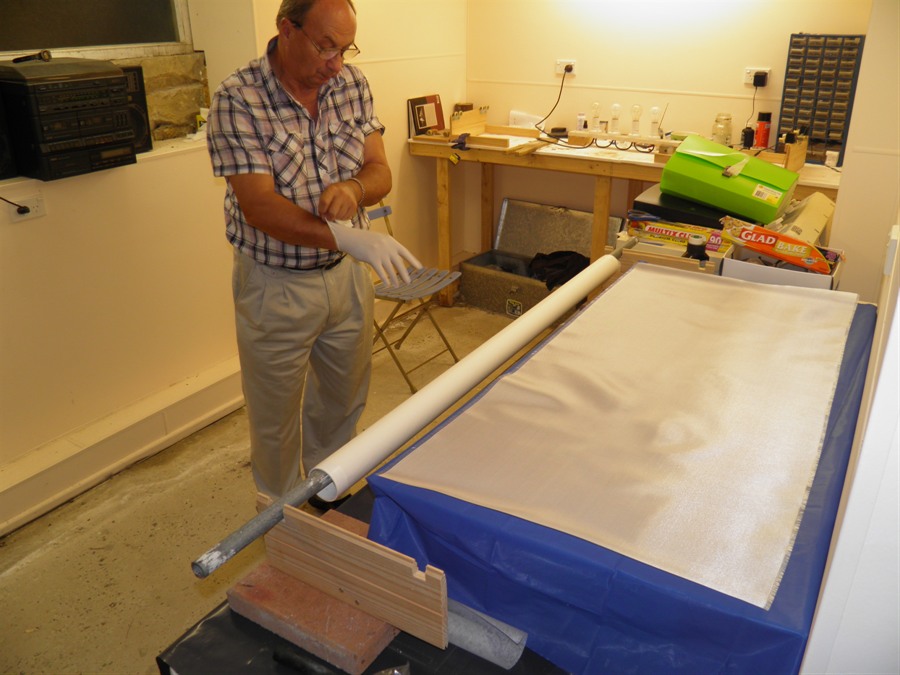
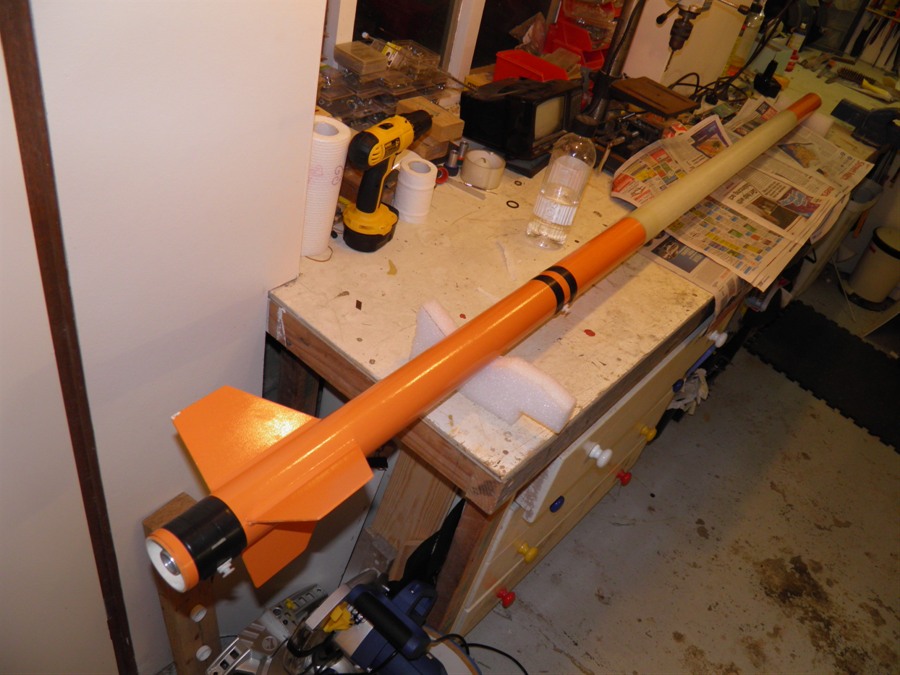
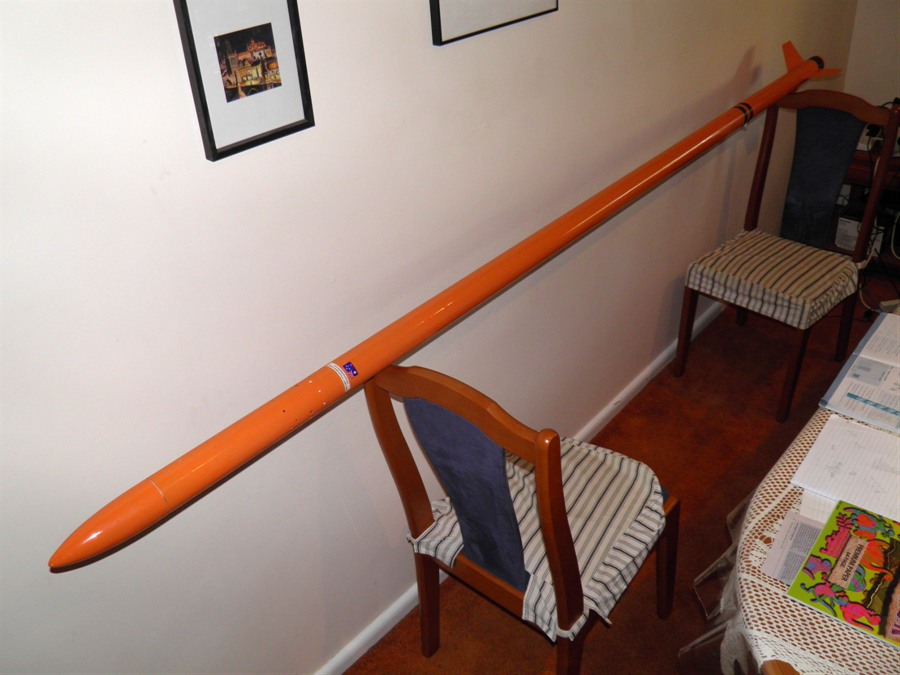
Shadow Repairs
We bought a new roll of 84gsm fiberglass cloth so we
could continue to roll
more tubes and repair the Shadow. I've
posted the progress of the repairs here on
the Shadow
Build Log with more photos. We wanted to get it finished
before the Macquarie University Astronomy
open night where NSWRA was having a stand
again.
We still need to do a pressure test before
we attempt another launch. I think we will
launch again at lower pressure first and
then again step up the pressure for
subsequent launches.
Getting ready to roll new tube
New tube glued in place
Shadow II repainted
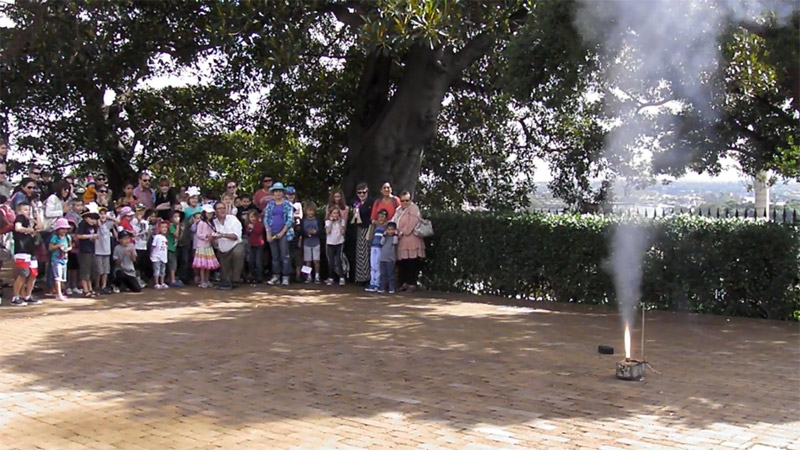
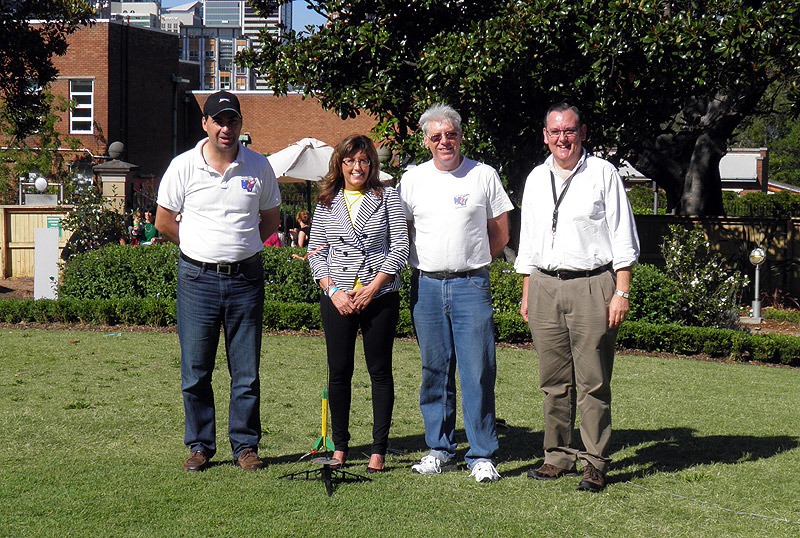
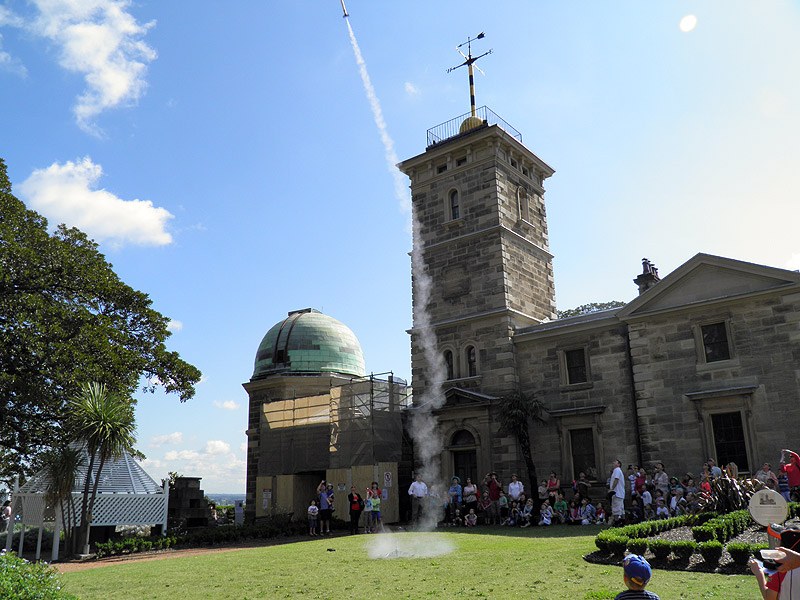
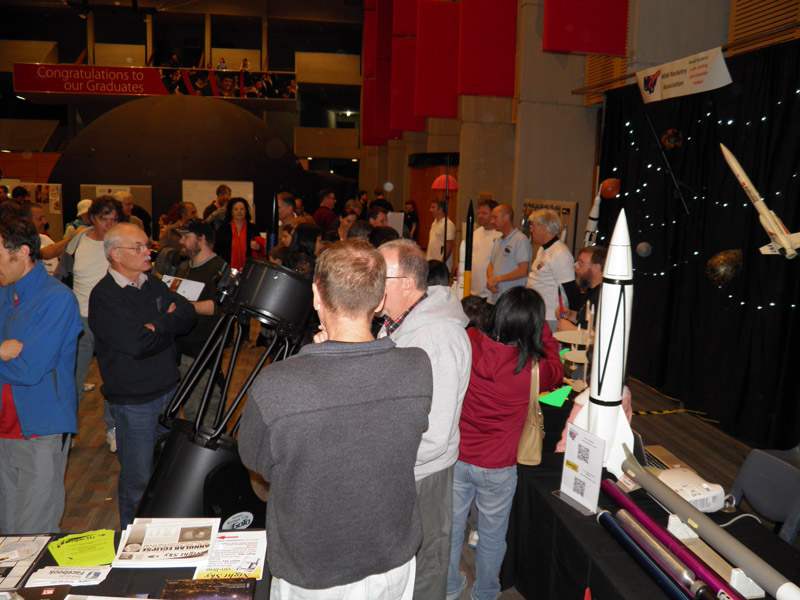
Sydney Observatory
During the school holidays on the 14th April I took a day off from
my regular work and went to the Sydney
Observatory with my son Paul to help out
with the NSWRA stand and demonstrations. We
had beautiful weather and the club managed
to get about 8 launches in and 4 static
motor firings. The observatory staff
estimated about 800 parents and children
attended the observatory on the day. It was
definitely a fun day. It was also great to
meet Christy Berlatsky the Export Sales
Manager for
Hobbico, that owns Estes.
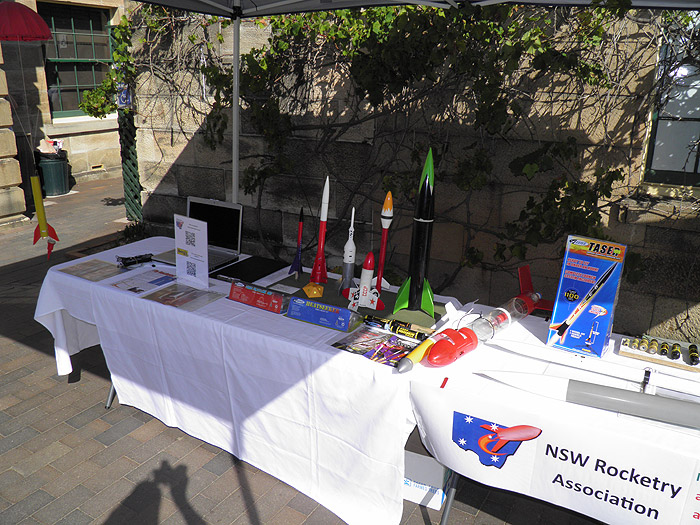
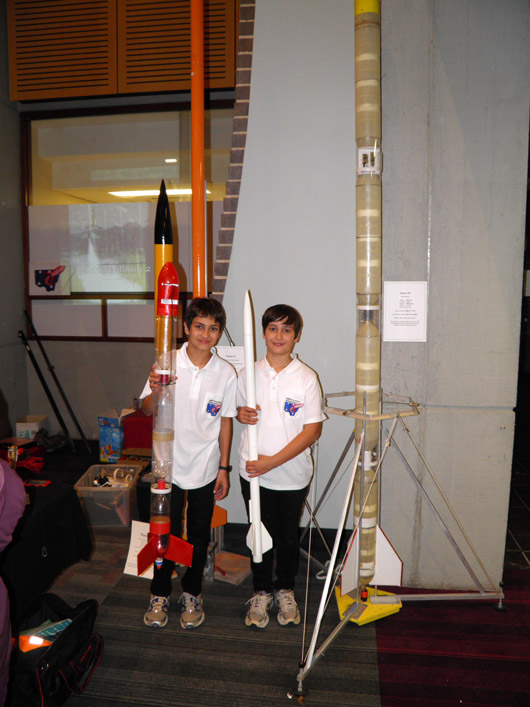
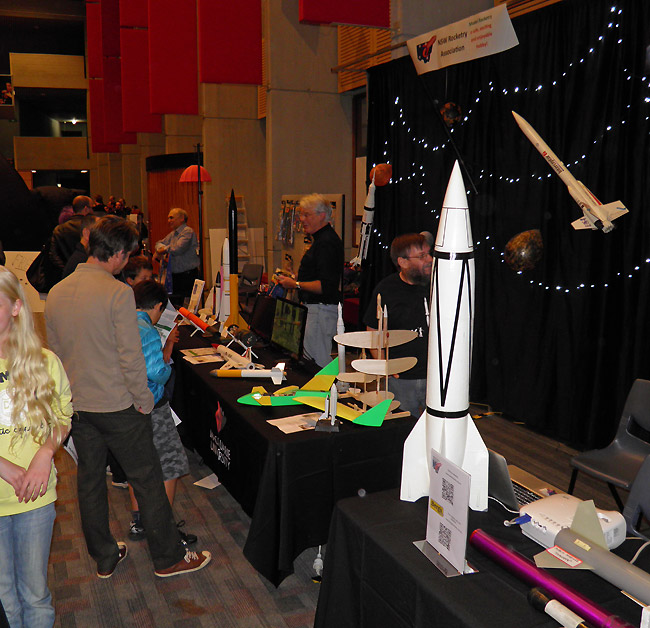
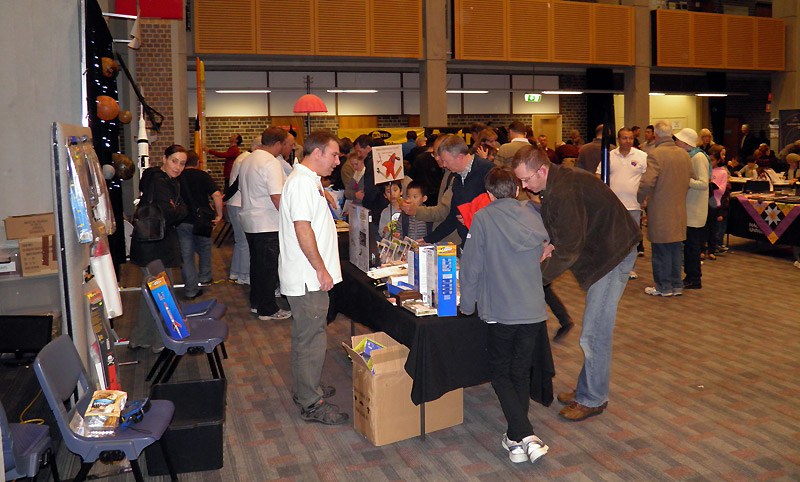
On the 18th May we again attended the
Macquarie University Astronomy open night
where NSWRA had a stand and did a static
motor firing. The event this year was held
earlier than last year because the sun sets
sooner so people can go look through
telescopes earlier in the night. The sky was
cloudless and so ideal for astronomy. There
were a lot of people this year and all the
club members were busy talking about
rockets. Paul and John came with me this
year and stayed the whole night. They both
helped out and Paul did a great job helping
Peter Berg from Berg's hobbies sell little
paper rockets.
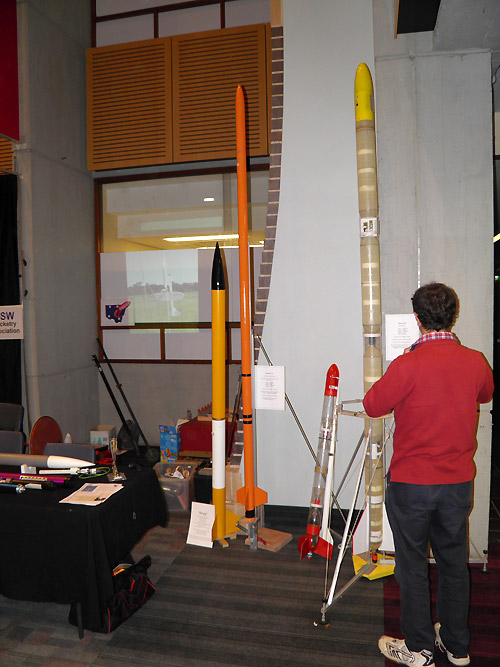
We brought our Shadow II and Polaron G2
again this year for show and tell. We didn't
get home until about 10:30pm.
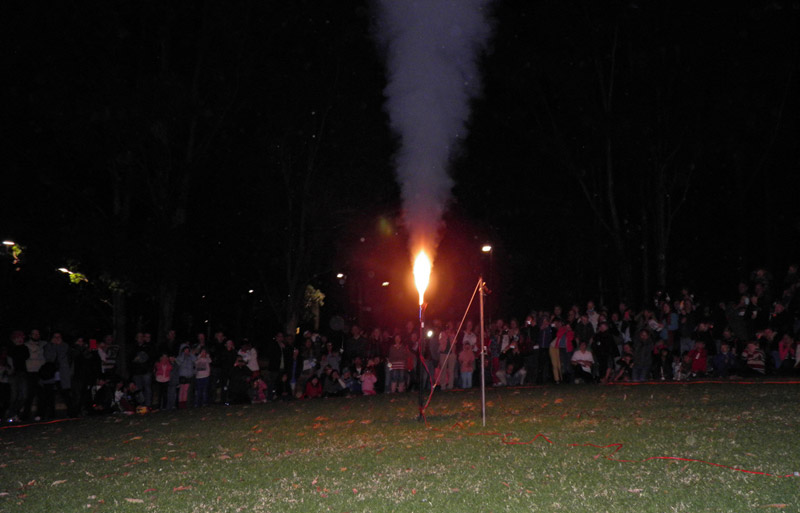
I also attended a couple of NSWRA
launches in the last two months to take
photos and just catch up on rocketry with
club members. Paul also flew a couple of his
rockets at one of the launches. Here are
some photos from the two launches:
Good burn but
angled into the wind. The second
stage lit well and continued the
pitched-over trajectory. Late
deployment but good landing a long
way from the pad,
2
Rocket
Pod 2 (Paul's Praetor)
Motor
C6-5
Altitude / Time
? / ?
Notes
Good burn and good
flight. Good landing right near the
pad,