last updated: 21st october 2023 - Day 226 to Day 230 - Various Experiments

Safety First

Search

Site Index

Tutorials

Articles

Rocket Gallery

Labs

Where To Buy

10 Challenges

Links

Blog

Glossary

Contact Us

About


Construction - Basic

Body

Ring Fins

Flat Fins

Nozzle

Nosecone

Construction - Advanced

Robinson Coupling

Splicing Bottles #1

Splicing Bottles AS#5

Reinforcing Bottles

Side Deploy #1

Side Deploy #2

Mk3 Staging Mechanism

Multi-stage Parachutes

Fairings

Construction - Launchers

Gardena Launcher

Clark Cable-tie

Medium Launcher

Cluster Launcher

Launch Abort Valve

Quick Launcher

How It Works

Drop Away Boosters

Katz Stager Mk2.

Katz Stager Mk3.

DetMech

Dark Shadow Deployment

Articles

Recovery Guide

Parachutes

How Much Water?

Flying Higher

Flying Straight

Building a Launcher

Using Scuba Tanks

Nozzles

Video Taping Tips

MD-80 clone

Making Panoramas

Procedures

Burst Testing

Filling

Launching

Recovery

Electronics

Servo Timer II

V1.6

V1.5

V1.4

V1.3, V1.3.1, V1.3.2

V1.2

Deploy Timer 1.1

Project Builds

The Shadow

Shadow II

Inverter

Polaron G2

Dark Shadow

L1ght Shadow

Flight Log Updates

#230 - Tajfun 2 L2

#229 - Mac Uni AON

#228 - Tajfun 2 Elec.

#227 - Zip Line

#226 - DIY Barometer

#225 - Air Pressure Exp.

#224 - Tajfun 2

#221 - Horizon Deploy

#215 - Deployable Boom

#205 - Tall Tripod

#204 - Horizon Deploy

#203 - Thunda 2

#202 - Horizon Launcher

#201 - Flour Rockets

#197 - Dark Shadow II

#196 - Coming Soon

#195 - 3D Printed Rocket

#194 - TP Roll Drop

#193 - Coming Soon

#192 - Stager Tests

#191 - Horizon

#190 - Polaron G3

#189 - Casual Flights

#188 - Skittles Part #2

#187 - Skittles Part #1

#186 - Level 1 HPR

#185 - Liquids in Zero-G

#184 - More Axion G6

#183 - Axion G6

#182 - Casual Flights

#181 - Acoustic Apogee 2

#180 - Light Shadow

#179 - Stratologger

#178 - Acoustic Apogee 1

#177 - Reefing Chutes

#176 - 10 Years

#175 - NSWRA Events

#174 - Mullaley Launch

#173 - Oobleck Rocket

#172 - Coming Soon

#171 - Measuring Altitude

#170 - How Much Water?

#169 - Windy

#168 - Casual Flights 2

#167 - Casual Flights

#166 - Dark Shadow II

#165 - Liquid Density 2

#164 - Liquid Density 1

#163 - Channel 7 News

#162 - Axion and Polaron

#161 - Fog and Boom

#1 to #160 (Updates)


FLIGHT LOG

Each flight log entry usually represents a launch or test day, and describes the events that took place.
Click on an image to view a larger image, and click the browser's BACK button to return back to the page.

Day 29 - Acceleron II Cluster booster development
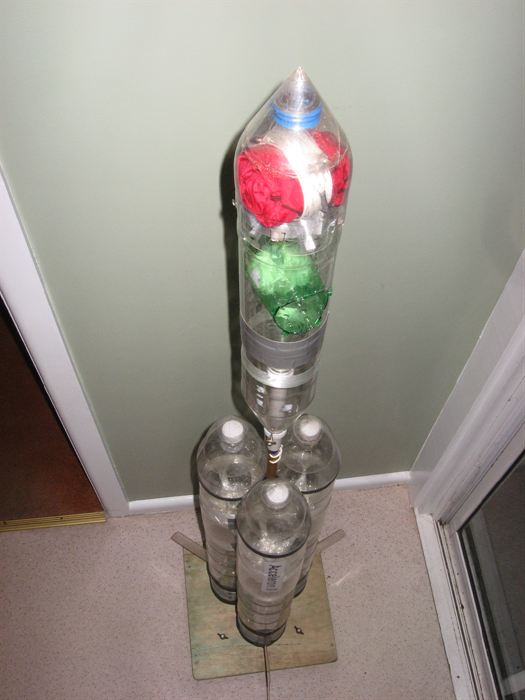
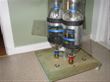
The booster is getting a little bigger and heavier. Standing on its launcher.
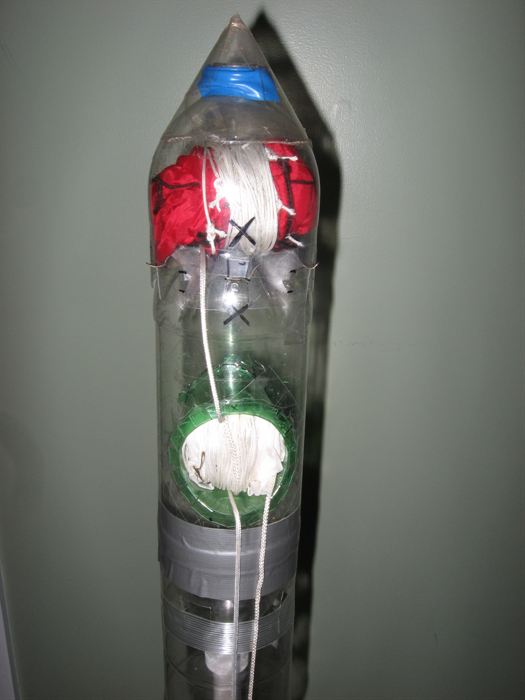
Detail of the parachute arrangement. The larger primary chute is deployed using NOAA, and the secondary is pulled out by the primary. You can see the primary line passing behind the secondary chute.
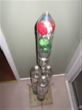
A deceptive photo, it doesn't quite reach the ceiling.
Detail of the strapping tape reinforcing of the bottle bases. This helps prevent distortion of the base.
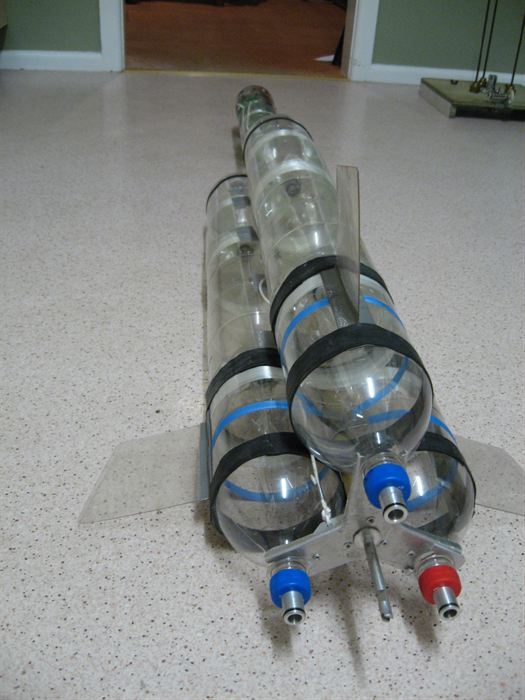
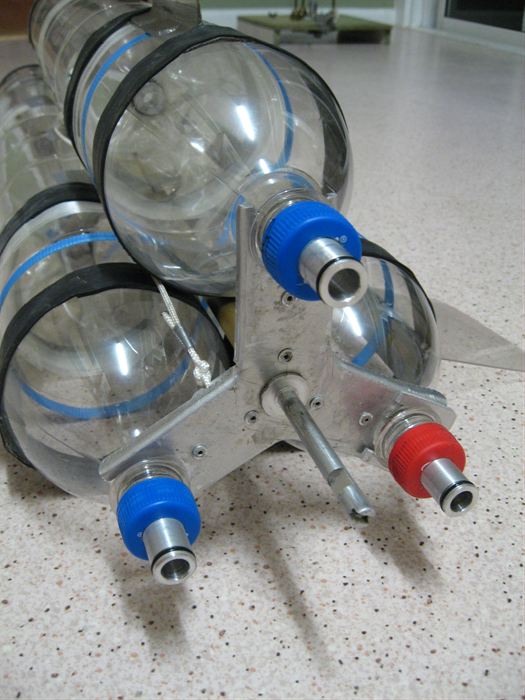
The business end of the rocket showing the supporting brace.
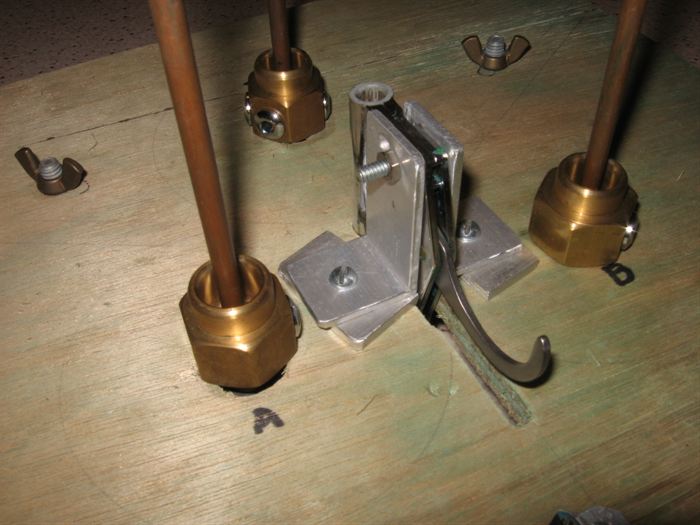
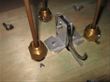
Detail of the support brace and the rod that fits into the trigger mechanism. The o-rings on the 10mm nozzles are new.
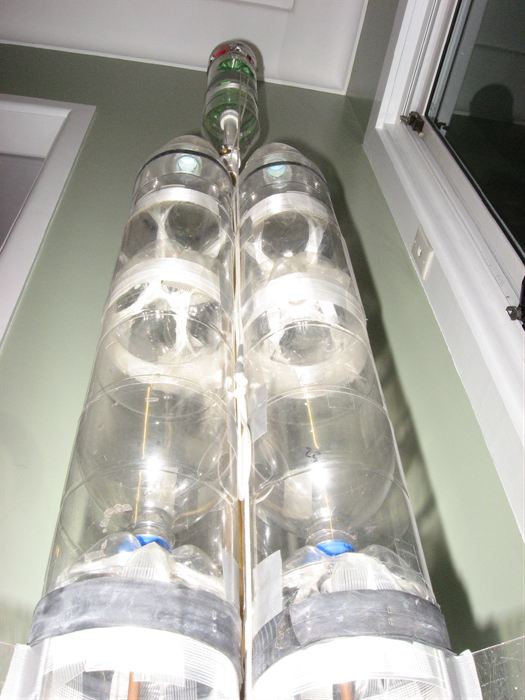
Fins are held by large rubber bands made from bicycle inner tube. Blue straps hold bottles to central tube.
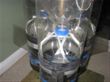
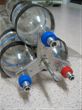
Top down view of the booster.
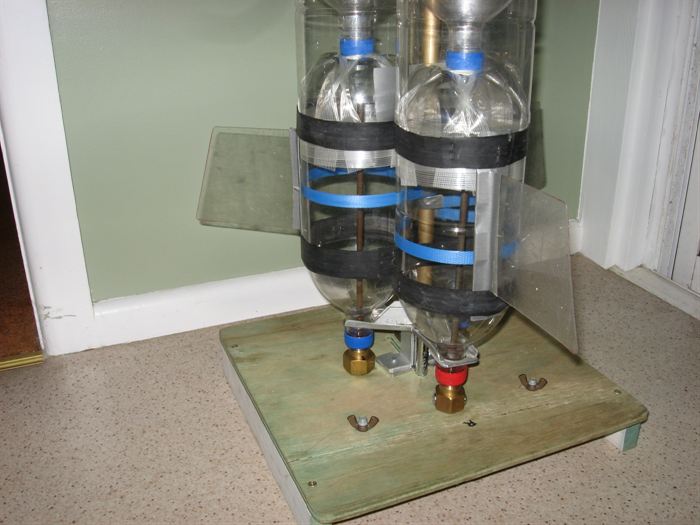
Detail of the launcher trigger mechanism, nozzle seats and the filler tubes. Guide rails are not fitted.
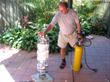
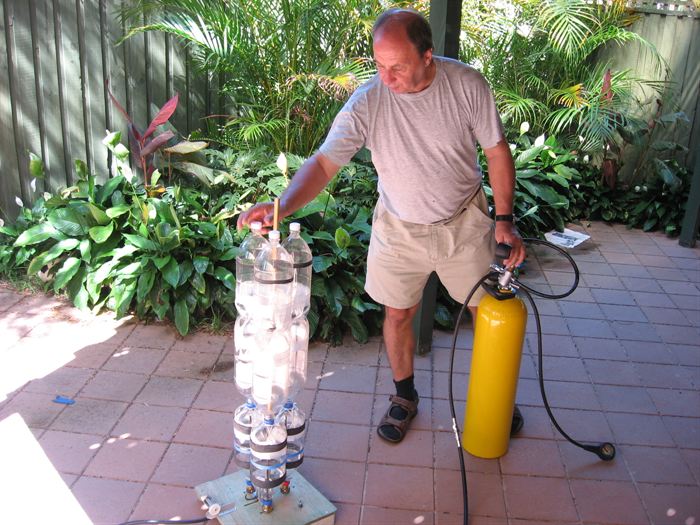
Pressure testing launcher and booster segments, before the adapter rings are attached.
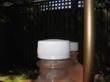
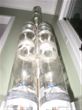
Top bottle caps bulging under the pressure.
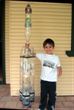
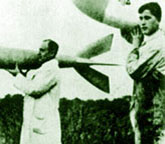
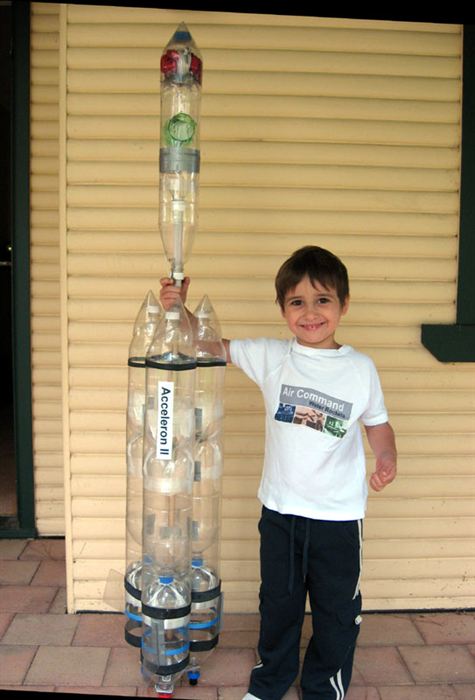
Scale comparison using a standard size kid.
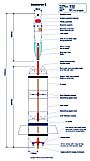
Detailed diagram of the Acceleron II rocket explaining each of the different components.
Date: 25th March 2007
Location:
Workshop
Conditions:
Pleasant since it was indoors.
Rockets:
(click the name for rocket details)
 
Name Capacity Notes
Acceleron II 18.75 L A new rocket expanding on Acceleron's capacity.

Team Members at Event: GK and PK

We noticed that we forgot to link in the new underwater video on Day 25 so here it is: Day 25 Underwater launches. This video shows footage from underwater of launching a water rocket from a depth of 2m.

But now on to this weeks update .... In the last two weeks we have been rebuilding the Polaron rocket, increasing the capacity on the Acceleron rocket and building an updated launcher for it. We have also been working on building a thrust measurement test rig that hopefully will be able to provide us with information about the effectiveness of the experiments we are doing.

Events

  • Acceleron's capacity has been increased by 6 L. A 2 litre bottle has been added to each segment of the booster. For this we needed to make three new couplings.
  • The Acceleron launcher has been working very well with one exception: After every launch the o-rings in the launcher would get flushed out of their groove and had to be re-seated. This was quite annoying so we decided to create new nozzles for the rocket so that the o-rings sit on the nozzle rather than remain on the launcher.
  • Because of Acceleron's higher capacity as well as higher weight, we increased the nozzle diameter to 10mm. As a result of the size increase and relocation of the o-rings we had to also make new nozzle seats in the launcher to accommodate the larger nozzles.
  • The central aluminium pipe on the rocket has also been replaced with a longer one. The central pipe provides rigidity to the entire rocket and will function as a stable support for the second stage. At the moment only the dummy payload is attached.
  • A second parachute was added to the rocket as its increased weight might be a little too much for the 900mm parachute. The secondary parachute is deployed the same way as Polaron III used to deploy its secondary parachute. Basically the primary line loops behind the secondary parachute and is pulled out when the primary chute opens.
  • The detailed diagram at left shows the different components of the rocket as well as some dimensions.
  • We wanted to fly the booster this weekend but unfortunately the weather was rainy with very strong winds so we decided to defer until the next favourable conditions.

Thrust Measurement Rig

  • The thrust measurement rig is basically a balance with a rocket on one side and a calibrated kitchen scale on the other. As fellow water rocketeers have suggested in online forums we have first gone with the cheapest option before attempting to build a more sophisticated one. The scale dial is videotaped at 60 frames per second giving us basically 60 samples per second for the thrust measurement. After the experiments are complete, we will manually step through each of the frames and record the readings. This may sound a little tedious, but when you compare with how long it takes to do everything else associated with the experiment it is not really significant.

    Full details of the setup of the measurement rig will be posted with the next update.
  • The electronic scales we have on hand do not change fast enough for our needs.

<< Previous       Back to top      Next >>


Copyright © 2006-2023 Air Command Water Rockets

Total page hits since 1 Aug 2006: