Each flight log entry usually
represents a launch or test day, and describes the
events that took place.
Click on an image to view a larger image, and
click the
browser's BACK button to return back to the
page.
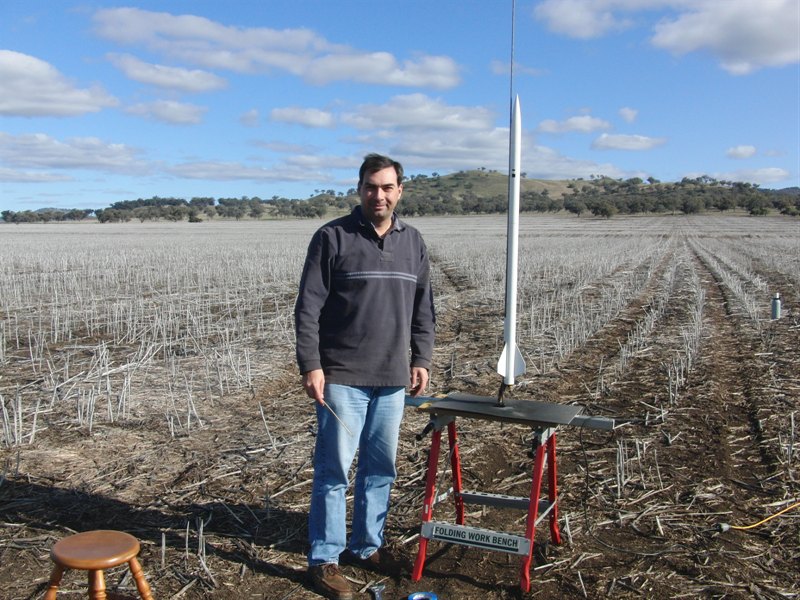
Day 95 - Parraweena, MAD Deployment
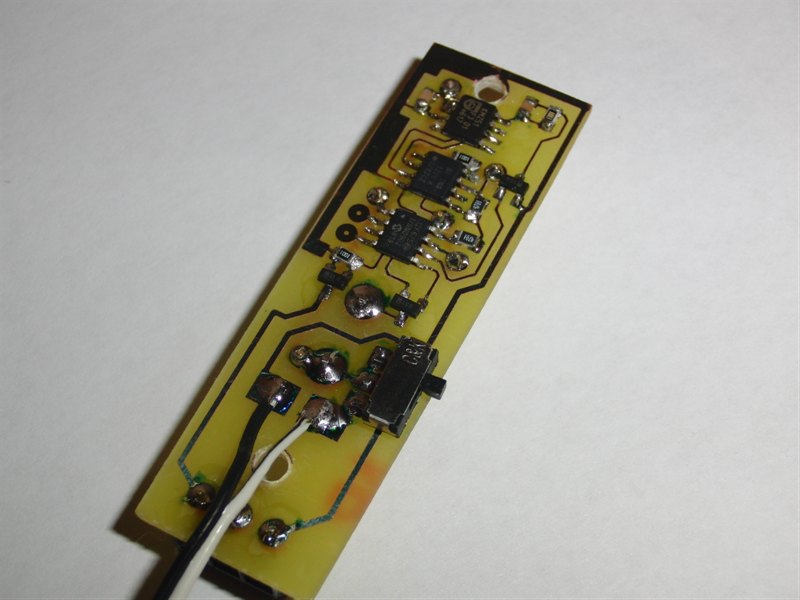
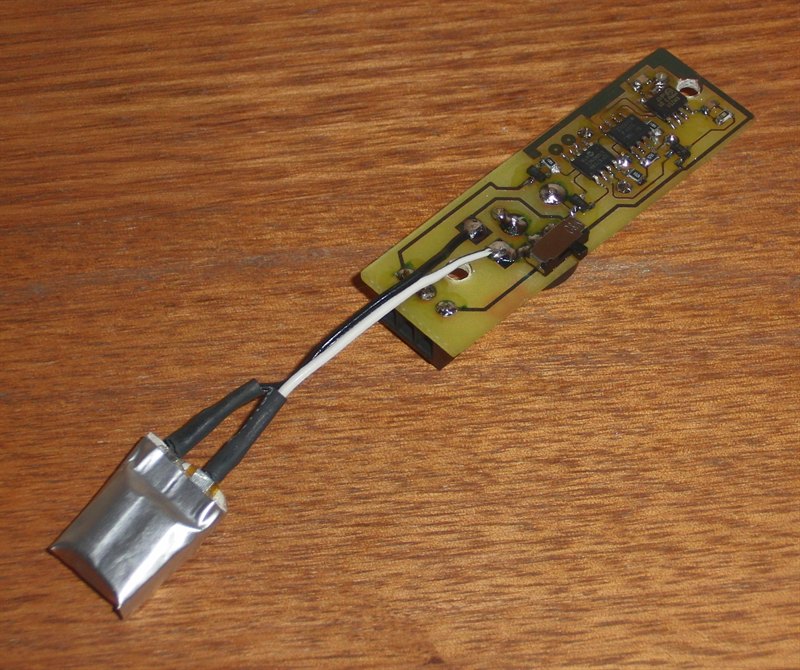
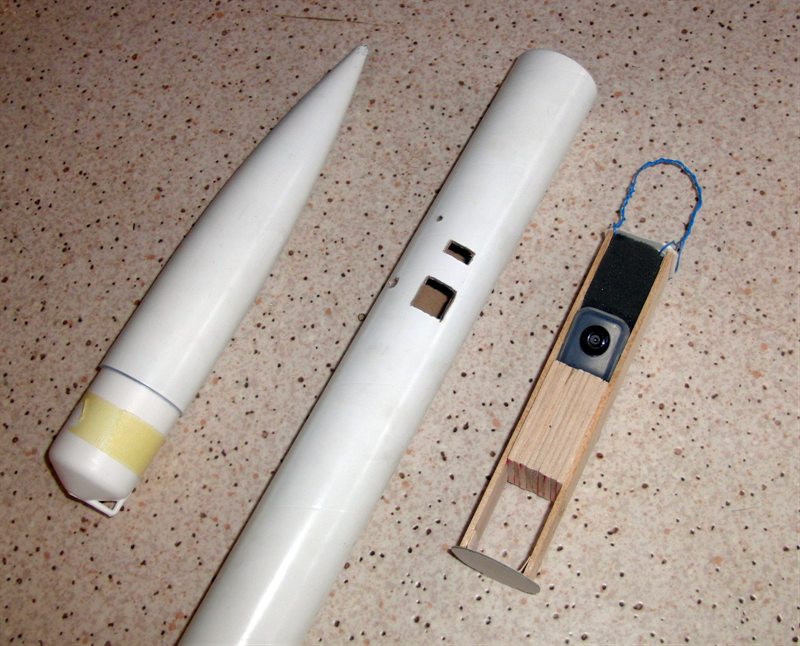
PK's Magnetic Apogee Detector.
The MAD is powered by a single LiPo battery.
Here the MAD is used to trigger our flight
computer when the rocket tips over at Apogee.
And fitted inside the nosecone aero shell.
Most of the next set of photos were taken by Darren
and Phil
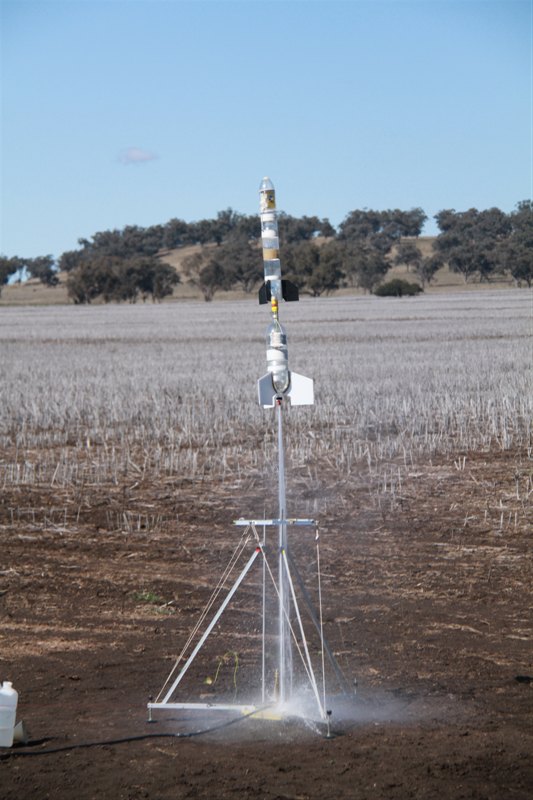
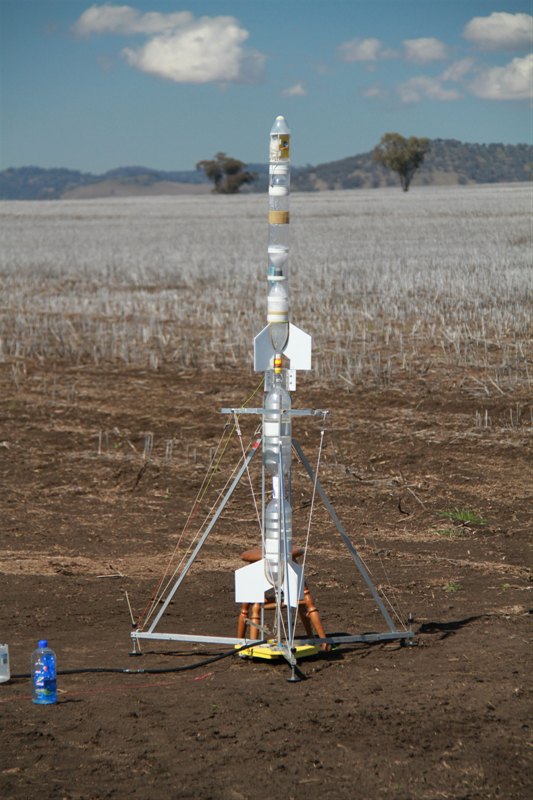
Getting ready for the first MAD flight.
Launched at a mere 110psi.
The MAD worked as expected when the rocket
started facing down.
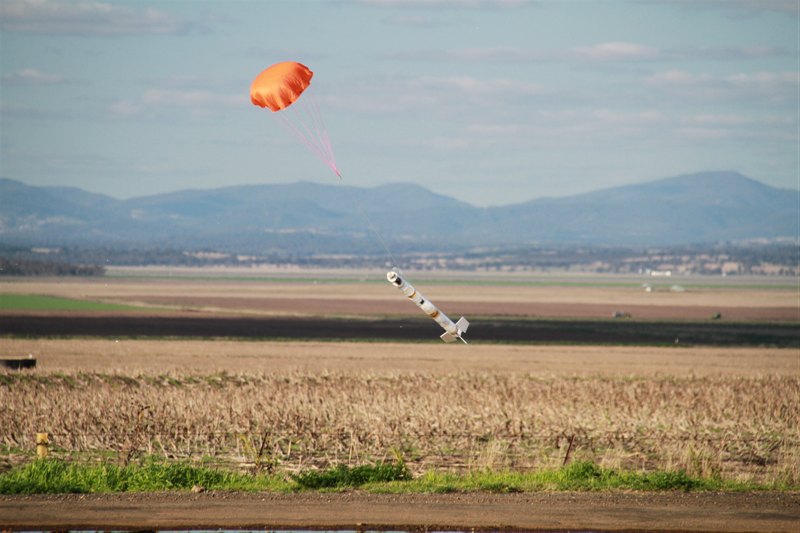
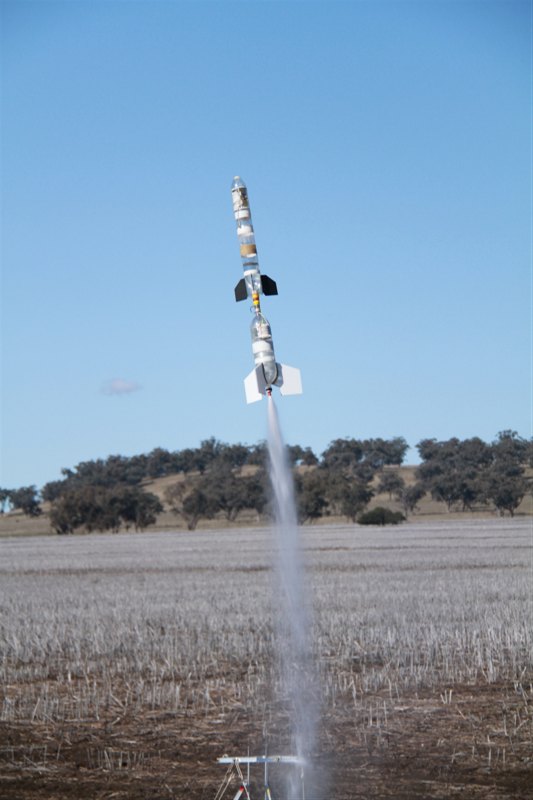
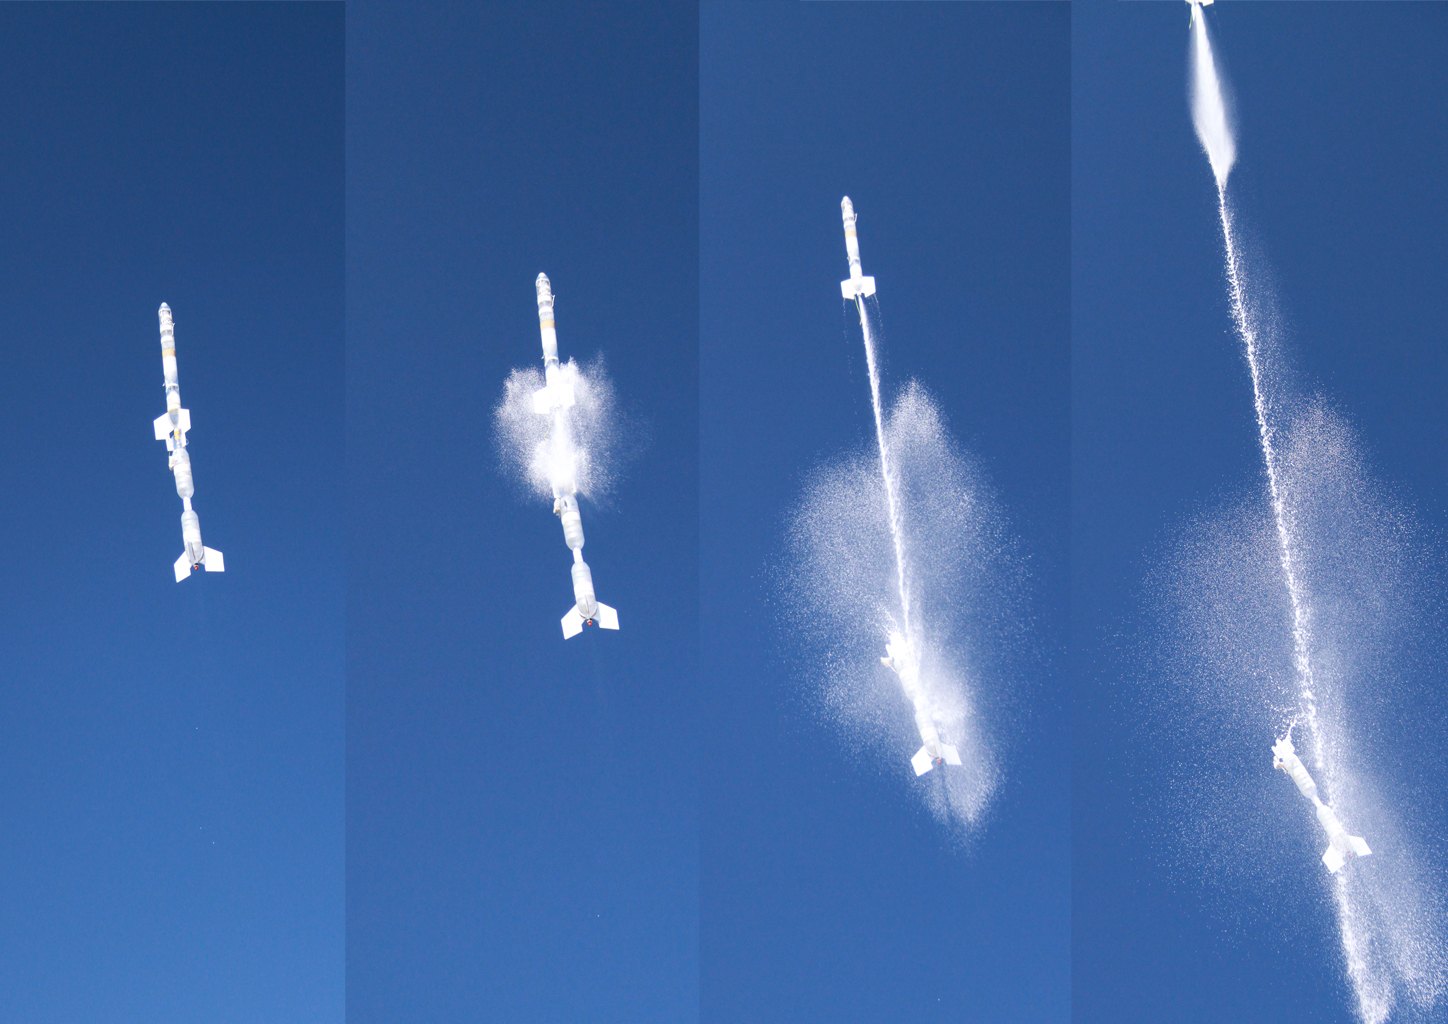
Launching the MAD on a slightly larger
rocket and powered by foam.
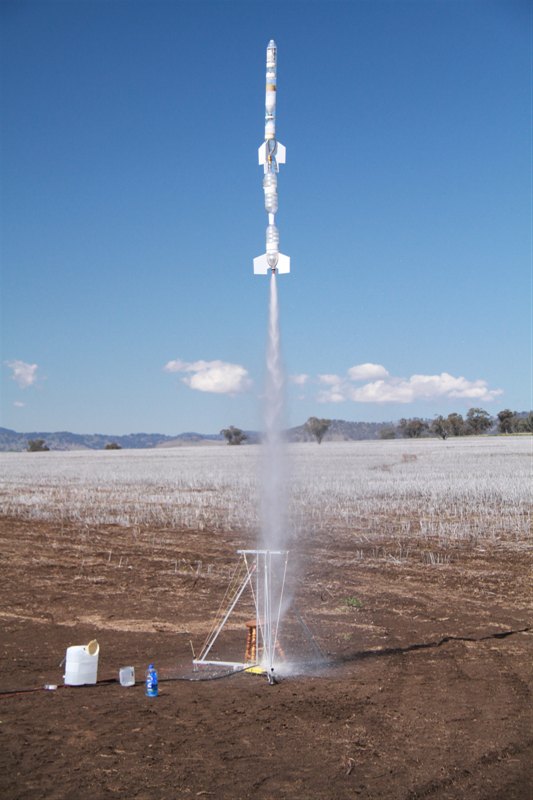
A long foam trail is left behind.
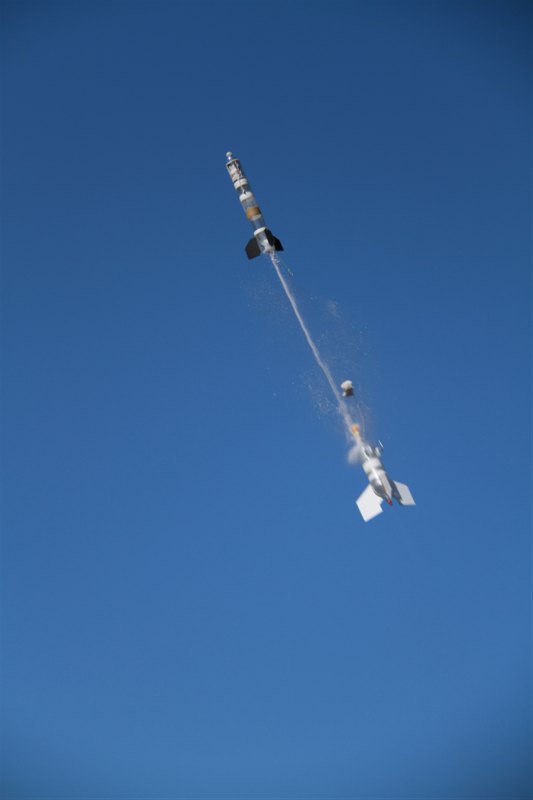
The MAD worked well again. You can see foam
floating down with the rocket.
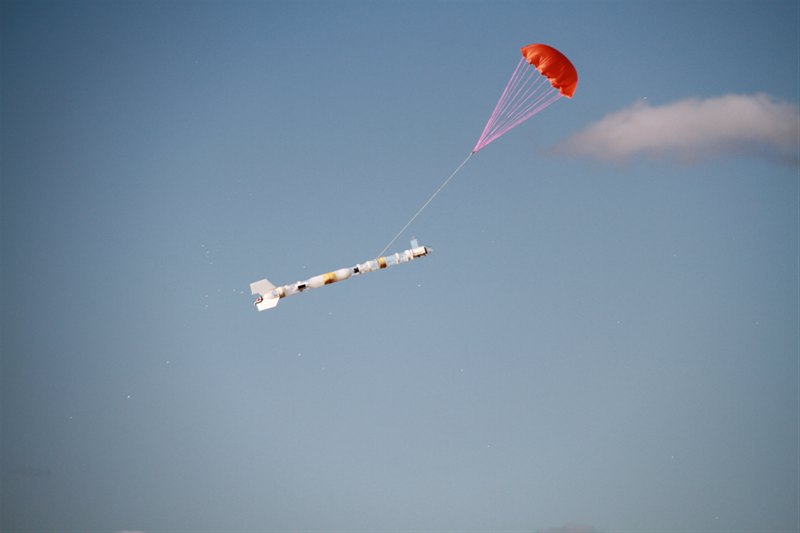
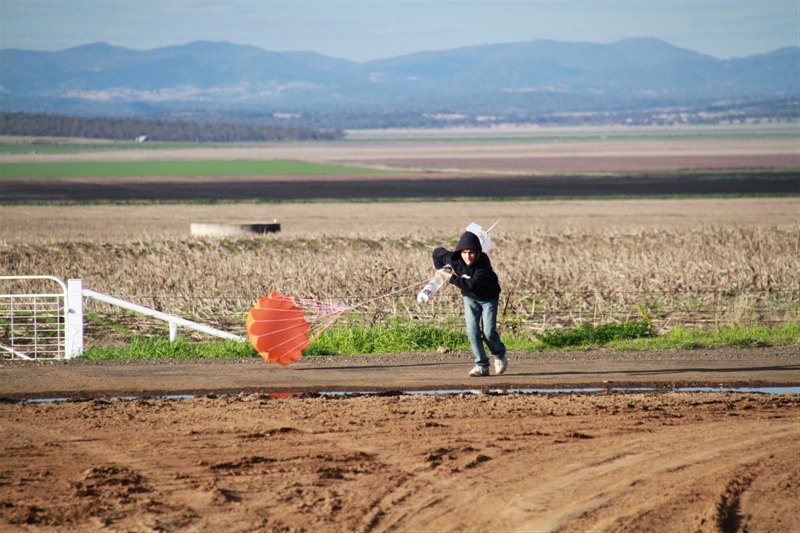
Coming down to a gentle landing ....
... on the road ...
... the ground retrieval crew is quickly on
the scene to remove a potential speed bump.
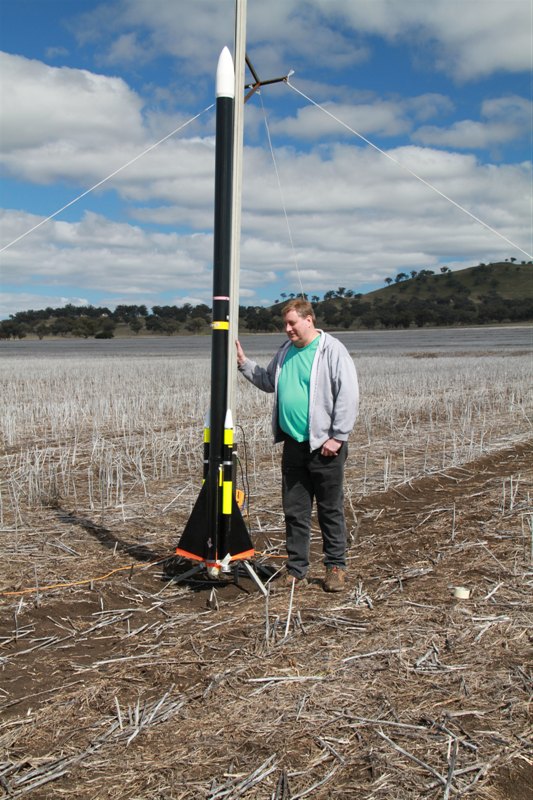
There were some very large rocket on show.
Here is Phil with his rocket. Despite an early
setback the rocket put on a great show.
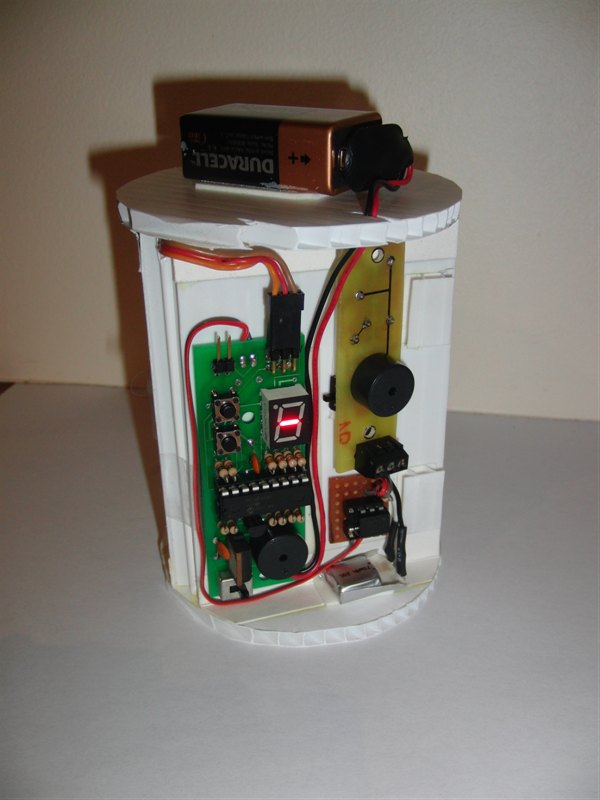
MD80 clone camera sled that fits in the
rocket payload.
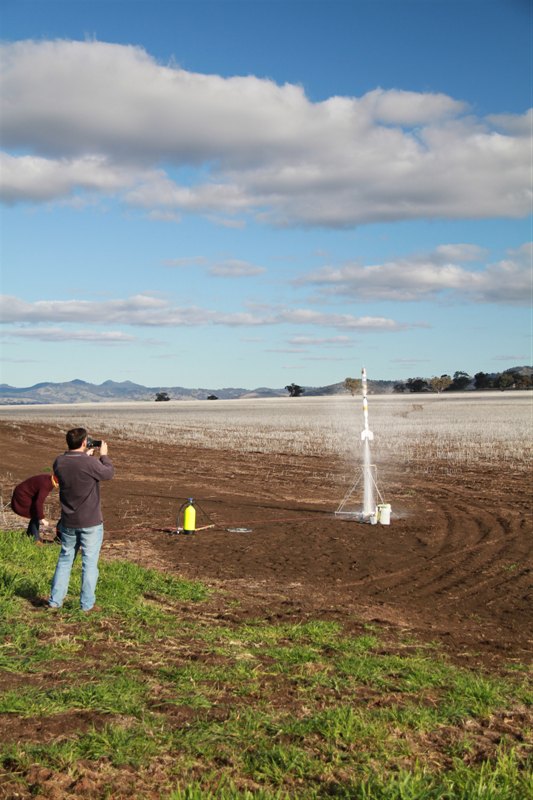
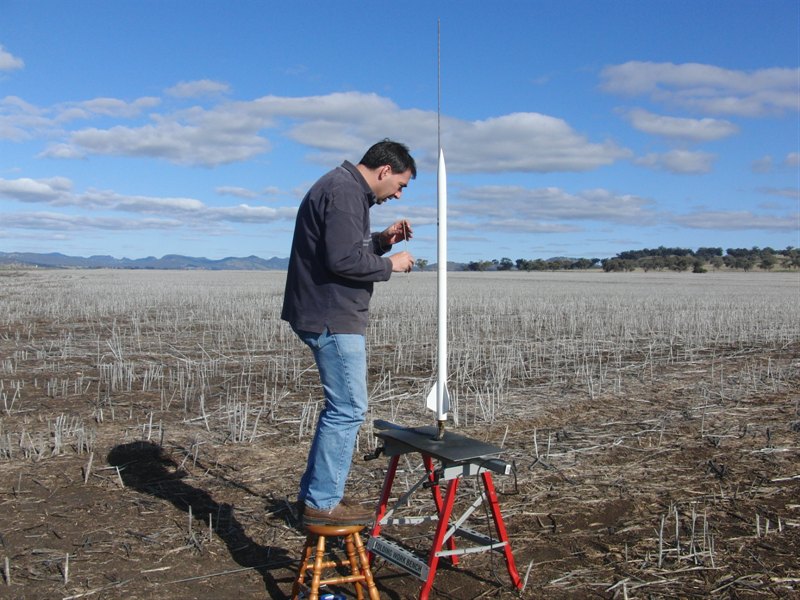
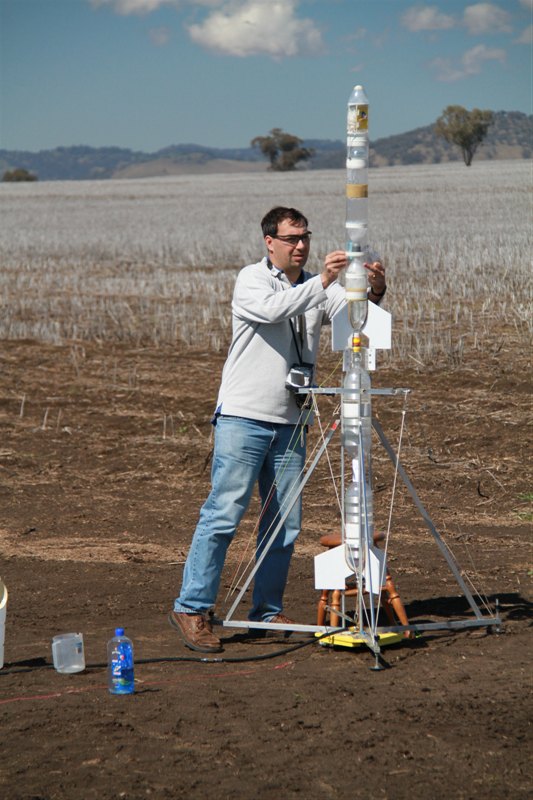
Getting ready to launch "Waterless" on a G64
Turning on the video camera inside the
rocket.
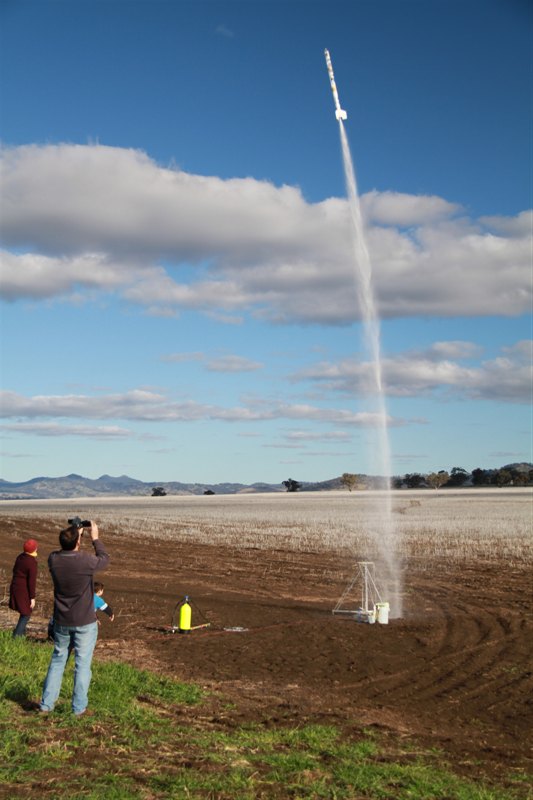
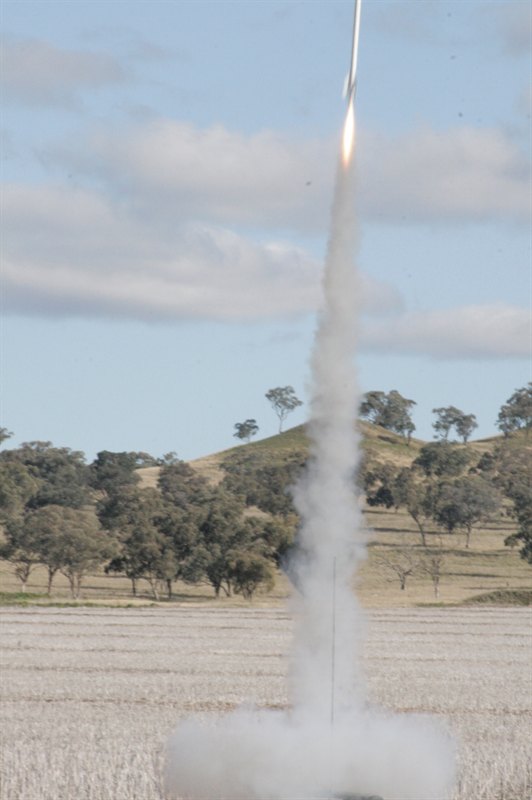
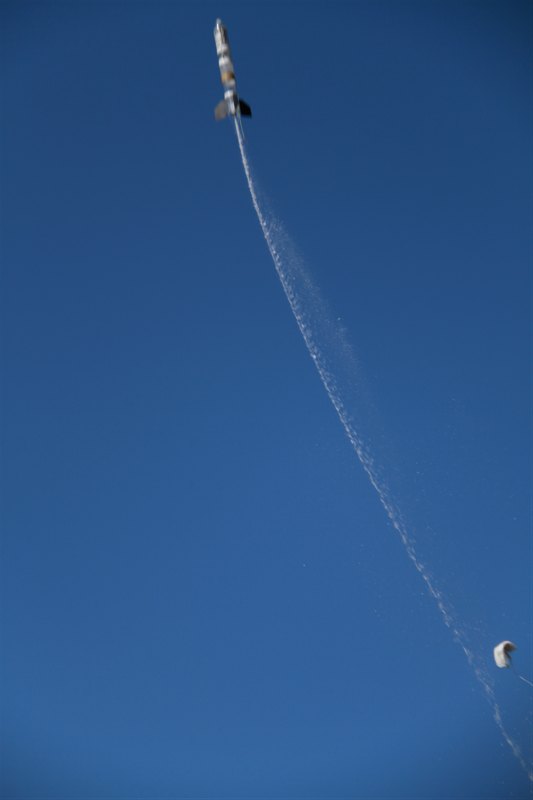
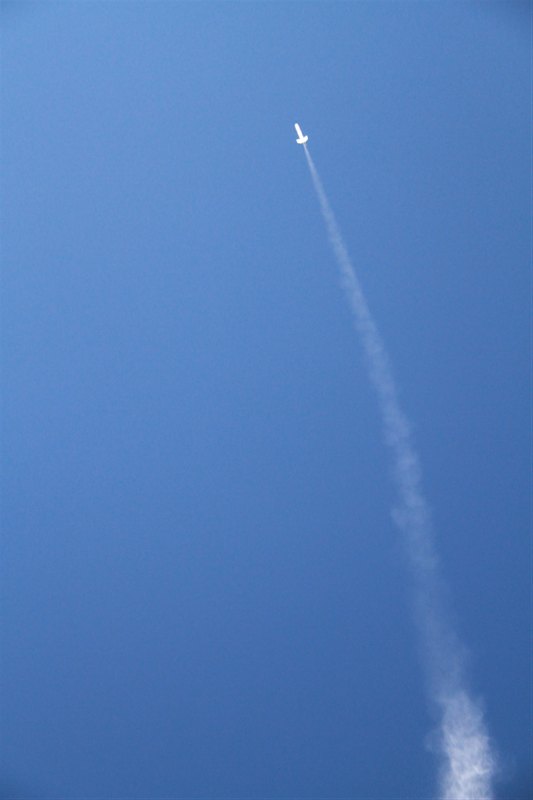
... and off she goes...
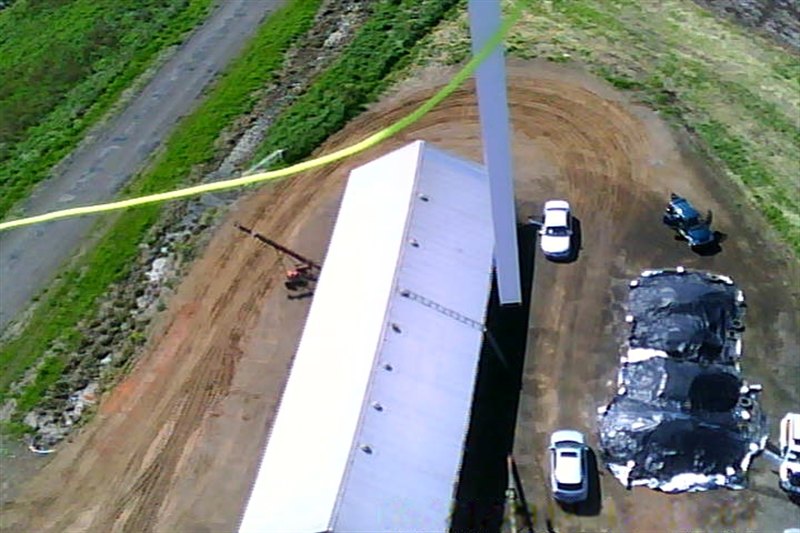
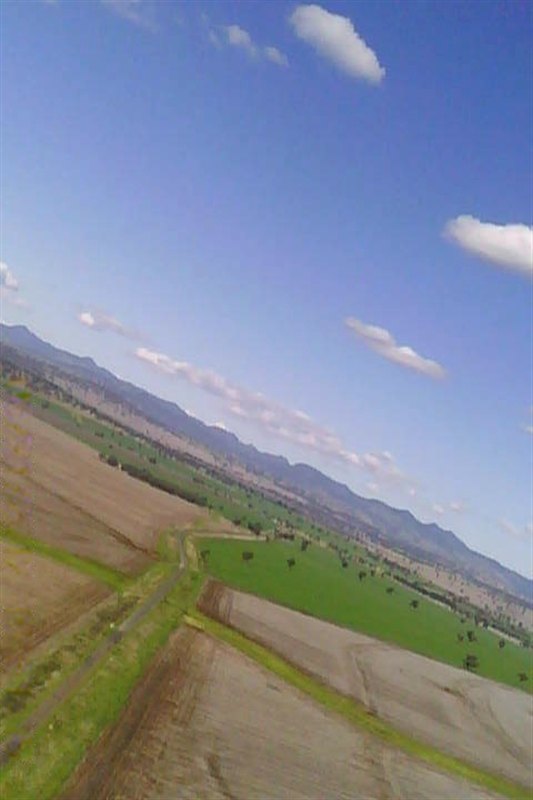
Looking East as the rocket approaches
apogee.
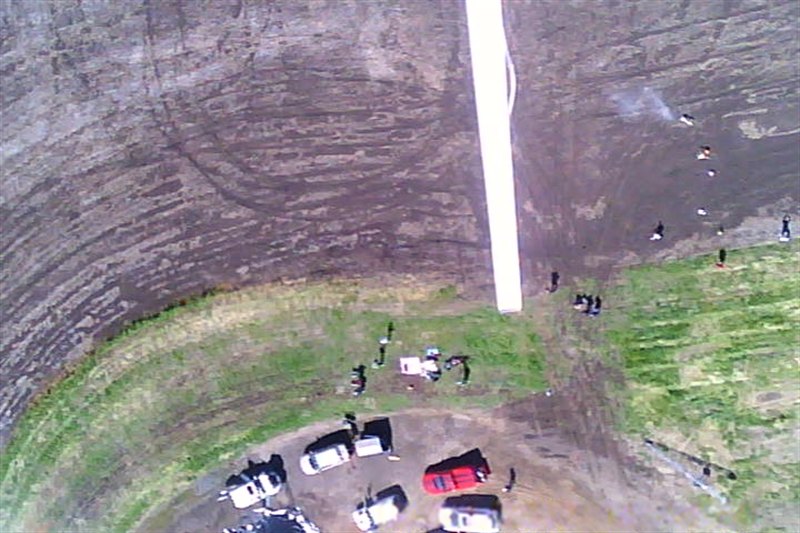
Rocket begins to tip over. The road below
with a large water tank.
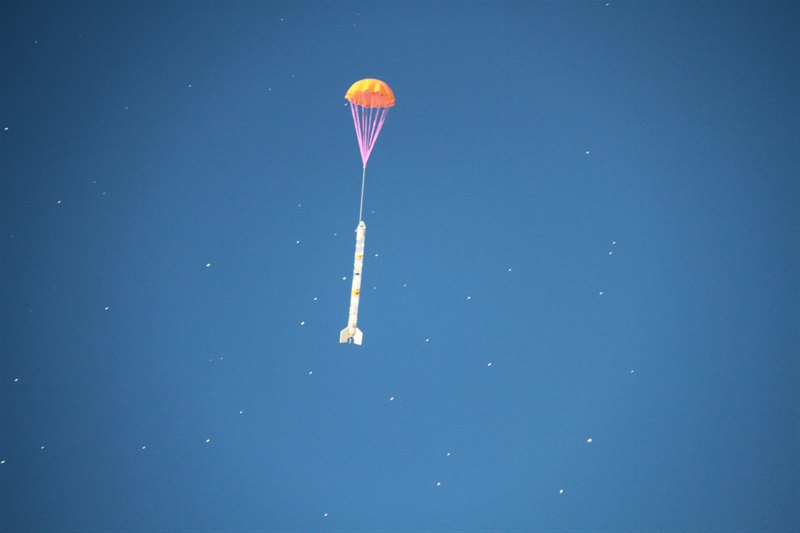
Just prior to parachute ejection. Taken from
an altitude of somewhere between 2500-3000 feet.
A composite panorama taken from the video
sequence on the way up.
The rocket also managed to find the road,
with minimal damage.
Heading back to the hotel at sunset.
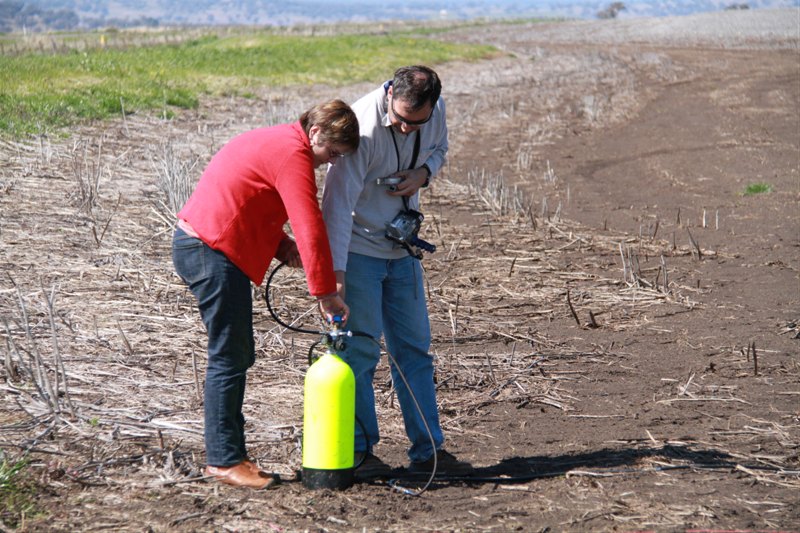
Setting up the launch pad again on the next
day. Last minute instructions about which valve
does what.
Testing the Mk3 stager again on a smaller
booster.
Launched at 110psi.
Good separation at burnout .
The sustainer had 700mL of water in it.
Clear skies ensured good visibility of the
entire flight.
Returning safely to earth.
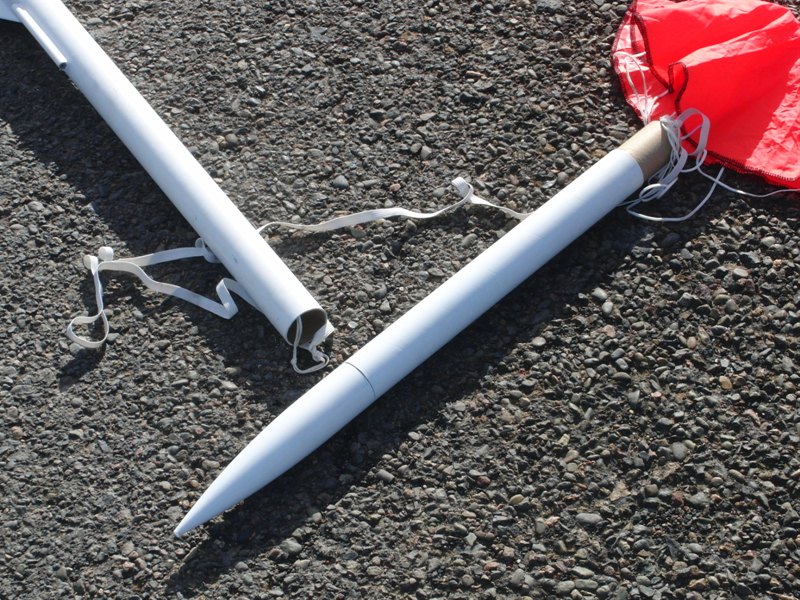
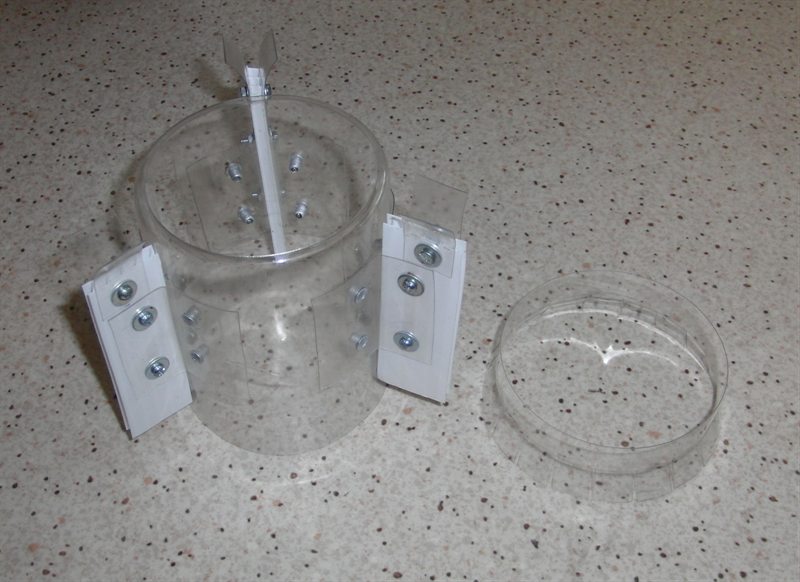
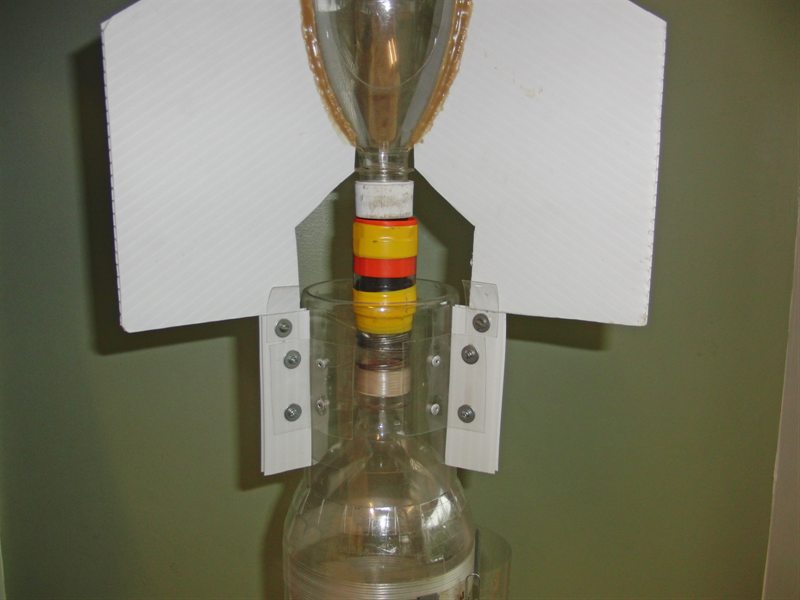
Sustainer support brace and booster mounting
ring.
The supports are individually adjustable to
align the stages exactly.
The support holds the sustainer by its fins.
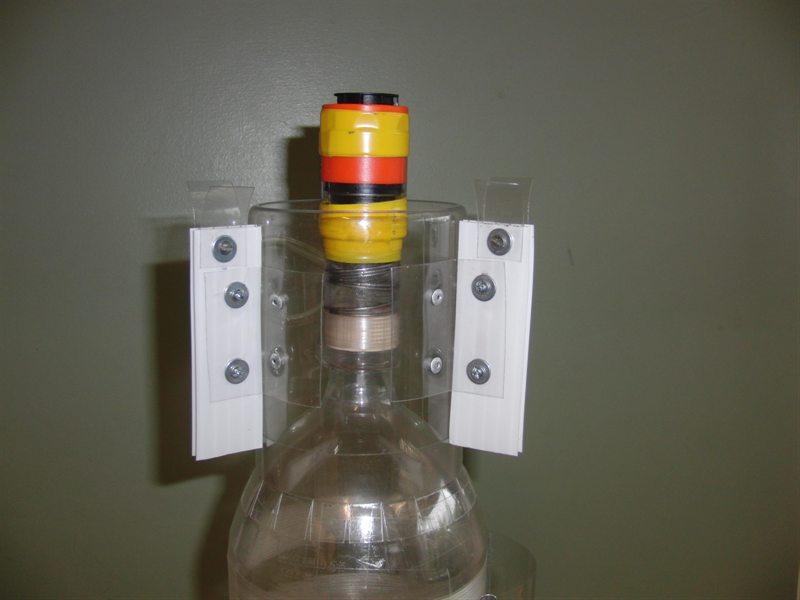
Testing the Mk3 stager with a larger booster
and sustainer.
The sustainer is supported by an adjustable
brace on the booster.
Good take off at 120psi.
Staging.
(Photos: Darren)
The sustainer continued to a decent
altitude.
Still frames from on-board camera.
Apogee.
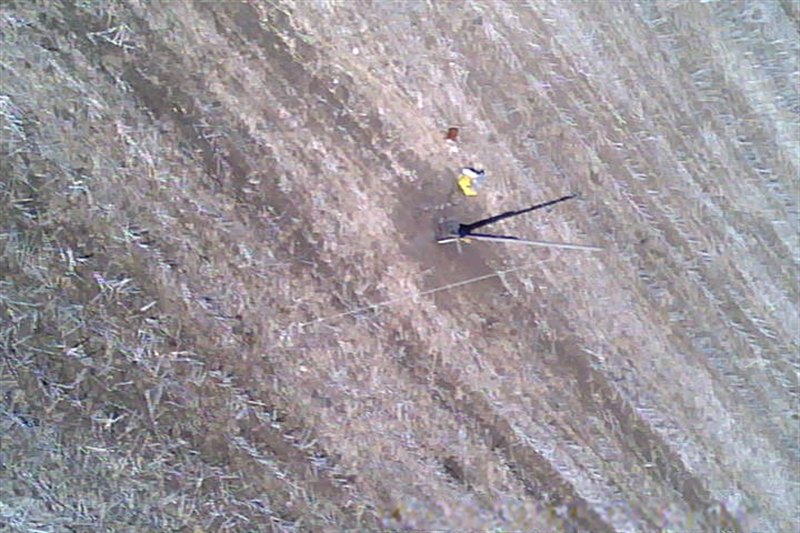
The grain shed on the way down under
parachute.
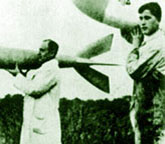
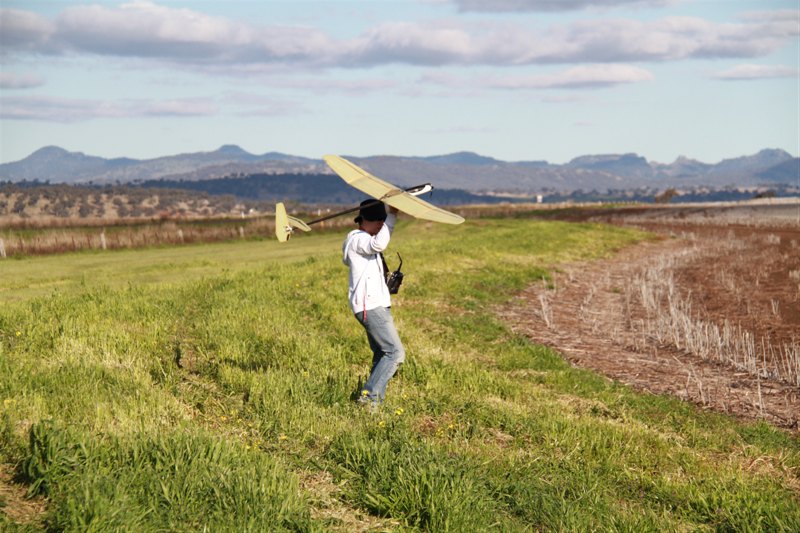
Andrew with his glider
Glider powers itself to altitude, before
turning it's motor off.
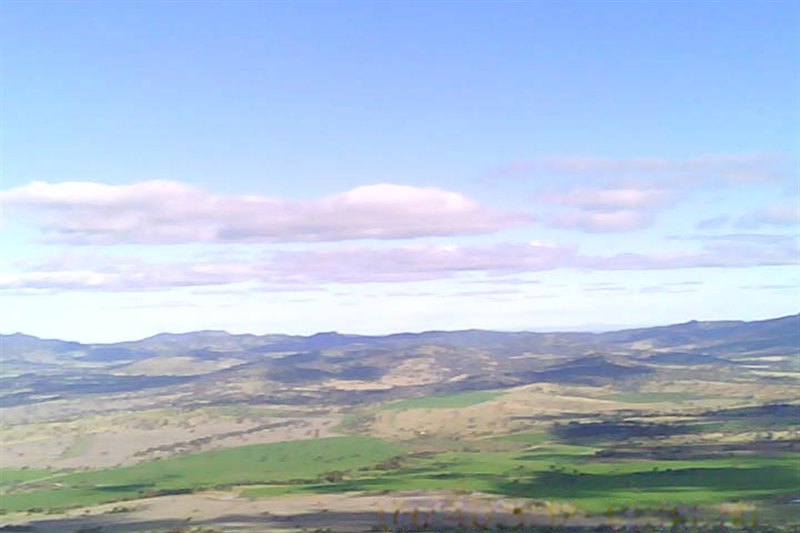
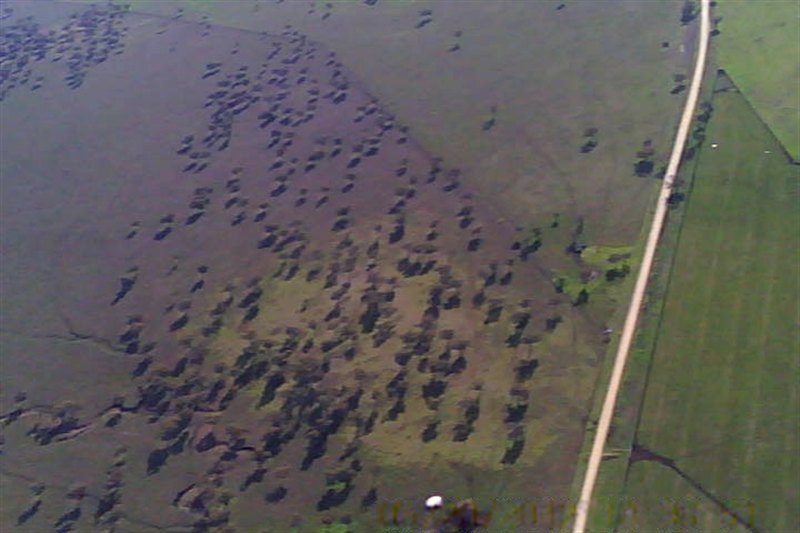
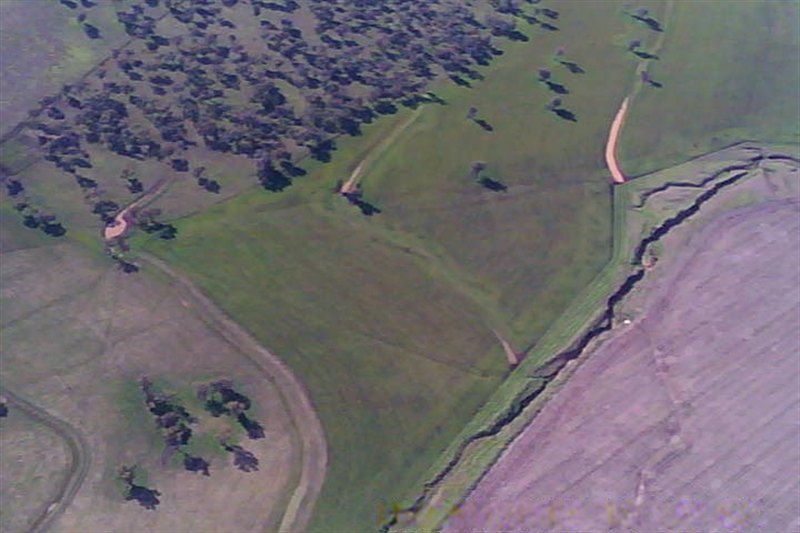
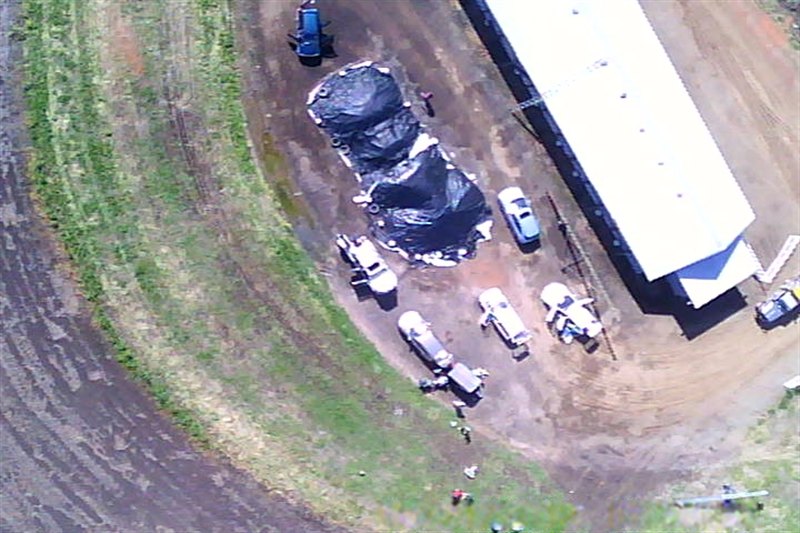
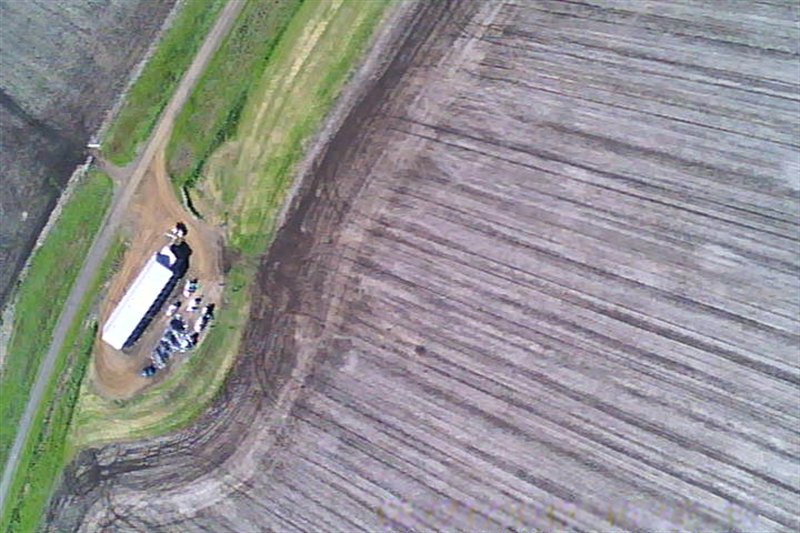
Downward views of the launch area from the
glider.
Car park.
Launch pad with Chris's rocket ready to
launch.
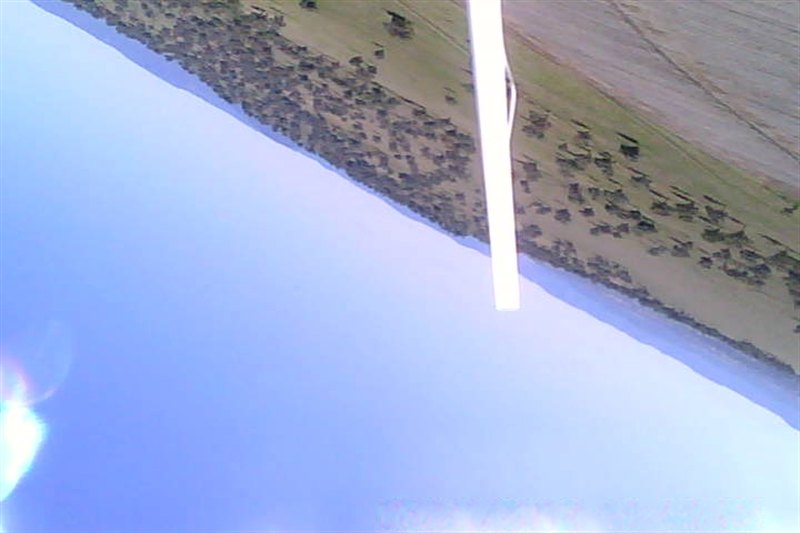
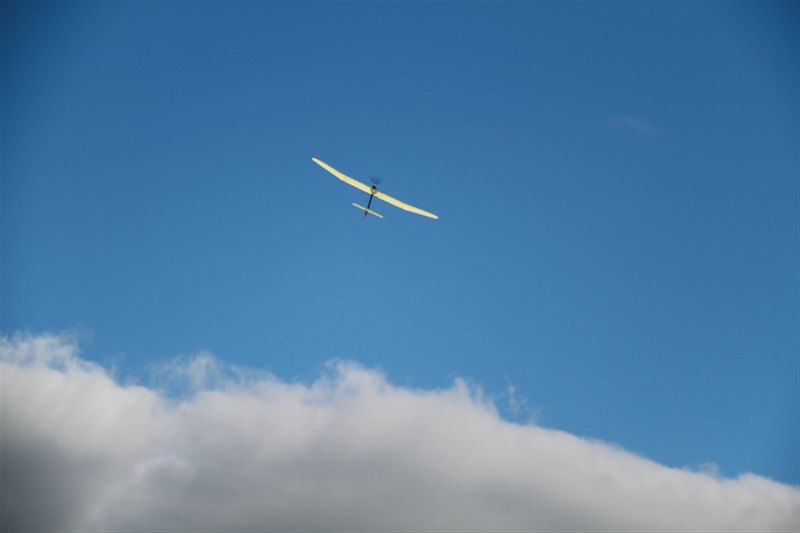
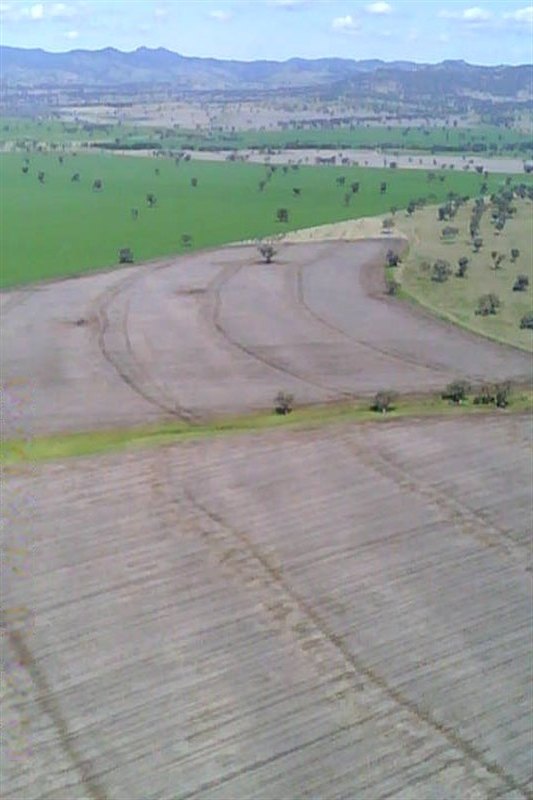
Glider in a bank manoeuvre looking to the
side.
A long way up, as the plane is approached by
a pair of Eagles.
A view of the Parraweena launch area.
Date:28th
& 29th
August 2010
Location:Parraweena, NSW, Australia
Conditions:Cool, Sunny 15-17 degrees C, very light breeze.
Team Members at Event:
GK,
Paul K, John K and AK.
Parraweena
This weekend we took a road trip
to Parraweena, about 360km north of Sydney
to a gathering of pyro rocketeers to fly
some bigger rockets that can't be flown at
Doonside. After seeing all the great rockets
flown at Williams in Perth I wanted to see
more. :) This time rather than just going to
watch I brought the family along, some water
rockets and my bigger pyro rocket.
There were a couple of things I've been
wanting to test on the water rockets so it
was a good opportunity to try them out.
MAD deployment
PK on the
Australian rocketry forum put
together a
MAD project (Magnetic Apogee Detection)
for pyro rockets and made a few boards and
programmed PICs available. So I thought I'd
have a go at putting one of the boards together
and trying it with our water rockets. The
board has mostly SMD components so it's nice and
compact. Because it is designed to fire a
pyro charge, it is not suitable to directly
drive a servo motor. So I connected it
through a small opto-coupler to trigger
one of our flight computers to
activate the parachute servo.
It's really easy to use. You just turn it
on, and it arms itself after a 2 minute
period which normally allows you enough time
to turn it on and assemble your pyro rocket. I
arm our flight computer at the same time.
The nice part is that there is no need to detect
launch and hence you eliminate false
triggers due to filling vibration.
Assembling the MAD was good practice
for soldering SMDs using tweezers and a
magnifying glass.
The MAD runs off a single LiPo battery
which adds minimal weight. I used the little
70mAh we purchased a while back.
Sustainer Support
Brace
One of the common problems with
multistage rockets is supporting each stage
against the next so that the stages remain
aligned during the boost phase. You need to
be able to carefully adjust the supports in
order to align the stages. I put together a
simple brace support for the Mk 3. stager
that fits to the top of the booster. It
supports the sustainer by its fins. The fin
support idea came from Alex from the
Ukraine, though he uses a different brace setup. (http://balancer.ru/forum/punbb/attachment.php?item=192689)
Thanks for the ideas Alex. :)
The fin support is very easy to make and
adjust. See the photos on the left for more
details. As we were going to try to fly the Mk3.
stager on a bigger booster with a longer
sustainer, it was necessary to use the
sustainer support brace.
Launch Day 1
Launch day 1 didn't start out all that
well. The story actually starts the day
before when the car would not start for my
wife. She had the battery replaced as it was
dead even though we had a new one put in
just 6 months before, and all was good as we
thought. We drove up to a hotel half way
along the route the night before launch and
found that we couldn't restart the car. The
road service guy found the problem within 2
minutes and all signs pointed to the
alternator. It appears that we had driven
from Sydney on battery power alone, and were
very lucky the car didn't stop along the
way! Well to cut a long story short we had
the car towed to the car electrician on
the Saturday morning, rented a car,
transferred all the launch gear and rockets,
and went on our way. There was nothing to be
done with the car until Monday and so we
left it behind.
We managed to get to the launch site,
before any rockets were launched so that was
good. The launch site is excellent with very
large flat fields in all directions. The
weather was almost perfect with sunny
conditions and almost no wind.
We watched a number of fantastic rockets
go up, especially Phil's large rocket. There
were a few failures as well, but that's all
a part of the sport.
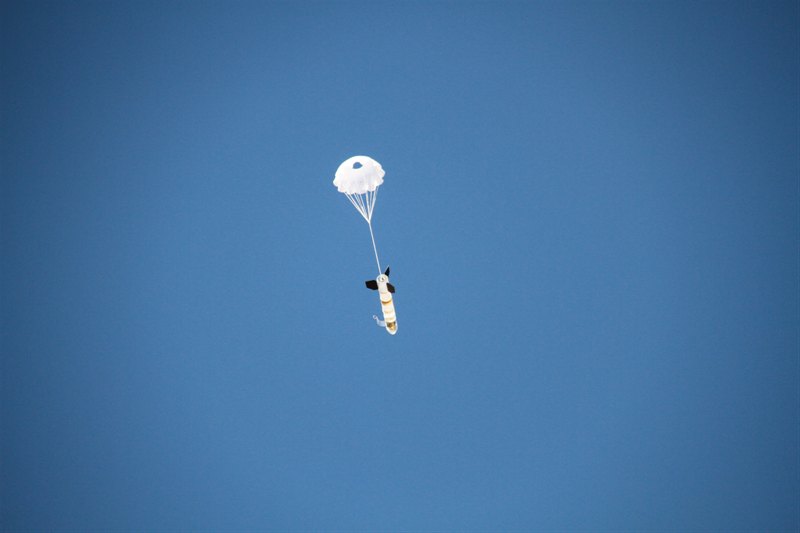
My first flight was a small water rocket
fitted with the MAD. The flight was good,
and the parachute popped out soon after
apogee when the rocket was facing down.
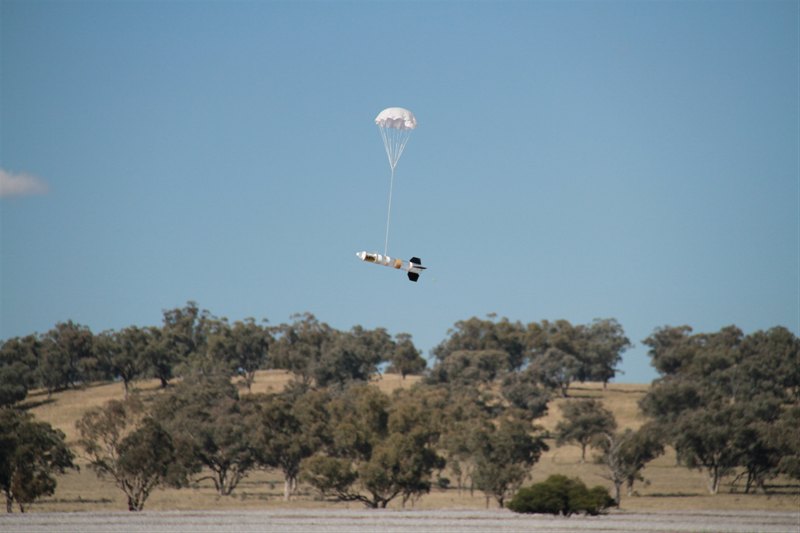
So I fitted the MAD nosecone to a longer
rocket and flew that with foam, to see if
slower acceleration and a more gentle arc
would affect the MAD in any way, and again
the parachute opened just after apogee.
All up I was really happy with the
flights, as this means a MAD will work
effectively on our rockets, and is
particularly useful if something goes wrong
and the rocket doesn't attain the required altitude
for a preset time.
Anytime the rocket tips over in the air, it
will deploy the parachute. This will also be
useful on high altitude flights where
predicting the time to apogee is a little
trickier.
My last flight of the day was my LOC
Weasel ("Waterless") flown on a G64-10W.
This was our highest power pyro rocket
launch to date. It was also our highest
flying rocket to date somewhere in the 2500
- 3000 foot range. I did not have an
altimeter fitted, but did have an onboard
MD80 clone camera. The camera was fitted to
a small sled that could be inserted into the
payload section. The video in the ascent was
good, but when the ejection charge fired,
the sled moved up inside the payload bay and
blocked the view. It would have been a
pretty shaky and dizzy video on the way down
anyway. Thanks Craig for letting me use the
motor case.
The rocket landed on the road perhaps 50
meters away, without significant damage. So
all up it was a very successful launch day
for us. We also launched Paul's small pyro
rocket on a C6-5 which flew great.
At the end of the day we drove about 50km
back to a cabin in the nearest little town for the night before heading
back the 50km to the launch site.
Launch Day 2
We woke up early on launch day 2, but the
frost on the grass outside made sure we
didn't head out in a great hurry. I was just
hoping our rocket fuel didn't freeze
overnight as we left it at the launch site.
We watched a whole range of
rockets go up, and again some very
impressive flights as well as impressive
failures.
For my first flight I did a two stage
flight with a Mk 3. stager. This rocket was
the same as our last set of tests, and was
launched at 110psi. The rocket and stager
performed well and both landed without
damage. This rocket did not use the
sustainer support brace.
For the next flight, I assembled a bigger
booster and longer sustainer to test the
stager at higher loads. I decided to only
use a 9mm nozzle for the booster to reduce
the acceleration and hence the stress on the
stager. Ideally a rocket this size should be
flown with at least a 15mm nozzle. Since I
was using a smaller nozzle I also put less
water in the booster and sustainer to help
get it off the ground.
The rocket flew well and the stager
worked as expected on burnout. I didn't have
an altimeter fitted for this flight, but did
have the on-board camera in the sustainer.
It was a good flight so we were happy that
the stager works for bigger rockets. Next we
will need to test it at higher
accelerations.
In keeping with the 2 stage theme we also
launched Paul's Pod 2 rocket in a 2 stage
configuration with a C6-0 and and C6-5. It
was a great flight with good ignition of the
second stage.
Andrew brought along his remote
controlled glider and so we attached a
downward facing camera on it to look over
the launch site during a launch.
Unfortunately the rocket mis-fired, but just
in time, as two eagles flew in and started
following the plane. Andrew quickly landed
the plane as apparently Eagles are known to
attack model planes! They were sure
interested in the plane.
We packed up in the early afternoon and
headed back to Singleton to spend the night.
By Monday afternoon the new alternator had
arrived from Newcastle and we managed to get
home at sunset.
Despite the car trouble the whole family
really enjoyed the whole trip, and one of
the best part for the boys was that they got
to miss a day of school.
Good vertical
flight. Good parachute deploy past
apogee as designed and the rocket
landed well on the road without
damage.
4
Rocket
Waterless
Motor
G64-10W
Payload
MD-80 clone camera
Altitude / Time
~2500-3000' / ? seconds
Notes
Good flight, with
deploy right near apogee. Good video
on the way up, but payload sled
moved during ejection. Landed on
road with minor damage to the motor
mount.